Scheduling Prerequisites What do I need to have set up in order to properly use the work scheduler? Betsy Rainey
There are three main prerequisites for utilizing the Work Scheduler properly: having your employee list filled out, setting up your crews, and setting up your preferences for the Work Scheduler.
Setting Up Your Employees - the video can be found in our help center here
In order to set up an employee in your database, you will need to navigate to the Settings menu, over to the Items column, and then down to the Employee page. There, you should be able to double click on an employee that you would like to edit, or, if you would like to add a new employee, click on the + Add New button in the upper left hand corner.
Once you get to the Employee page, you will be able to start entering in your employee's basic information.
Name (First, Middle and Last) - This is the name of the employee as you would like to track it in your database. Note: the first and last names are required fields.
Category - This setting allows you to break down your employee listing. To add additional employee categories to your database you will need to navigate to the Settings menu, over to the List column, open up the Categories drop down and then move down to the Employee page below.
Email - This is important to add if your employee is an estimator, and you would like their email to display on the proposal, or you would like them to receive confirmation emails from the e-proposal feature.
Commission % - This is the percentage used in your commission reports, and should be entered in as a decimal.
Certificate # - This is where you would enter in your employee's certificate number if you would like for it to display on the proposal.
License # - This is where you would enter in your employee's license number if you would like for it to display on the proposal.
Exp. Date - This is the date that your employee's license is going to expire. Note: This information is not used anywhere in the cloud, and is only there for record keeping purposes.
Pay - This is your employee's pay per hour. Note: This information is not used anywhere in the cloud, and is only there for record keeping purposes.
Flat Cost - This is a flat cost added the at the end of the cost determined by the unit cost.
Unit Cost - This is the cost of the employee to your company per hour. Notes: Employee Unit Cost and Unit Price should be the same for all the employees in your database, as differing costs will result in inaccurate job/service costing as employees shift after the estimation process.
Unit Price - This is the price of the employee to your client per hour. Notes: Employee Unit Cost and Unit Price should be the same for all the employees in your database, as differing costs will result in inaccurate job/service costing as employees shift after the estimation process.
Notes: Employee Unit Cost and Unit Price should be the same for all the employees in your database, as differing costs will result in inaccurate job/service costing as employees shift after the estimation process.
Address - This is your employee's address. Note: This information is not used anywhere in the cloud, and is only there for record keeping purposes.
Phone - This is important to add if your employee is an estimator, and you would like their phone number to display on the proposal.
Setting Up Your Crews the video can be found in our help center here
In order to set up a crew in your database, you will need to navigate to the Settings menu, over to the Lists column, and then down to the Crew page. There, you should be able to double click on a crew that you would like to edit, or, if you would like to add a new service, click on the + Add New button in the upper left hand corner.
Crew Information
-
Name - This is the name of the inventory item as you would like to track it in your database. Note: this is a required field.
Work Scheduler Colors
-
Background Color - This is the color that will display on the background of the visit on the scheduler.
-
Text - This is the color that will display as the text font color of the visit on the scheduler.
Job Costing Information
-
Assigned Employees - This allows for employees that are always or almost always going to be used on a crew to be defaulted in to that crew so that the estimator does not have to add them individually.
-
Assigned Equipment - This allows for equipment items that are always or almost always going to be used by a crew to be defaulted in to that crew so that the estimator does not have to add them individually.
Set Crew Goals
-
Goal Hours Per - The hourly total goals for the crew for Day, Week and Month.
-
Goal Total Per - The monetary total goals for the crew for Day, Week and Month.
Note: these are for internal use only, and will not display anywhere but this page.
Google Calendar Integration
Setting Up Your Preferences for your visible crews can be found in this article here
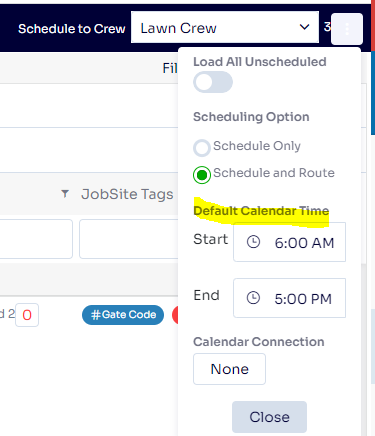
Another preference that you will find useful is the time range in the upper right hand corner of the Work Scheduler. Click the 3 dots at the top right corner to set your Default Calendar Time. Note: This will apply to BOTH the Appointment Scheduler and Work Scheduler
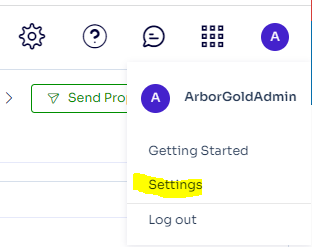
User Settings can also control the default calendar view, click the user icon at the top right corner and go to settings:
Navigate to Appointments to select Default Calendar View:
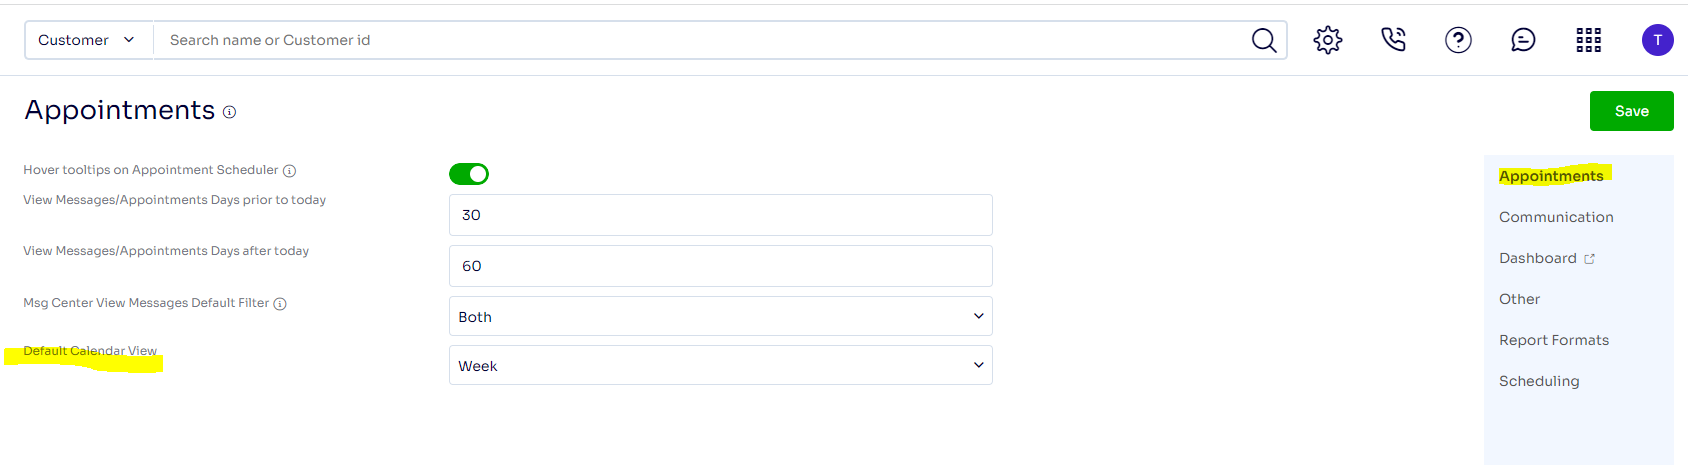
Note: This will apply to BOTH the Appointment Scheduler and Work Scheduler
Did this answer your question?