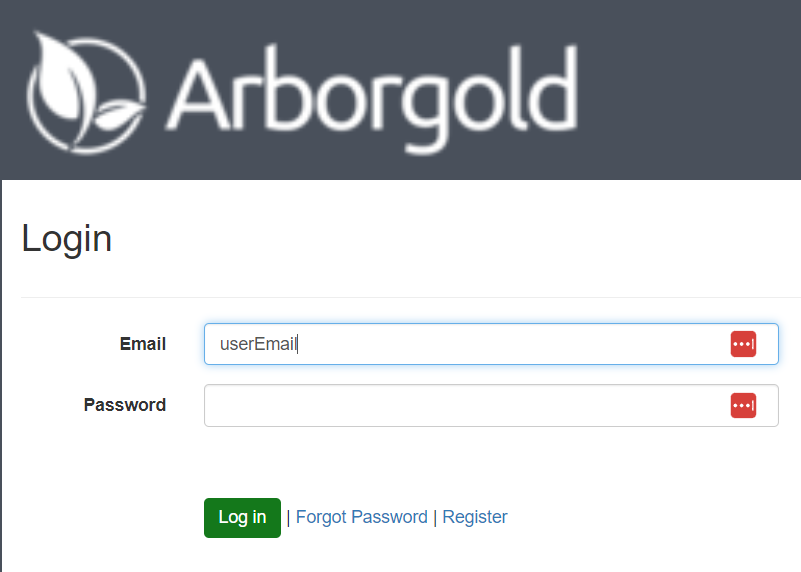
You will first need to go to your company's customer portal site. To access your company's customer portal site, you will use the following url:
yourcompanyurl.arborgold.net/cp
(replace your yourcompanyurl with your site's specific company url)
Login with your user email and password.
*Note: your user has to have portal admin permissions turned on, if you are not a system administrator, please contact your system admin within your company to request permissions to be turned on
When signed into the customer portal as an portal admin, you will notice a settings option on the left navigation menu
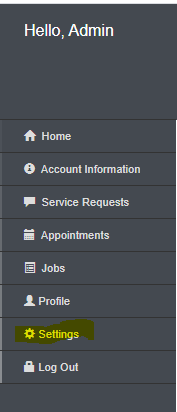
The Settings in the customer portal admin login can be broken down into each section:
Company Logo Settings
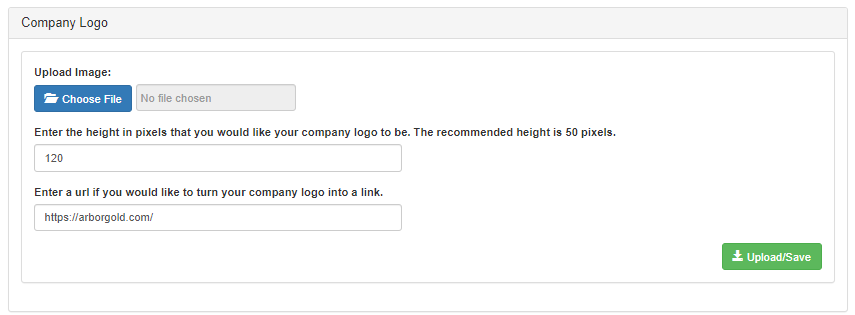
At the top left section of settings you can find your company logo settings. You can upload an image of your company logo to show at the top of the customer portal in all screens, and you can enter the height in pixels that you want your logo to be. The recommended height is 50 pixels. You can then enter a url if you would like your company logo to be a link. Note that the picture might not show up right away do to being cached in your local web browser, if you clear cache and refresh this should solve this issue.
Style settings and Style Preview
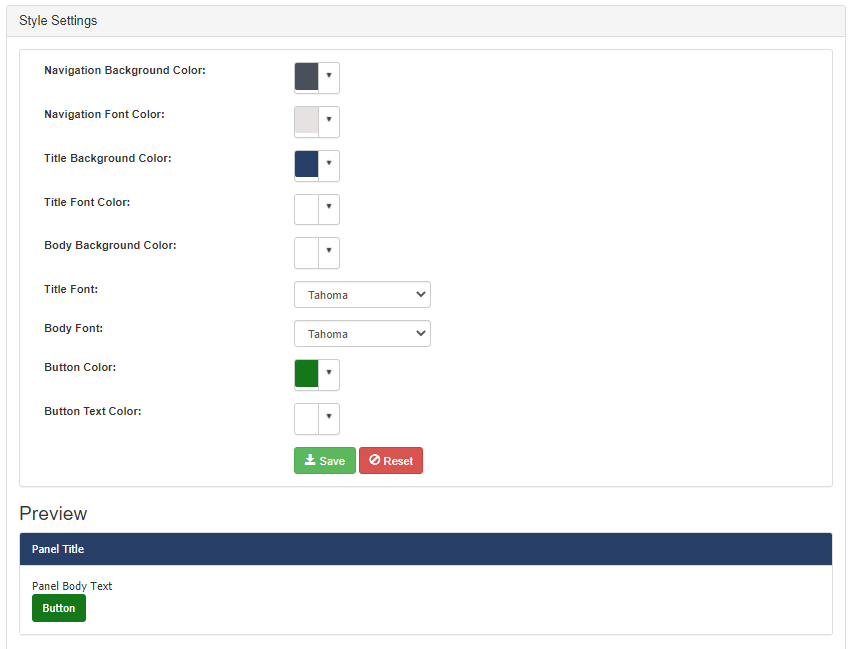
You can find below the company logo settings the style settings. You will see various colors to choose from, the type of font you wish to use, and in the preview section at the bottom of this you can see what the outcome looks like.
Job Screen Preferences
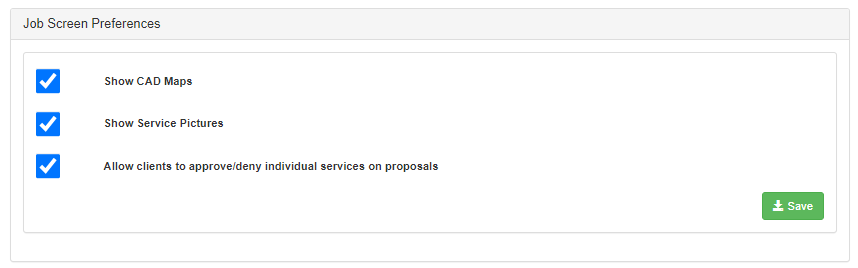
Below the preview section you will see job Screen preferences:
-
Show CAD maps: check the box if you wish for every client to be able to view their CAD map section for each job if there has been a CAD map made
-
Show Service Pictures: check the box if you wish for service pictures to show if they have been taken for a service on a job for a customer
-
Allow clients to approve/deny individual services on proposals: this setting allows the client to pick and choose which services when accepting a proposal
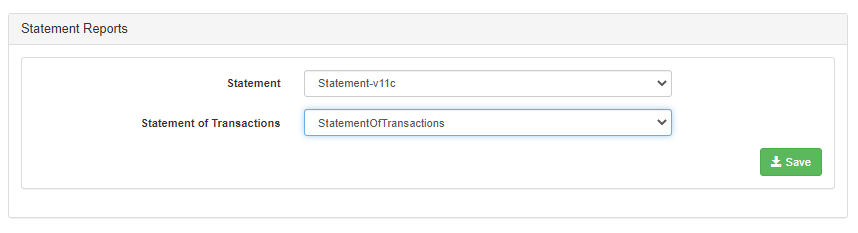
Below the job screen preferences on the left side you have statement reports, these are the default statement templates that customers will be seeing if they decided to print out their statements.
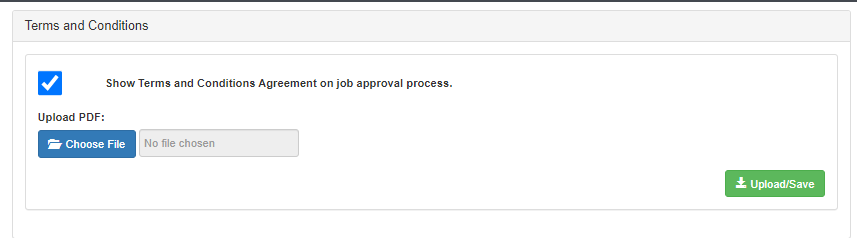
Starting back up at the top on the right side you have the terms and conditions section. You can upload a PDF for them to view, and you wanna make sure you have the check box that Shows the terms and conditions agreement on job approval process. Be sure to click the upload/save button when uploading your terms and conditions. This gives your customers the ability to check off and view of your terms and conditions upon the job approval process.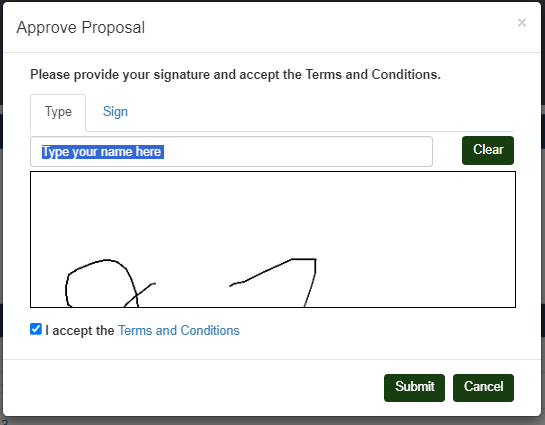
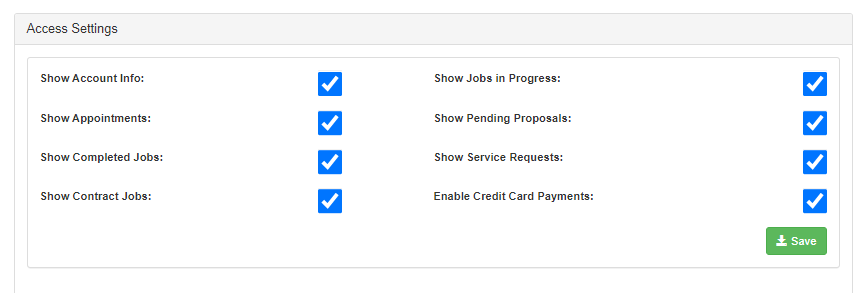
Below the terms and conditions on the right side you have the access settings, this controls what information all of your customers can see in the customer portal. Note you will have to have a credit card processor with arborgold to be able to take credit card payments, you will also need the enable credit card payments section checked. Service Requests give your customers the ability to request changes in a your portal request widget in arborgold cloud, this feature can be explained better in this article.
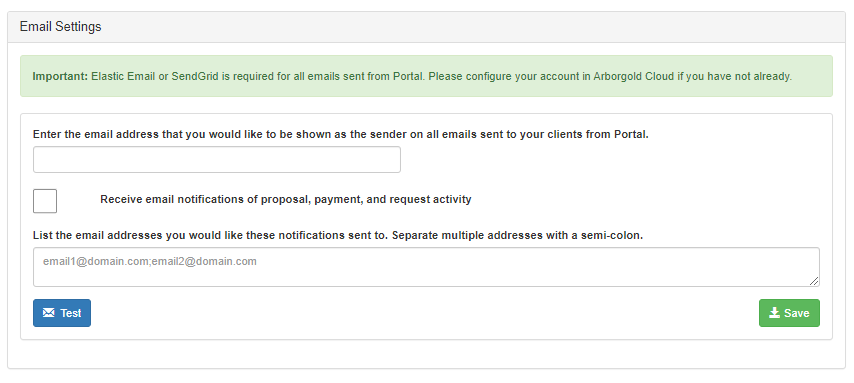
Below the access settings you have email settings. Important: Elastic Email or SendGrid is required for all emails sent from Portal. Please configure your account in Arborgold Cloud if you have not already. We have the first field which is entering the email address that you would like to be shown as the sender on all emails sent to your clients from Portal. Next, if you wish to Receive email notifications of proposal, payment, and request activity you will check the box next to it. Then finally, we have at the bottom of the section, List the email addresses you would like these notifications sent to. Separate multiple addresses with a semi-colon. You can test with the button at the bottom left and then be sure to click save at the bottom right when you have entered your information.
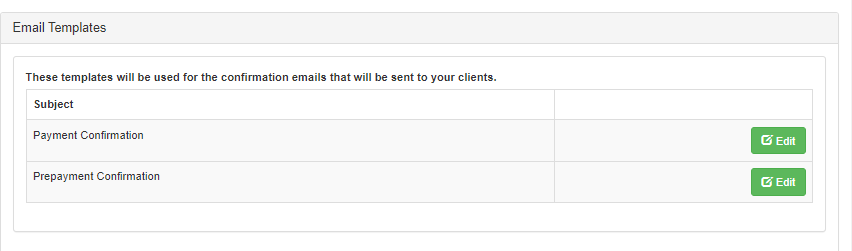
Below email settings you have email templates, These templates will be used for the confirmation emails that will be sent to your clients. You can edit the payment or prepayment confirmation templates by clicking the edit button.
Custom Contact Website link
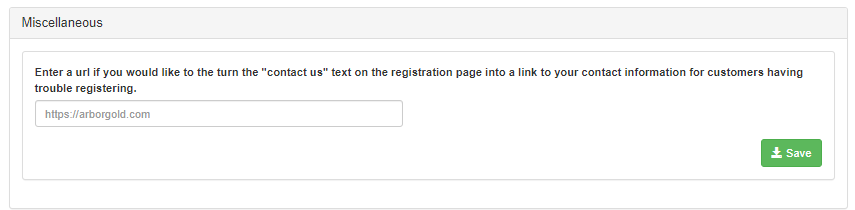
Here you can enter a website link if you would like to turn the "contact us" text on the registration page into a link to your website for customers having trouble registering
Did this answer your question?