When you open up a format, you will notice the items within the bands. These are what pull the information onto your templates from the job, customer and job site pages. This information is defined by the dictionary entry within the item.
If you need to add in a data item (picture items will be covered in Adding Service Pictures and Landscape Maps, and Adding Borders, Pictures, and Other Aesthetic Details), you will first want to create a text box to define its location and size. To do this, you will want to go to the left hand side of the report designer, to the thirteenth icon going down (this will look like a piece of paper with writing on it), called Text. After you click on the Text option you will want to go back to the band of your choice and click and drag a text box into it.![]()
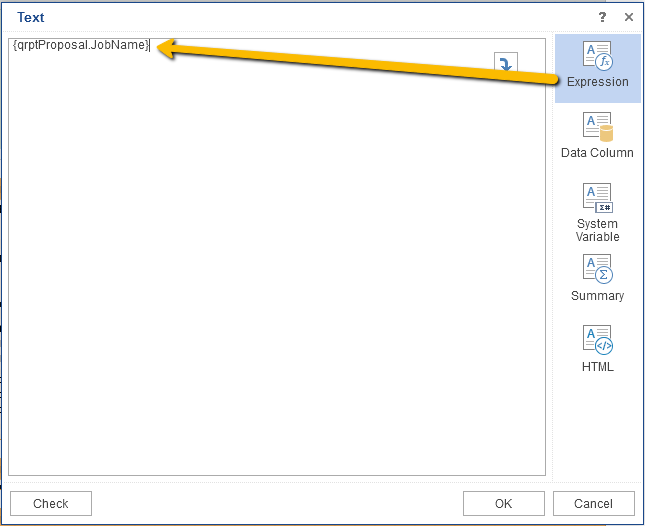
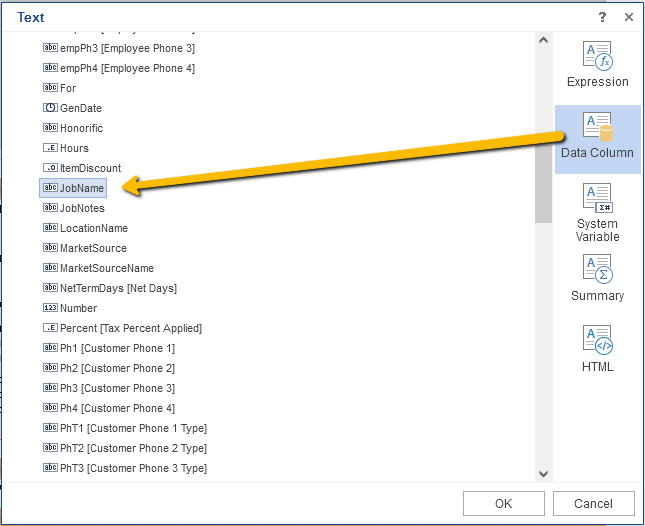
When you release the box, the Expression Editor will pop up, allowing you to choose your data column (more information on the columns can be found in the How To Add Dictionary Items article). You can either type in the data column of your choice in the proper format (for example, the column for JobName would need to be typed in as {qrptProposal.JobName} on a proposal template), or you can go into the second option below Expression, called Data Column, and double click on the column of your choice.
For many data types, we want the item to print in a certain format as well. For instance, we always want our job total on the proposal to print in a currency format. To ensure that the items we create always print in the format we need, we will want to go to the far right hand side of the Report Designer, into the properties tab. Here, under the Text section, we will want to go down to Text Format, and click on it (it will be the last option for that section).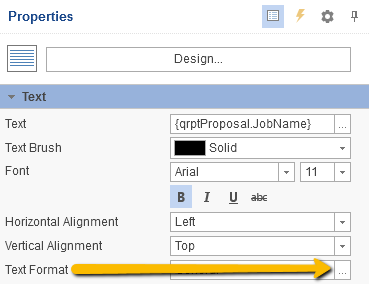
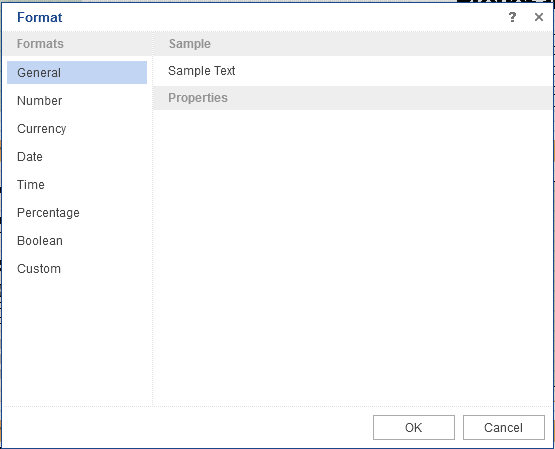
When we look at the Text Format option, we should see a small gray box with an ellipsis displayed on the front. If we click on that box, it will bring up the format pop up, and will give us eight options for formatting. This includes General (this is what we would use for general text), Number, Currency, Date, Time, Percentage, Boolean, and Custom. If you cannot find what you are looking for under any of the main options, you will be able to put in your own format under Custom. If you have any questions about how to get the format you’re looking for, feel free to ask a member of our support staff!
Moving Items
To move an item, you will only need to click and drag it to its new location. When you do this, it is important to note that you will need to make sure your items are inside a band, as having items in the white space will stop them from printing properly at best, and at worst will prevent the template from printing altogether.
Deleting Items
You can delete an item by clicking on it once, just so that the small, gray boxes appear on the corners, and it does not open up, and clicking the delete button on your keyboard. You can also do it by right clicking on the item, and choosing the “Cut” option from the drop down that will appear.
Authored by Betsy Rainey on 05/16/2023