This tutorial will guide you through the process of navigating the message listing screen in Arborgold. By the end of this tutorial, you'll be able to manage your messages and appointments effectively.
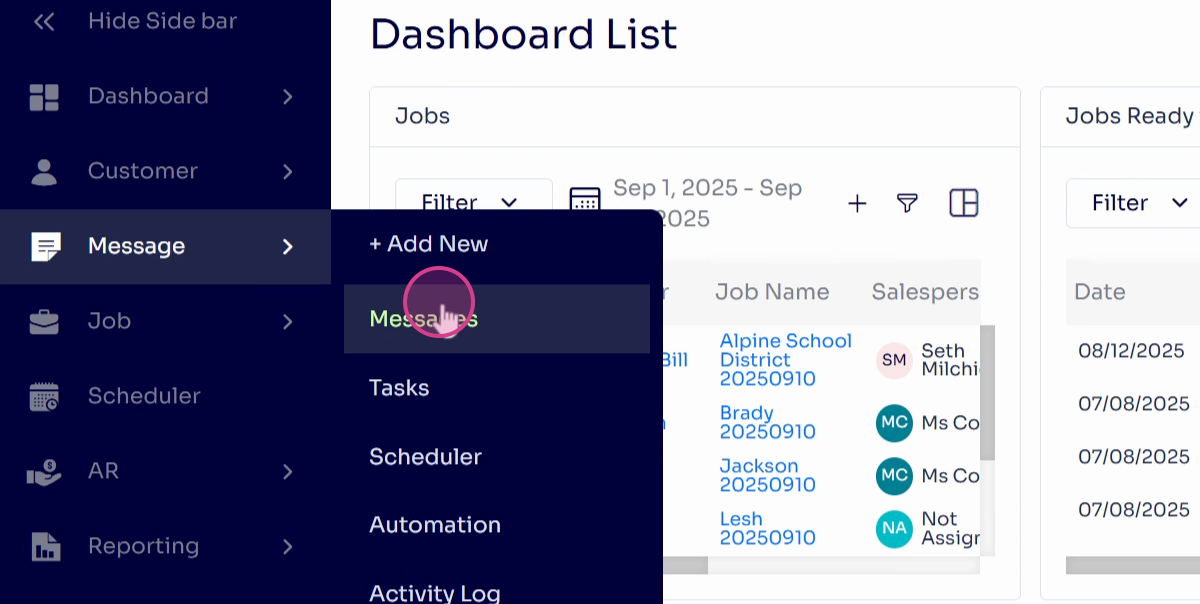
Step 1: Navigate to the left side of the screen and select Messages.
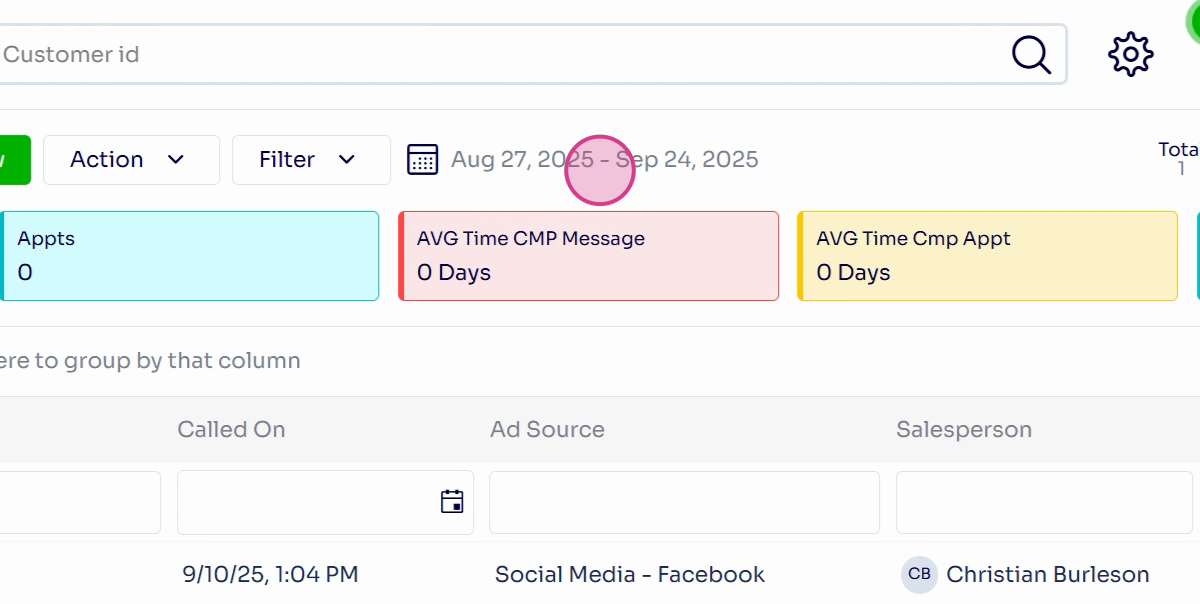
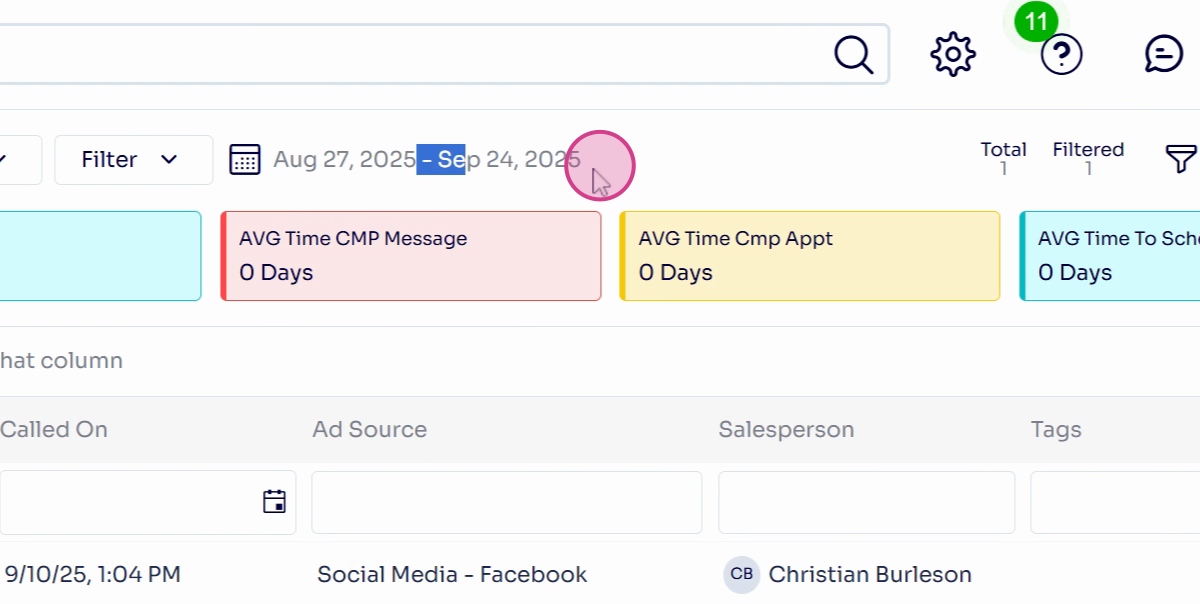
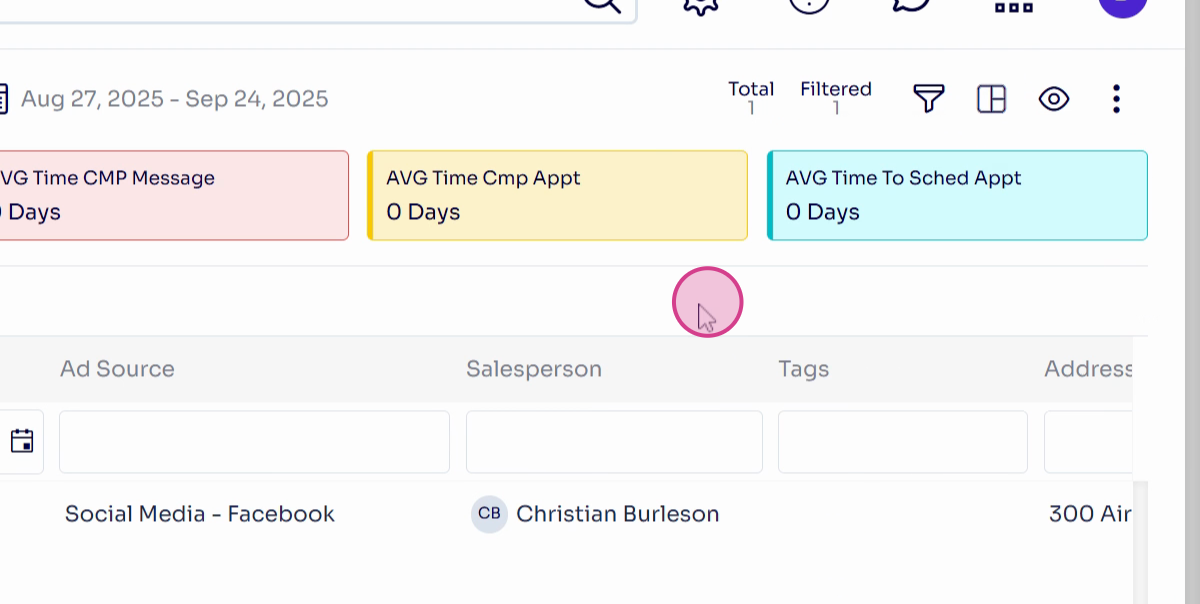
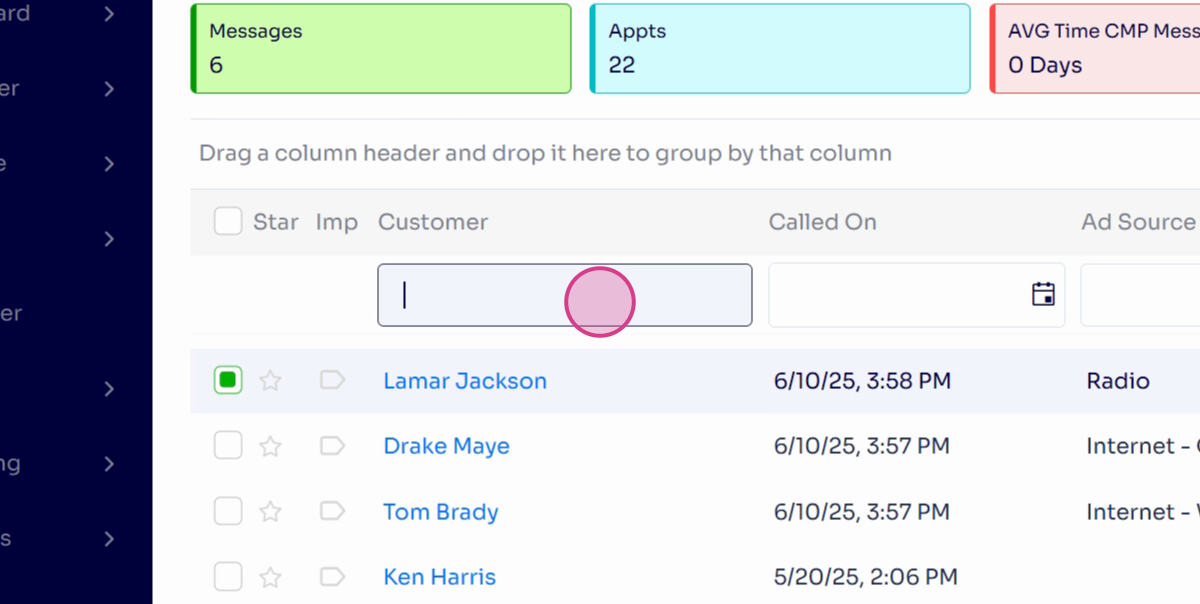
Step 2: Observe that the messages listing screen defaults to your user settings based on a date range.
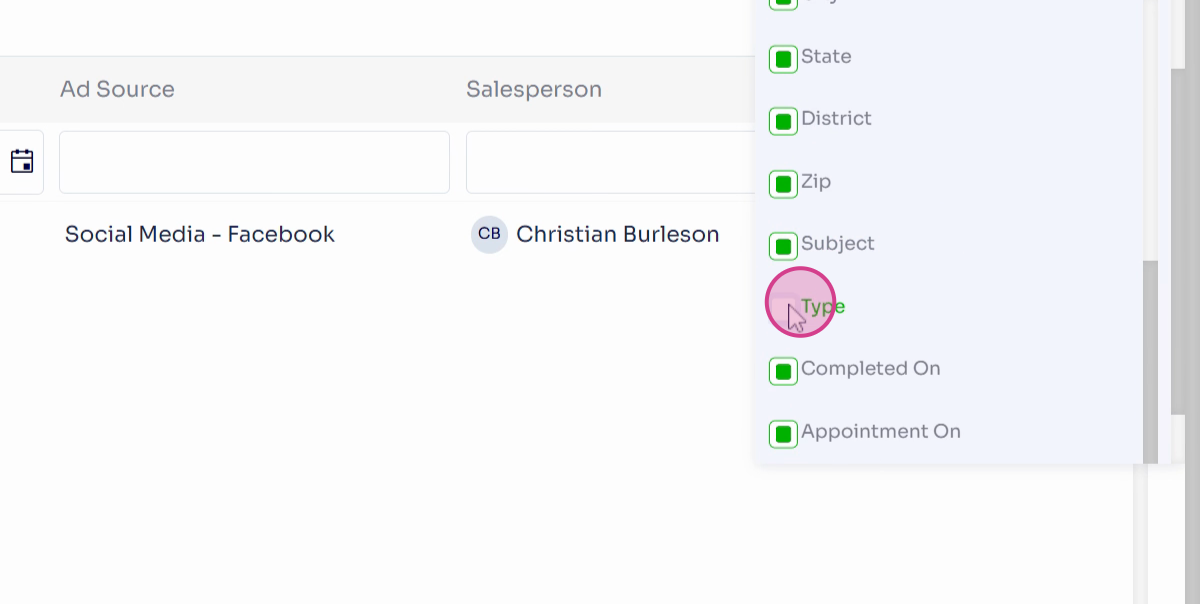
Step 3: Control the columns you want to see by clicking the Column Selector.
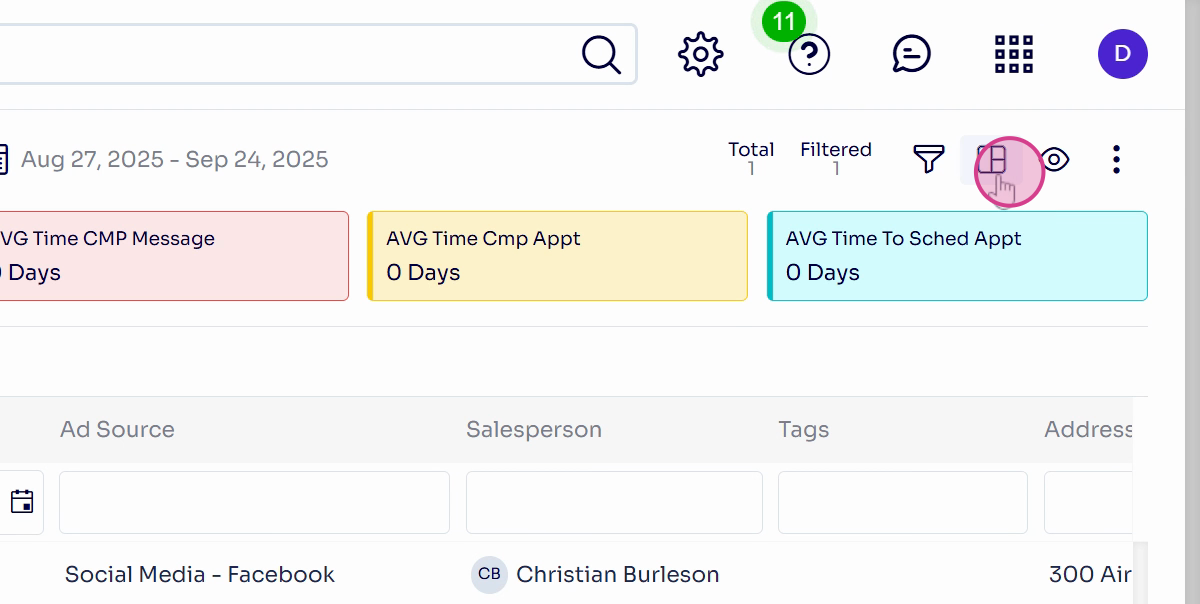
Step 4: To add or remove a column such as type, click on it.
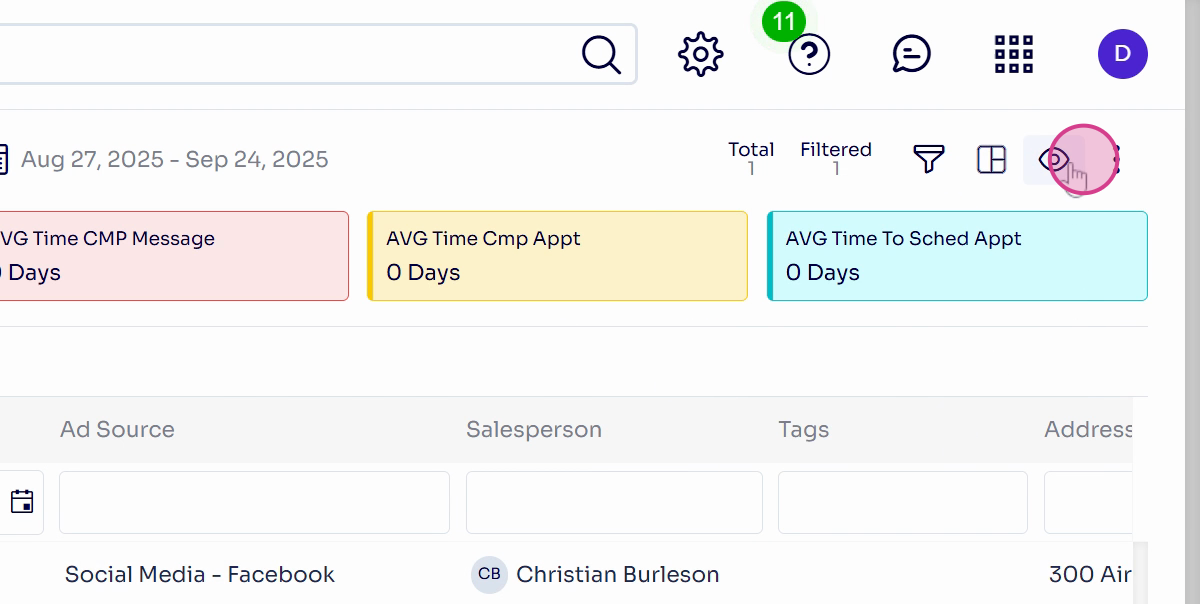
Step 5: To Add layouts across users, click the Eye icon.
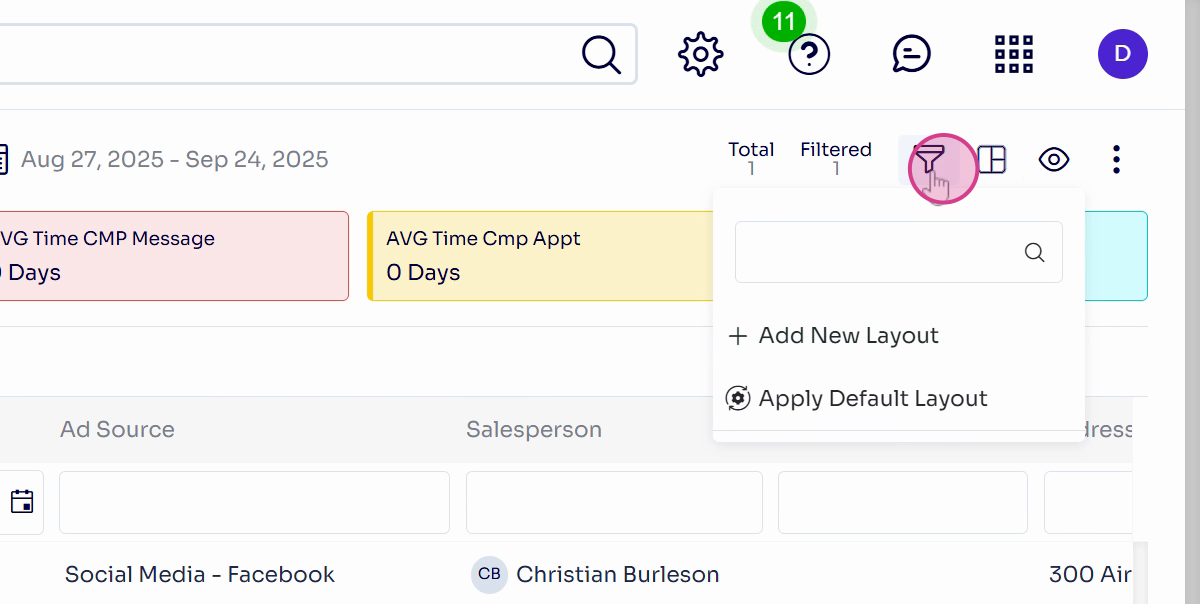
Step 6: Save layout by clicking the Funnel icon.
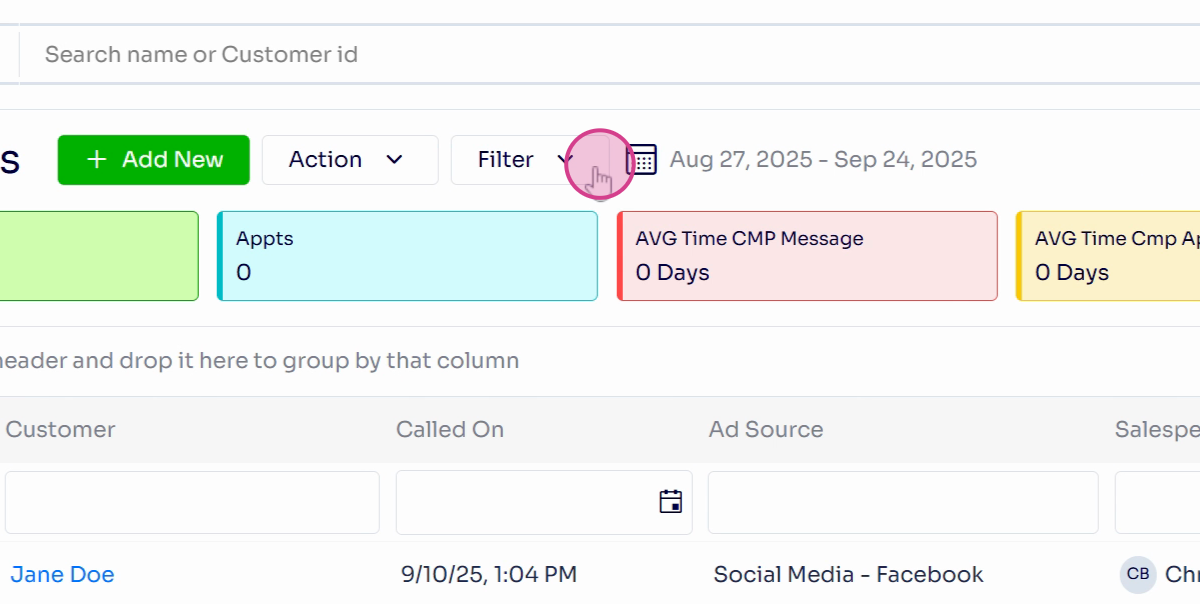
Step 7: Adjust your view by clicking the Filter at the top right.
Step 8: Use the filter to adjust what you can see in the listing screen.
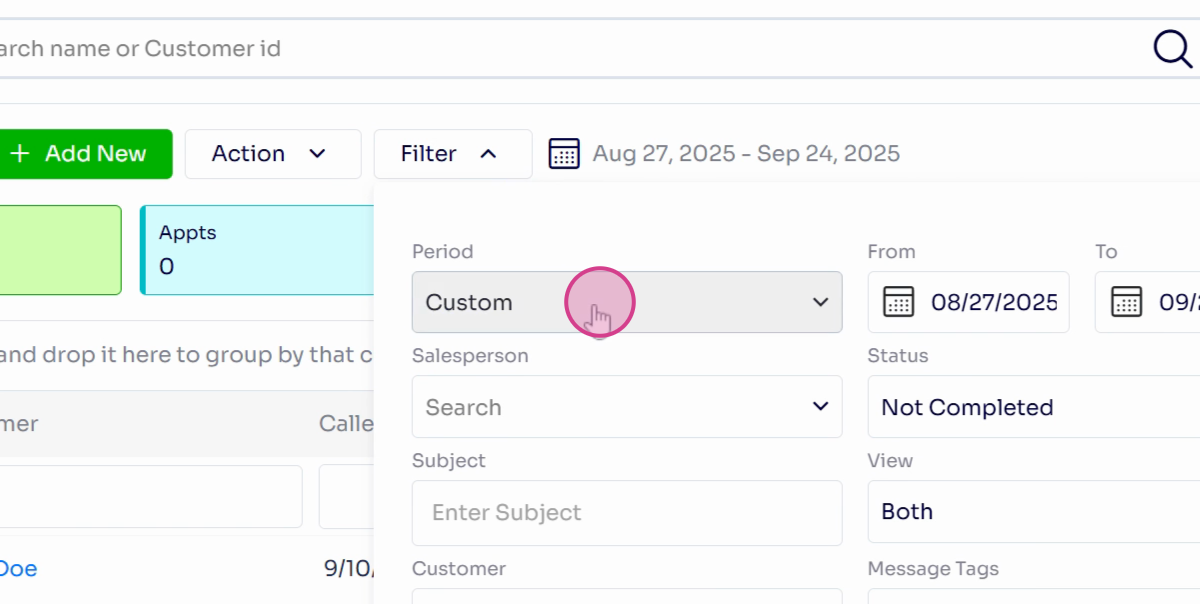
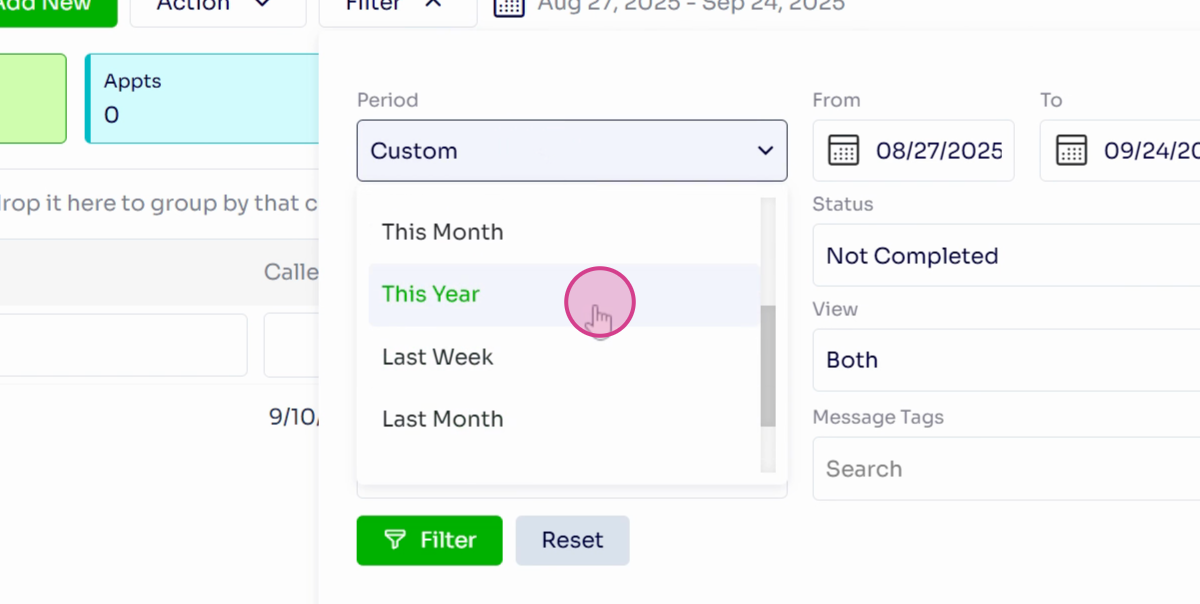
Step 9: Adjust your period, salesperson, status, subject, messages, appointments, customer, or message tags as needed.
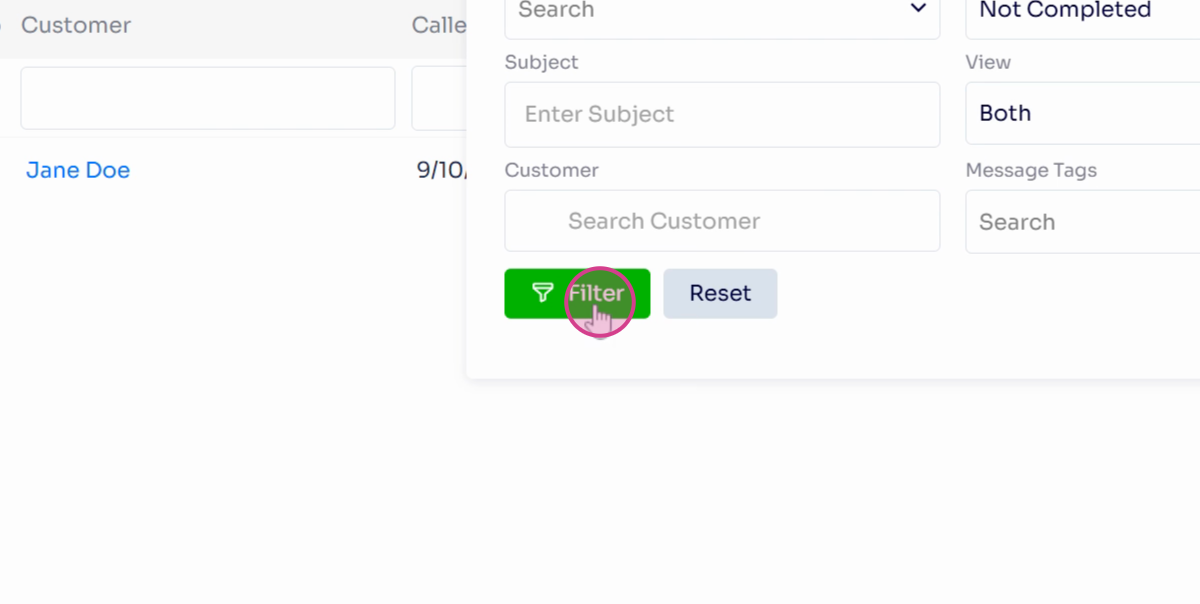
Step 10: Apply your filter by clicking the green Filter button.
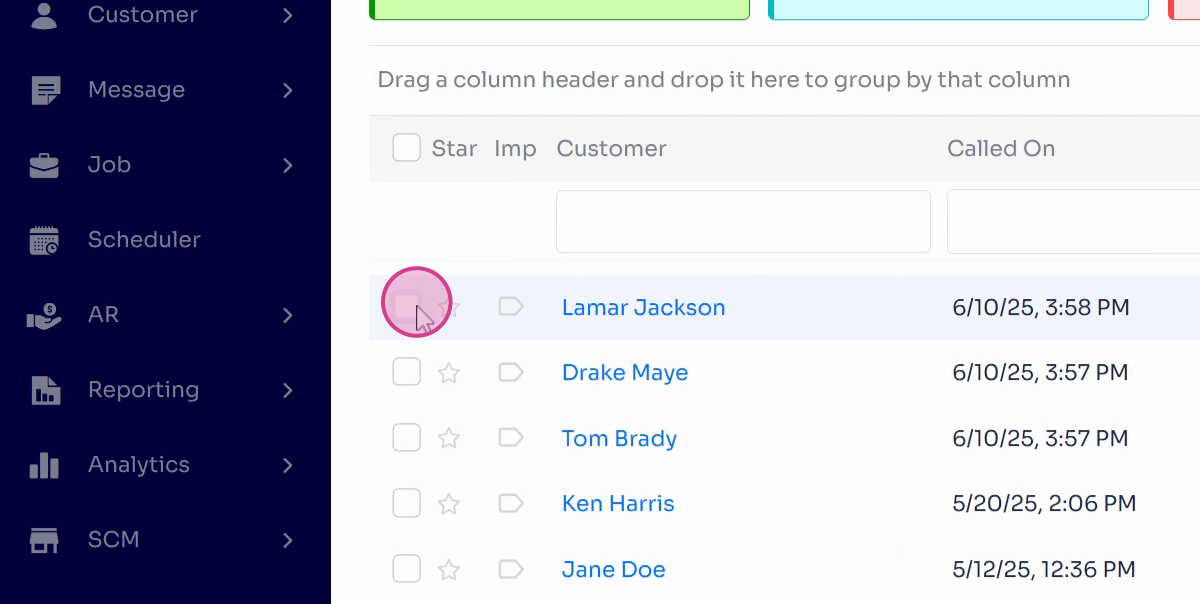
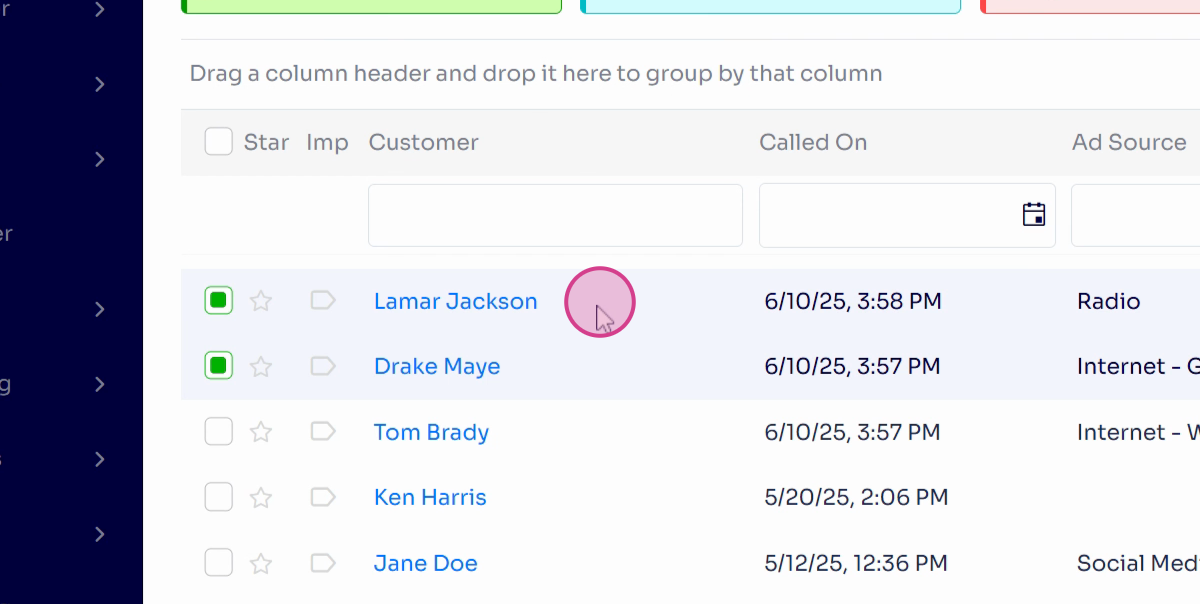
Step 12: Select the messages you want to manage.
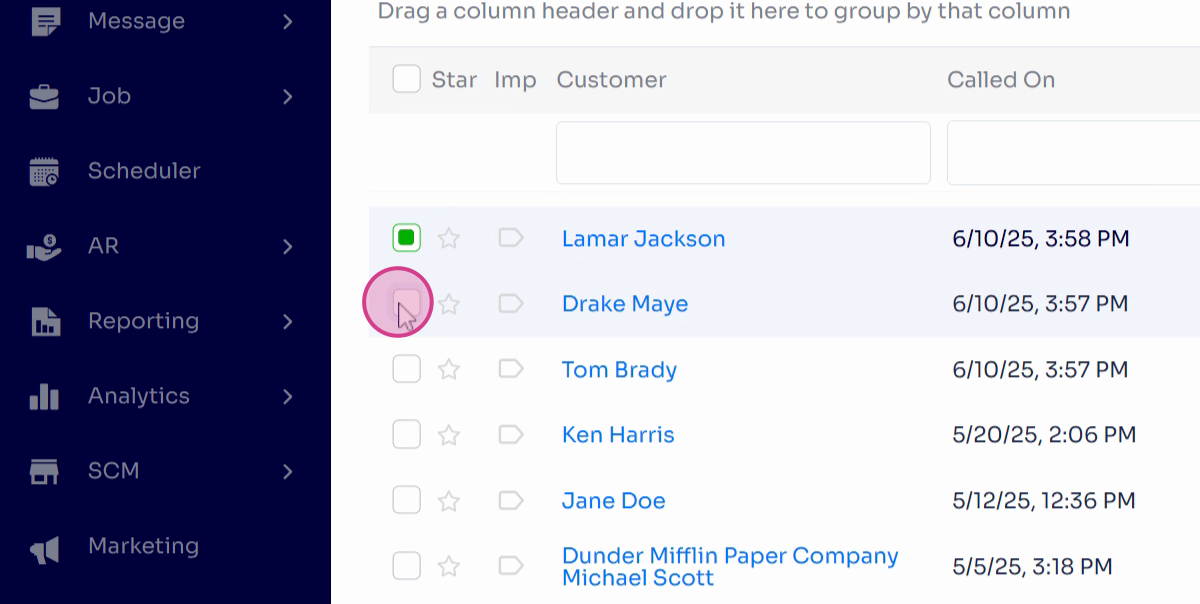
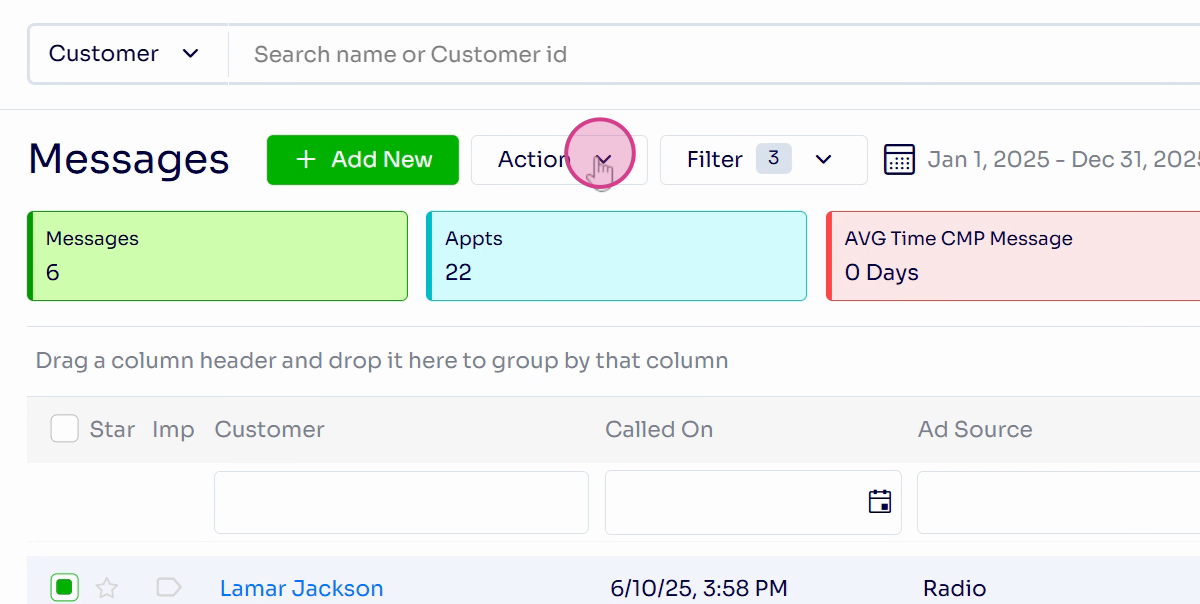
Step 13: Mark your selected messages as complete, deactivate them, or communicate an appointment reminder.
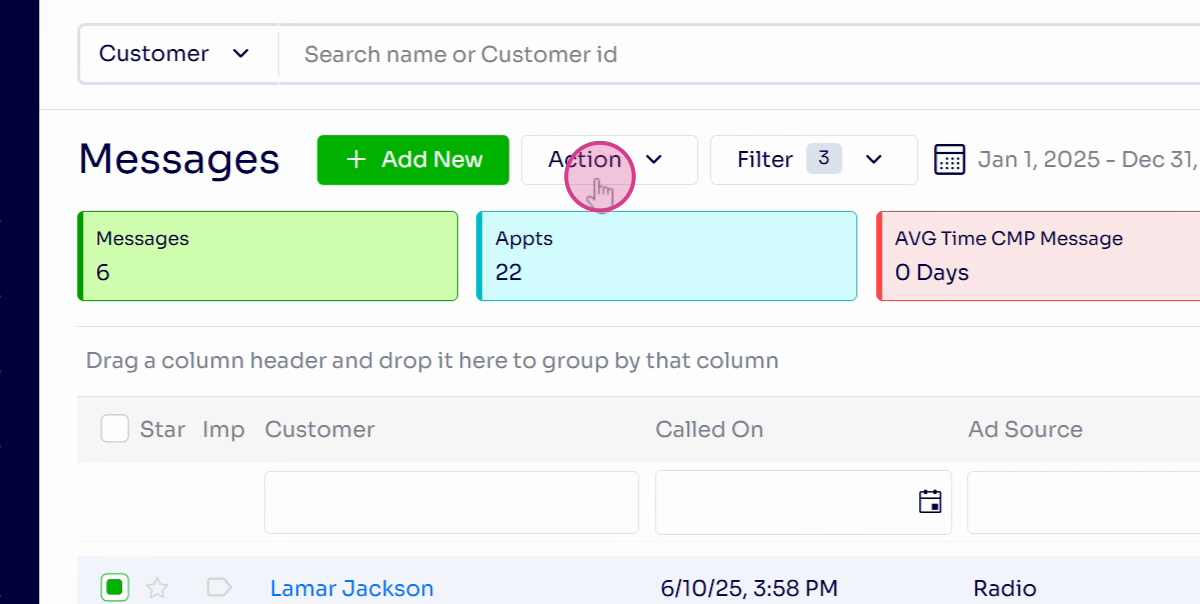
Step 14: If you have a texting or email integration, you can add a new message by clicking the green Plus Add New button at the top right.
Step 15: You also have the option to right-click and use some actions that will shortcut to certain things such as marking the message complete or deactivating the message.
And there you have it! You've now learned how to navigate and manage your messages and appointments using the message listing screen in Arborgold. This tool provides a comprehensive view of all your messages and appointments, making it easier to manage and edit them.