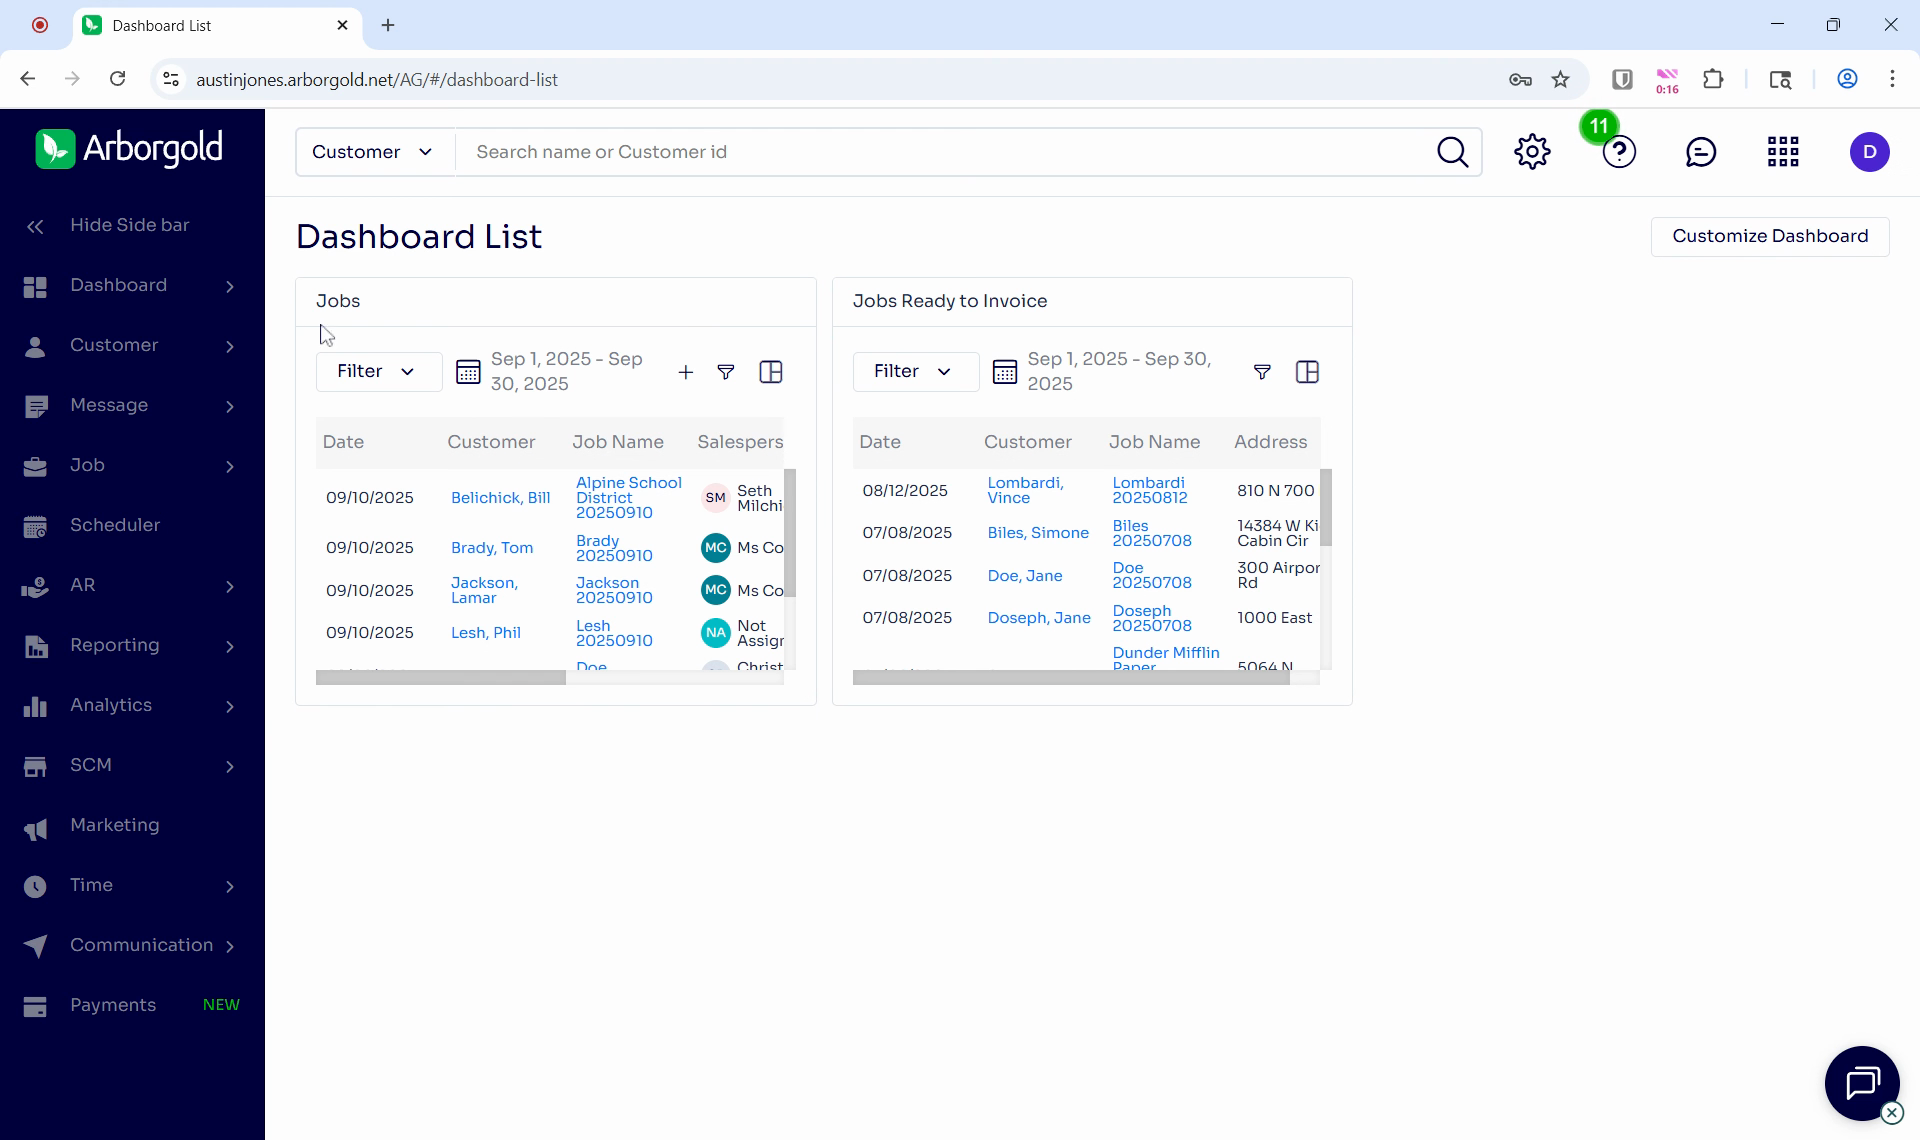
This article will guide you through the process of scheduling messages and appointments in Arbor Gold's Message and Appointment Center. By the end of this tutorial, you'll know how to use this feature effectively to manage your tasks and appointments.
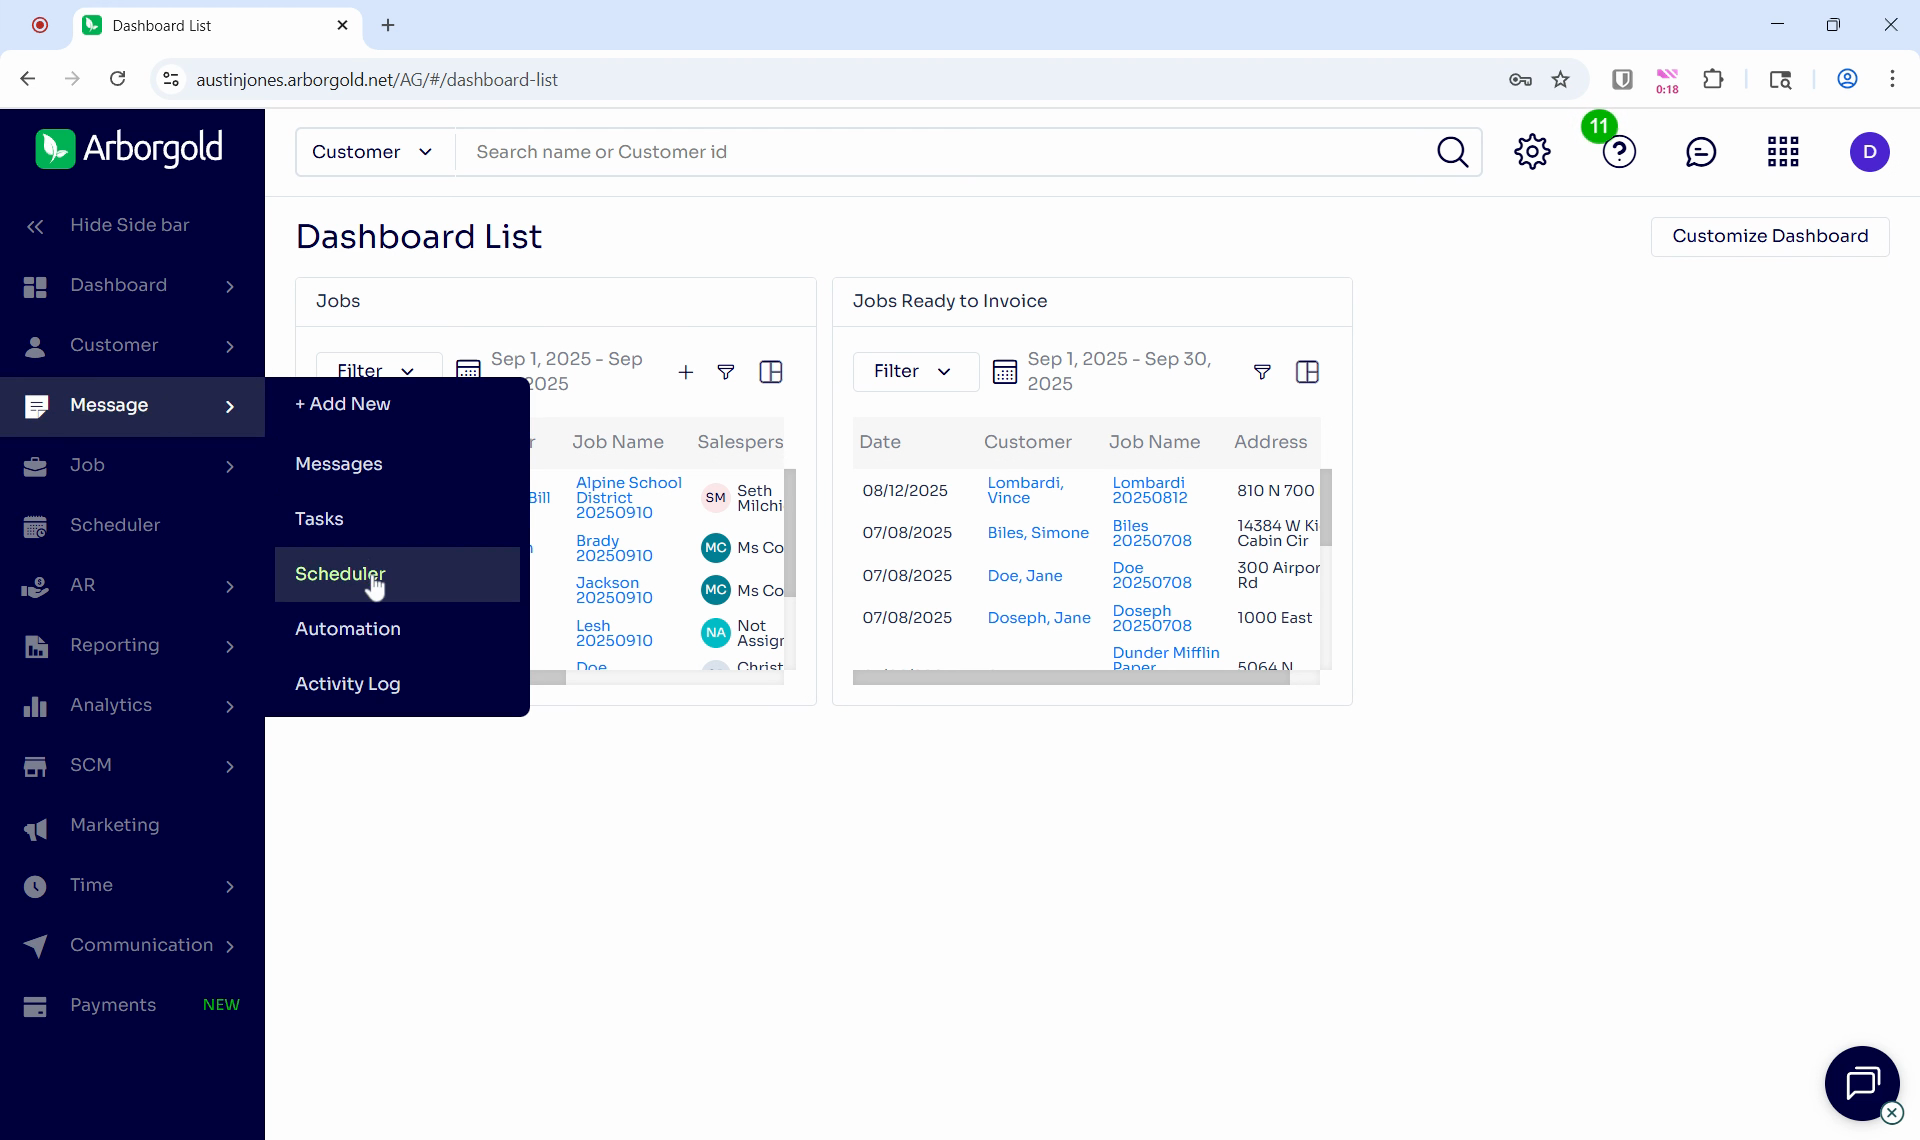
Step 1: Start by hovering over the message on the left side of the screen.
Step 2: Click on the Scheduler to open the Appointment Scheduler.
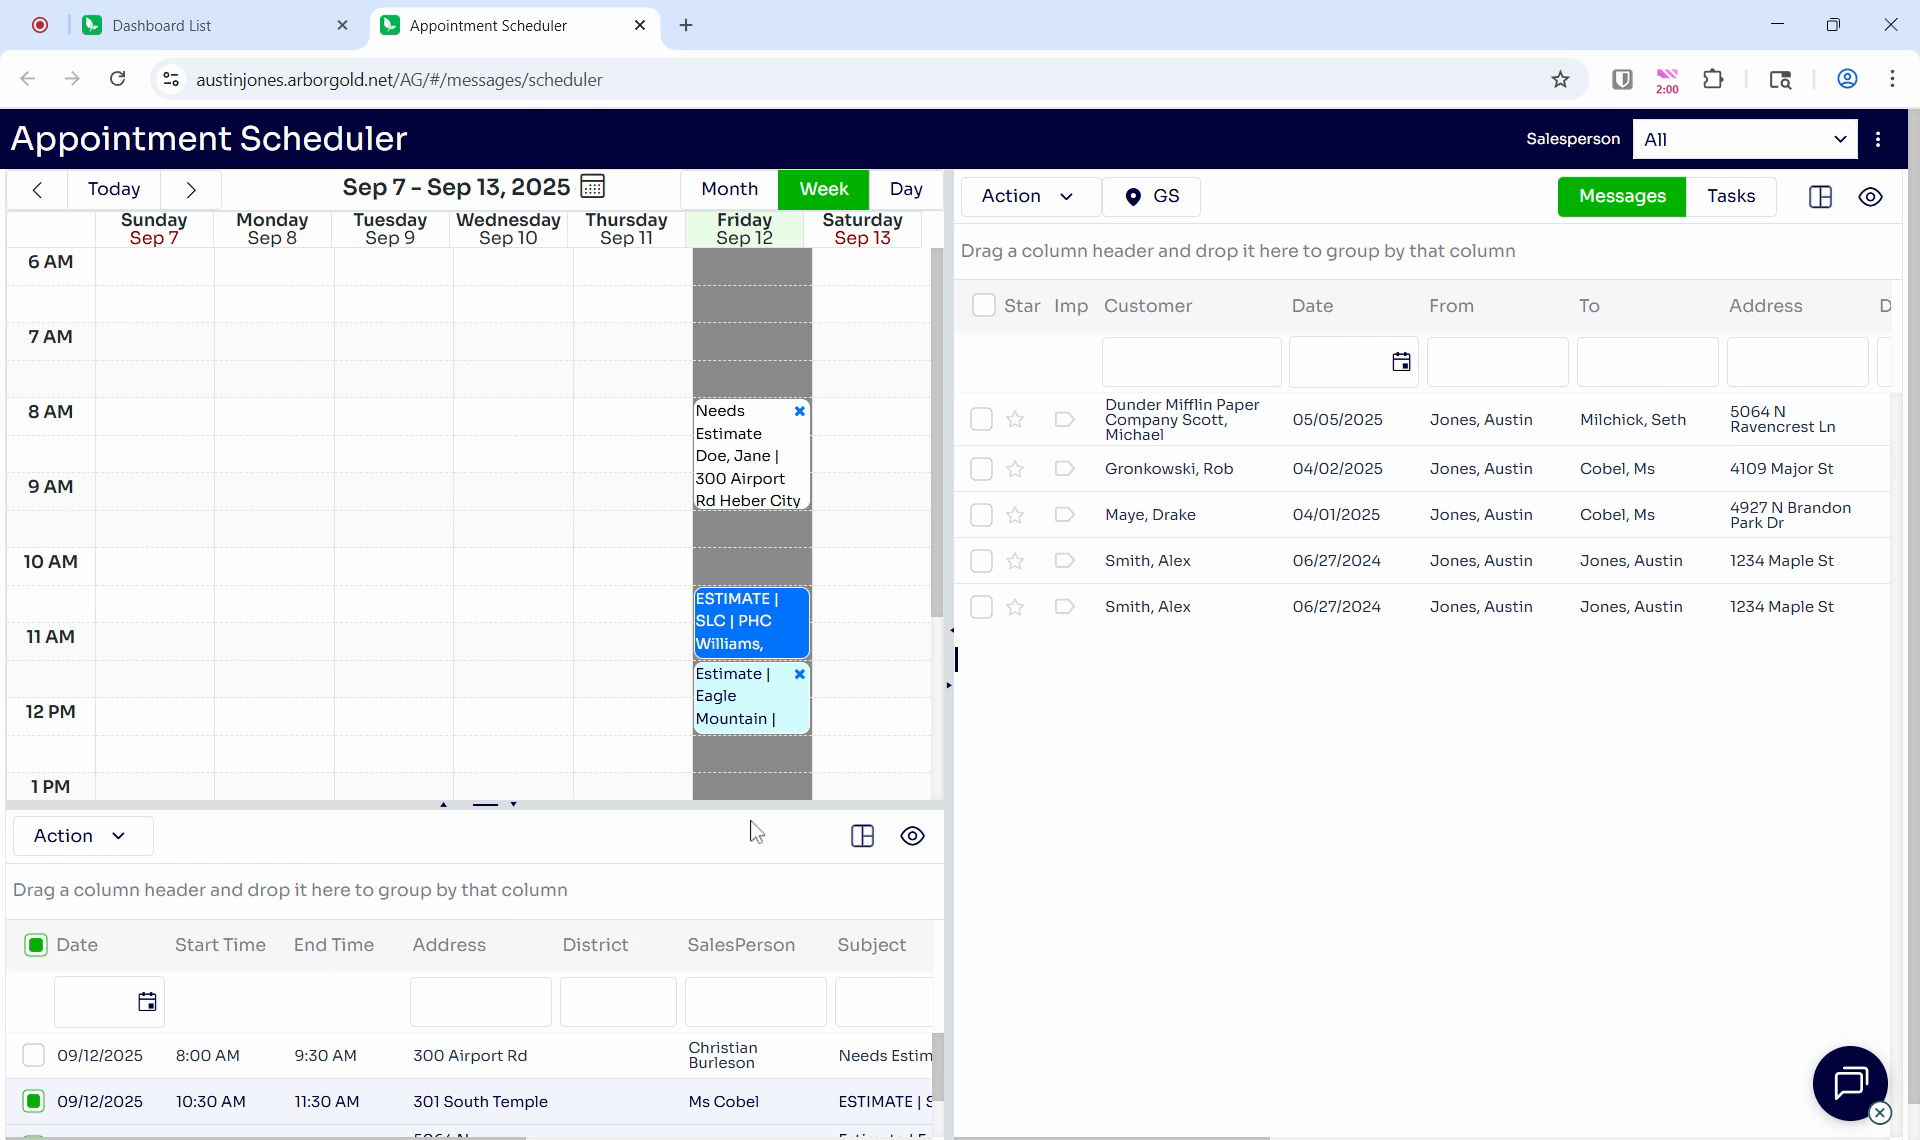
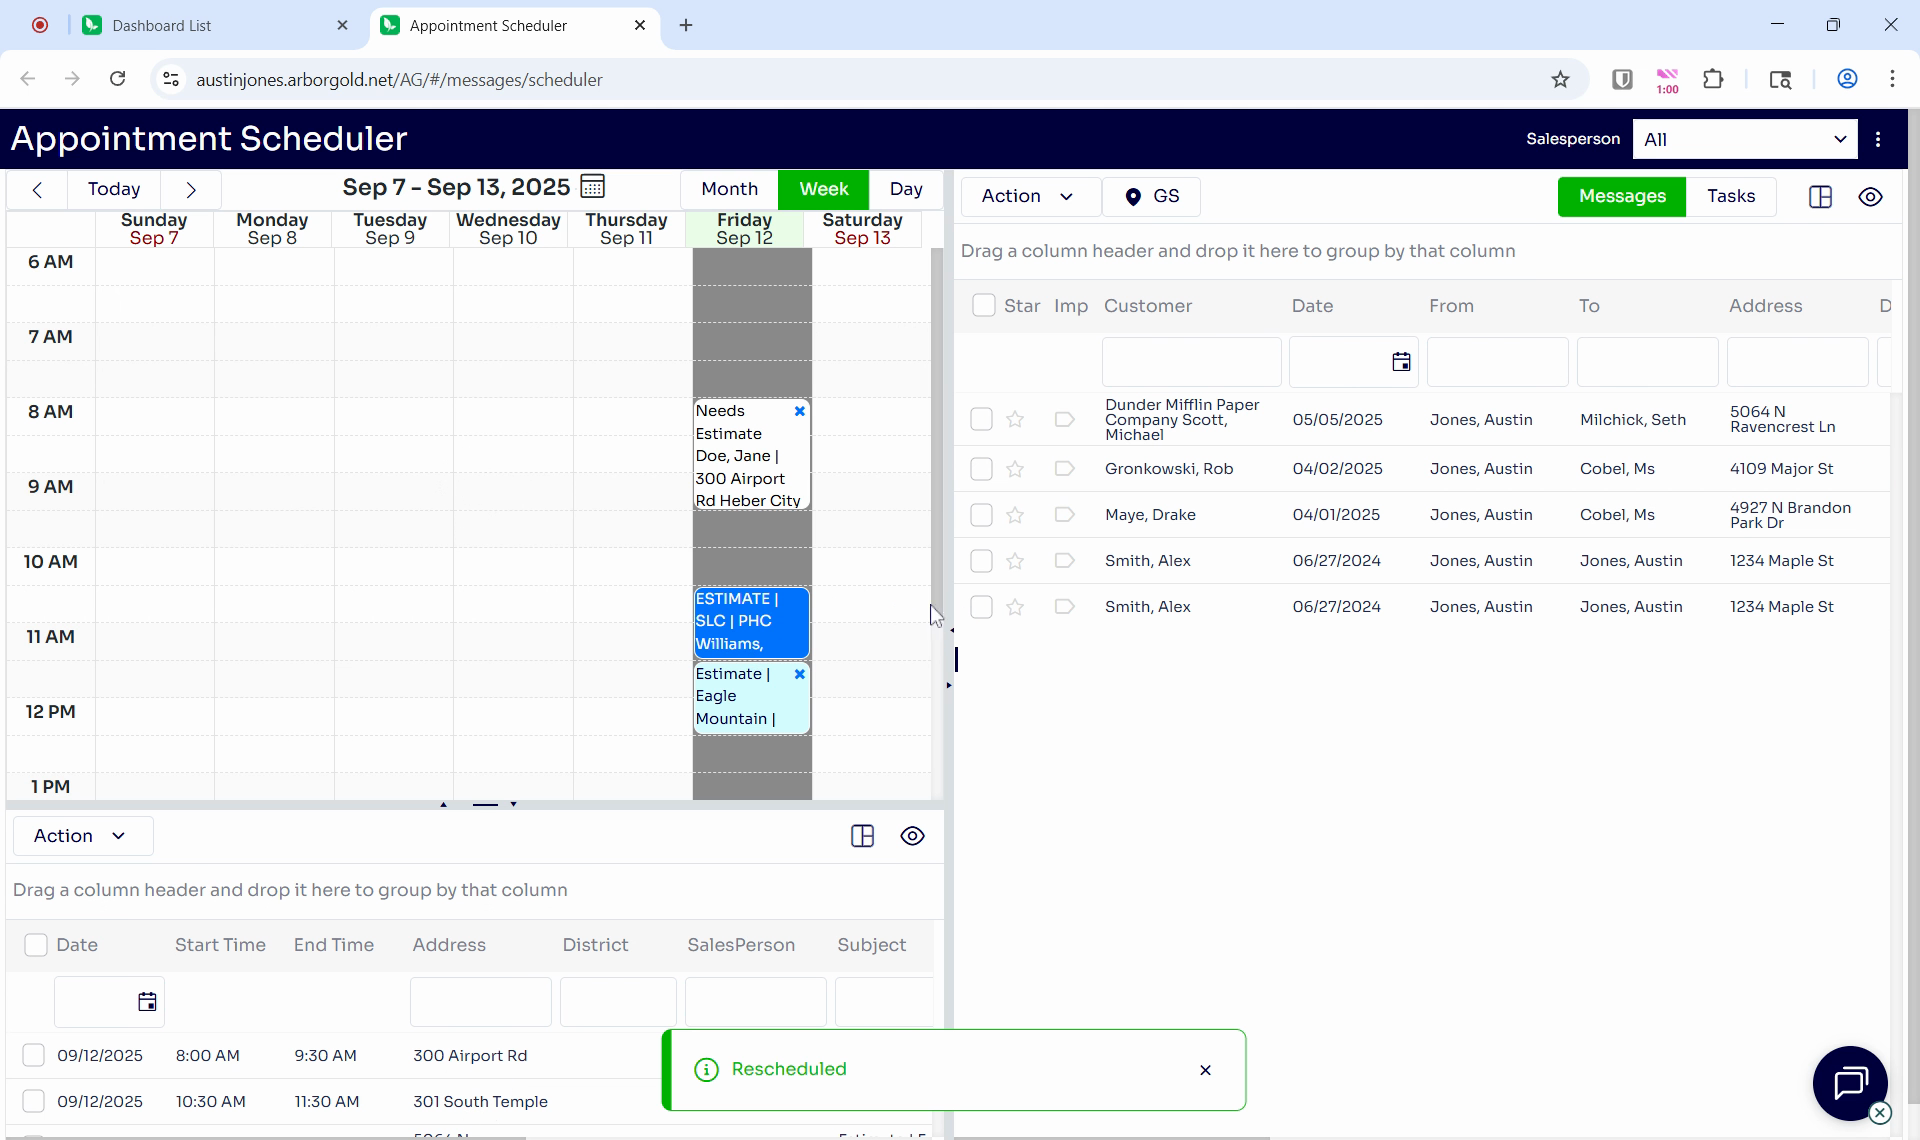
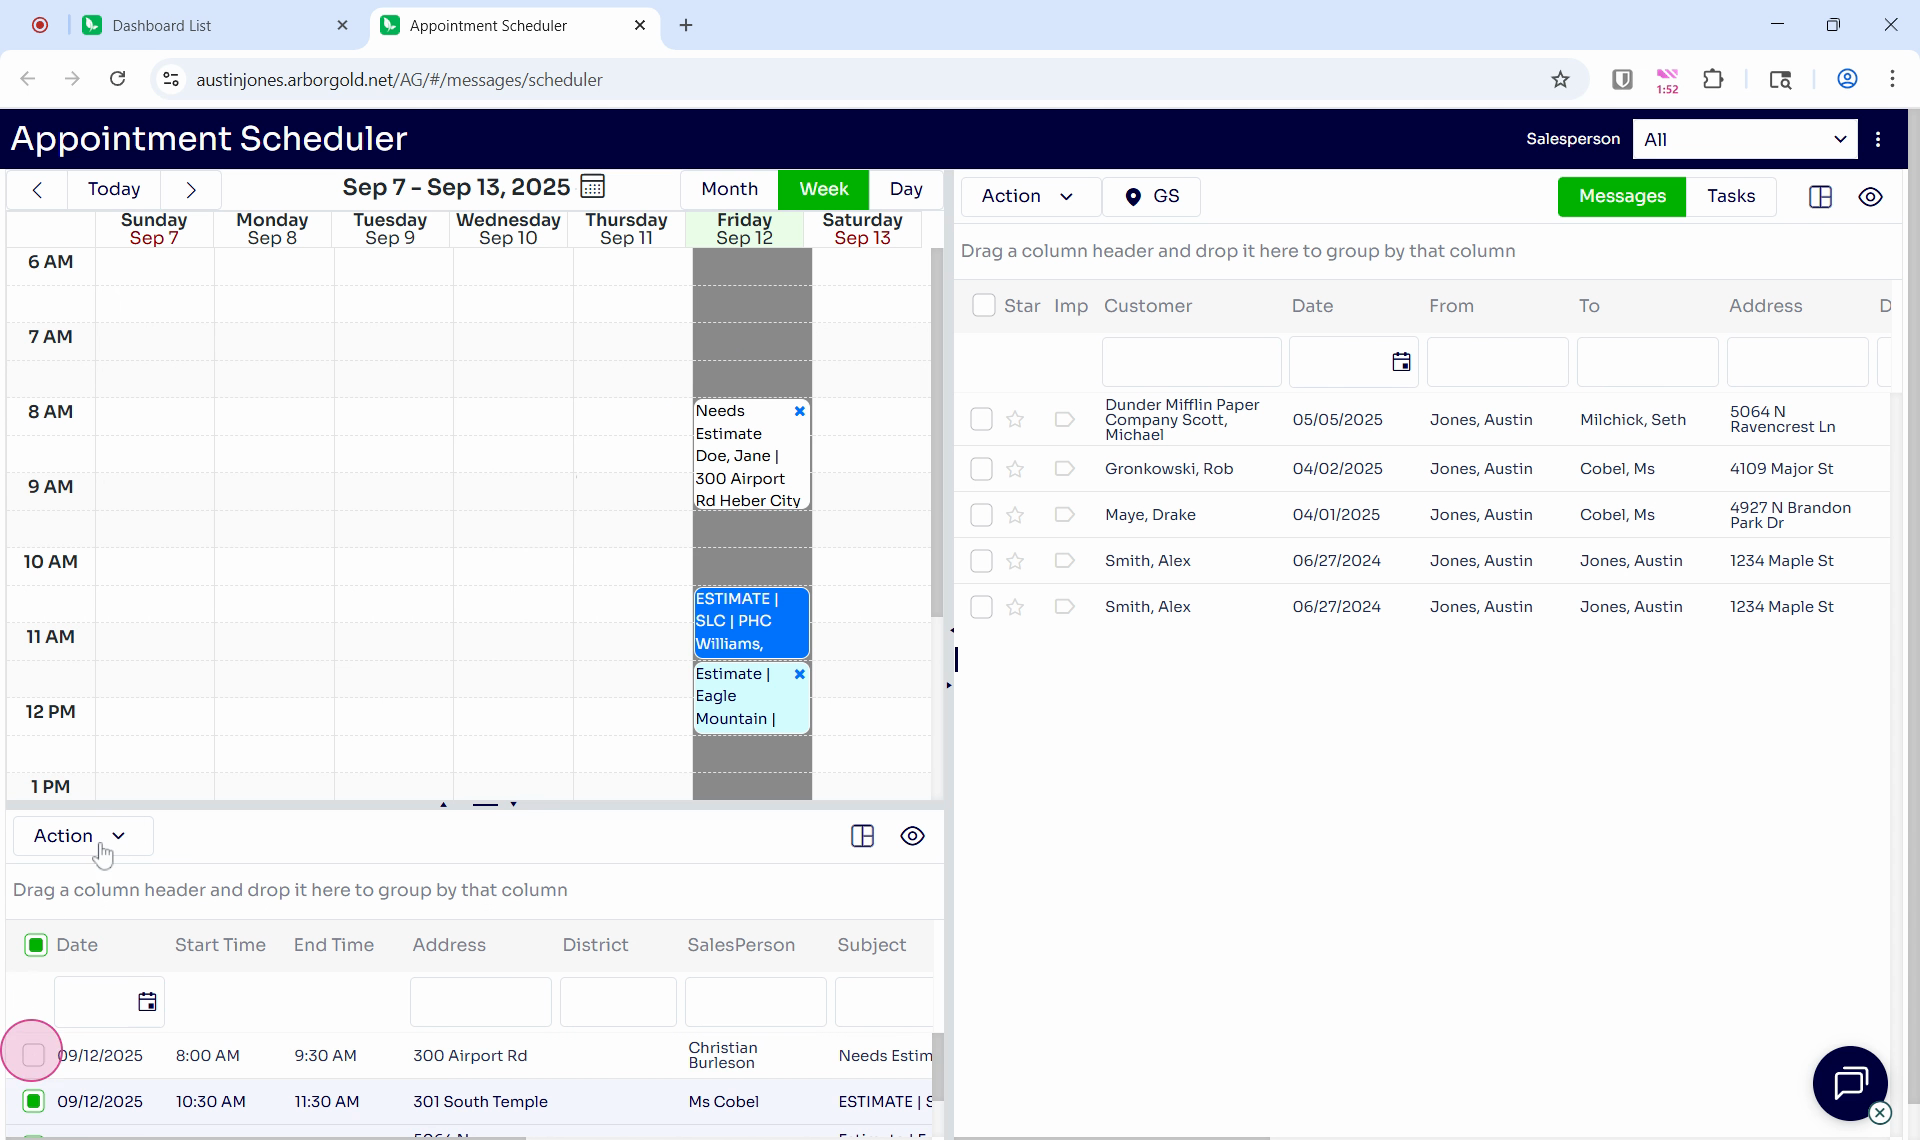
The Appointment Scheduler is divided into three main areas. On the right, you'll find messages or tasks that you're able to schedule. These tasks are essentially to-do items that you can assign to a customer with a specific due date.
On the left, you'll see the calendar view, which can be displayed by month, week, or day.
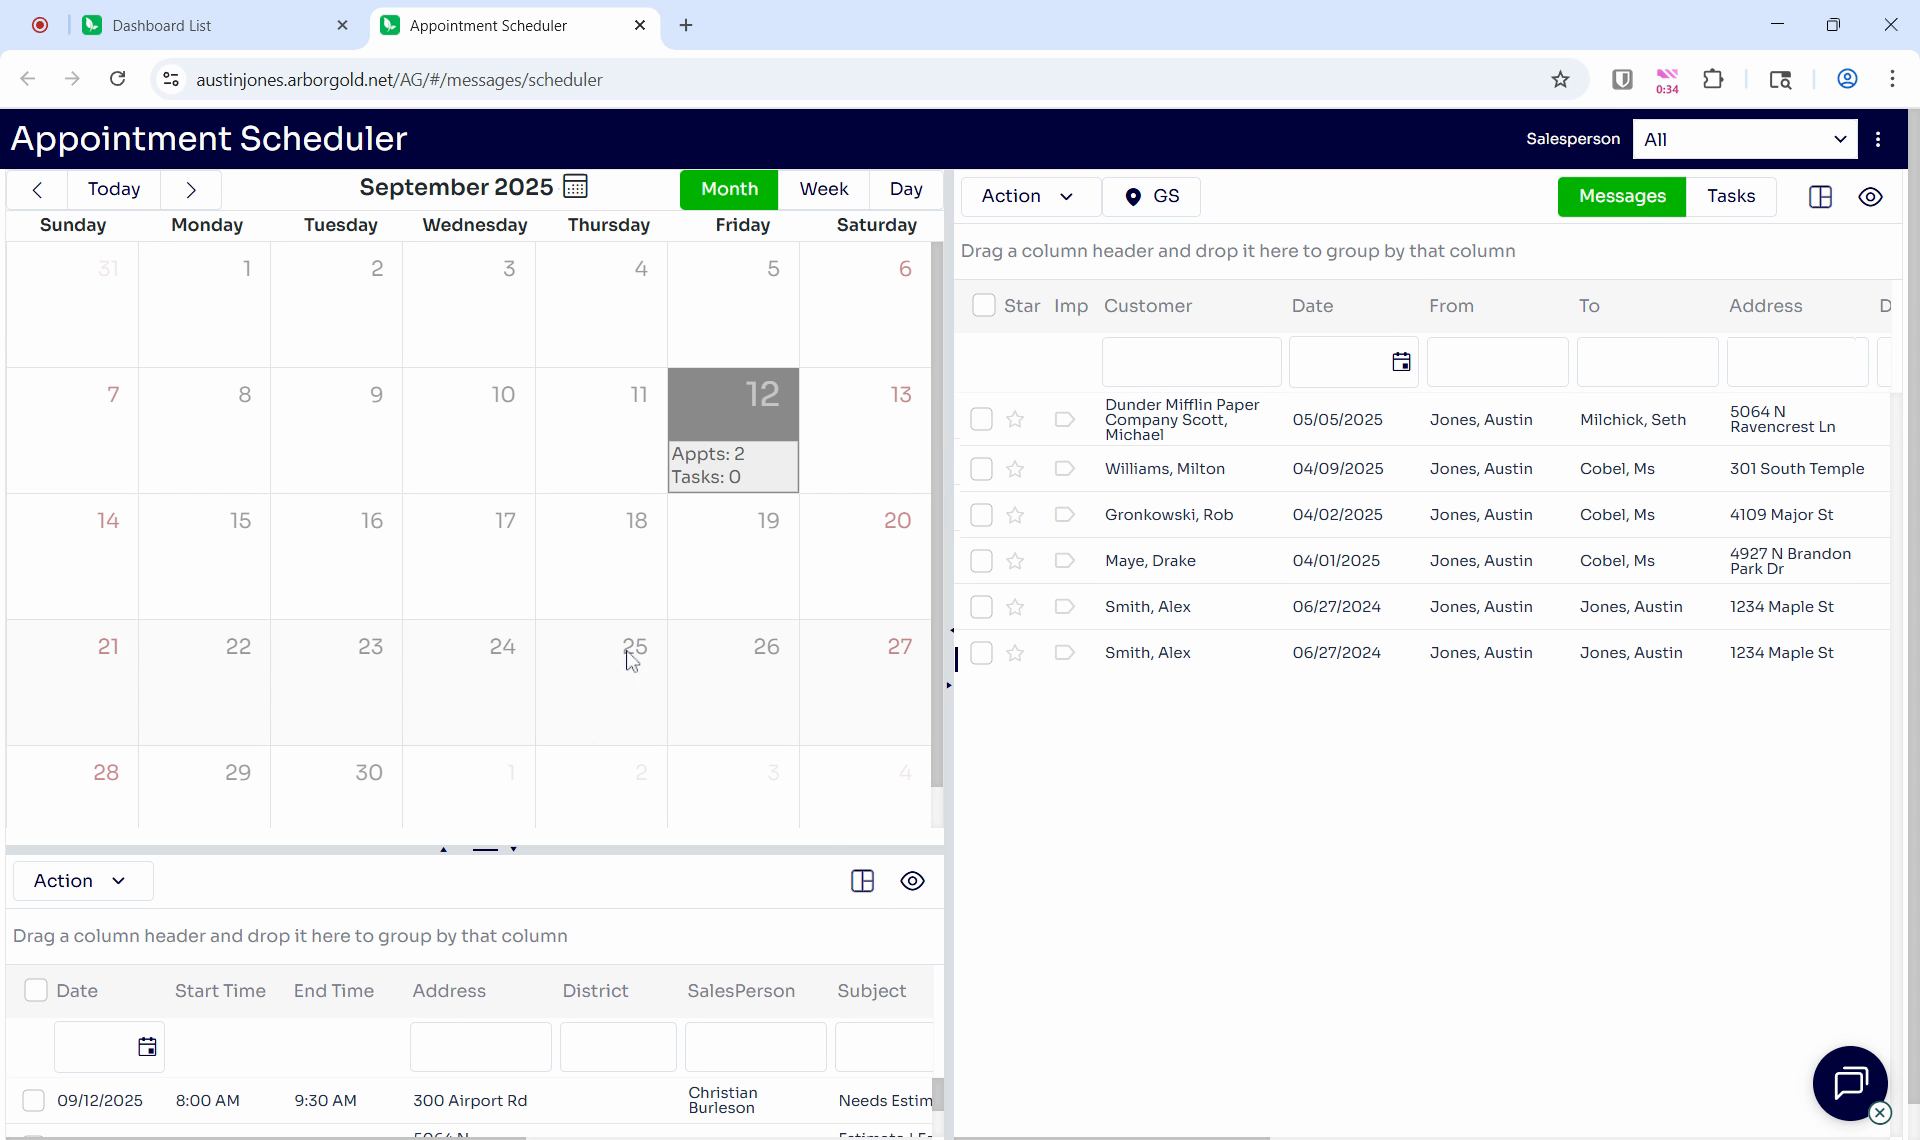
At the bottom left, you'll find the schedule listing summary.
Step 3: To schedule a message as an appointment, check the box next to the message, then click and drag it into the calendar view on the left. The system will automatically schedule the message as an appointment.
To adjust the appointment time, simply click and drag. By default, messages or appointments are set to last 30 minutes.
Step 4: You can also schedule appointments based on their proximity to each other. To do this, click the GS button located at the top middle of the screen.
This will display all tasks on a proximity map, allowing you to select and schedule them accordingly.
At the top right of the screen, you'll find options to customize the layout of the right side of the screen. You can choose which columns to display and save layouts for future use.
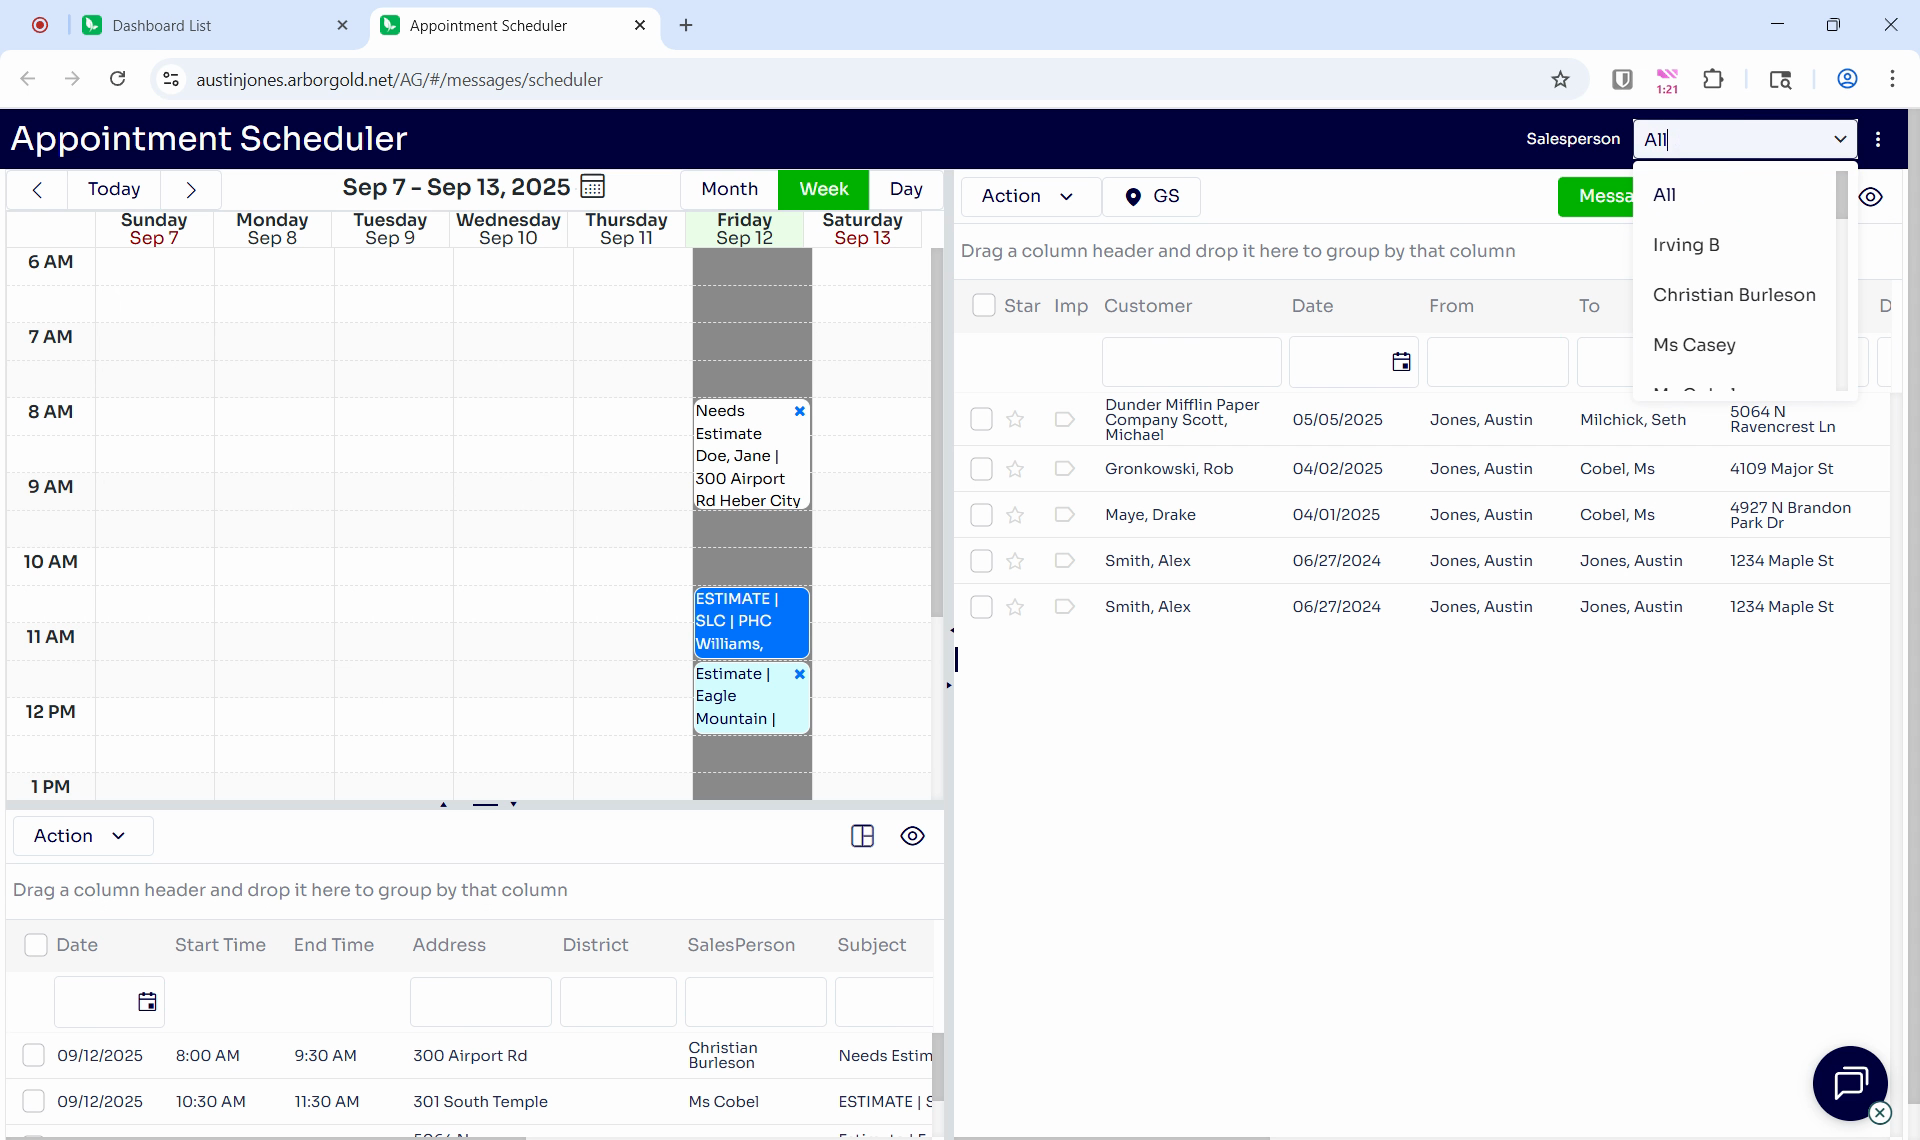
You can also filter tasks by salesperson, and adjust settings such as default start and end times, hour slots, and group by estimator.
Step 5: To edit an appointment, right-click on it and select message detail.
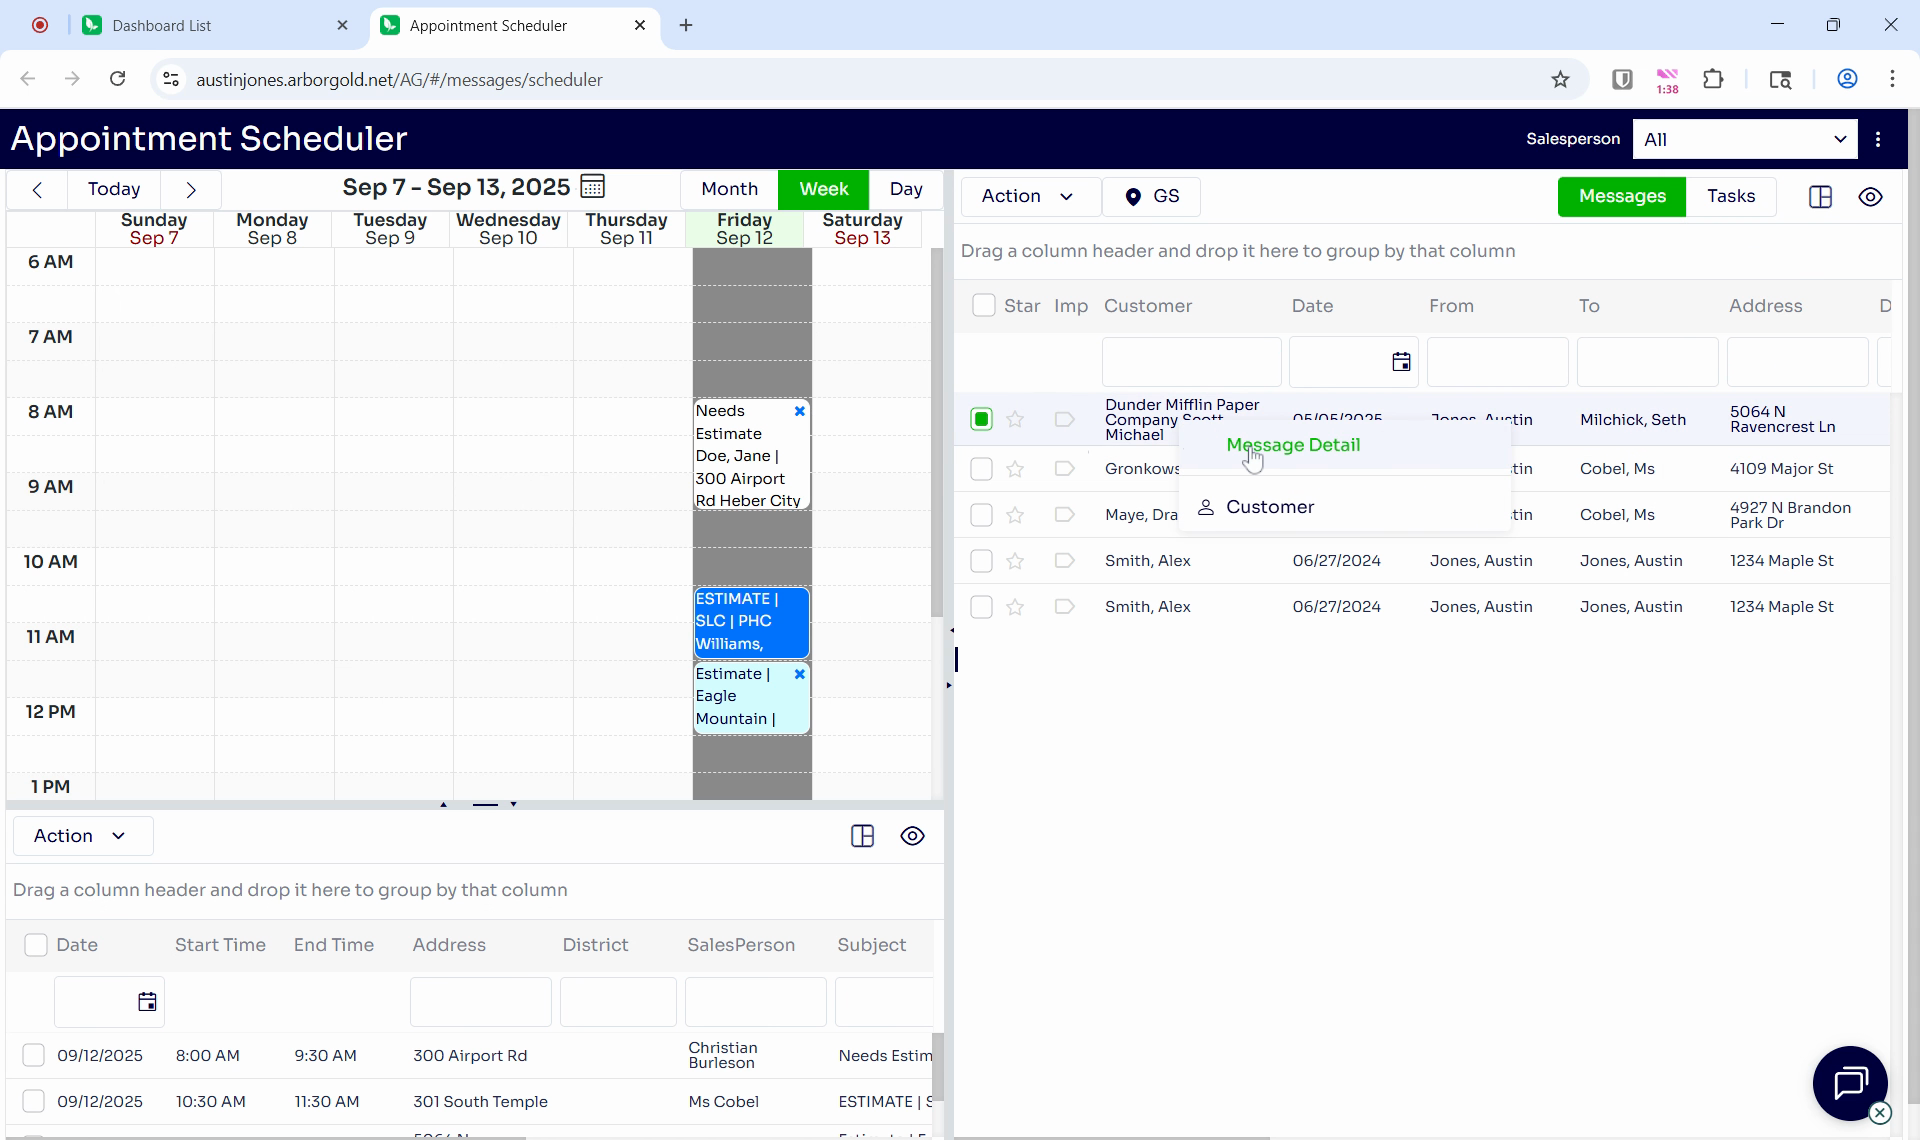
This will open up the details of the message, allowing you to make any necessary changes. You can do the same on the left side by right-clicking and selecting Appointment detail in the schedule listing summary.
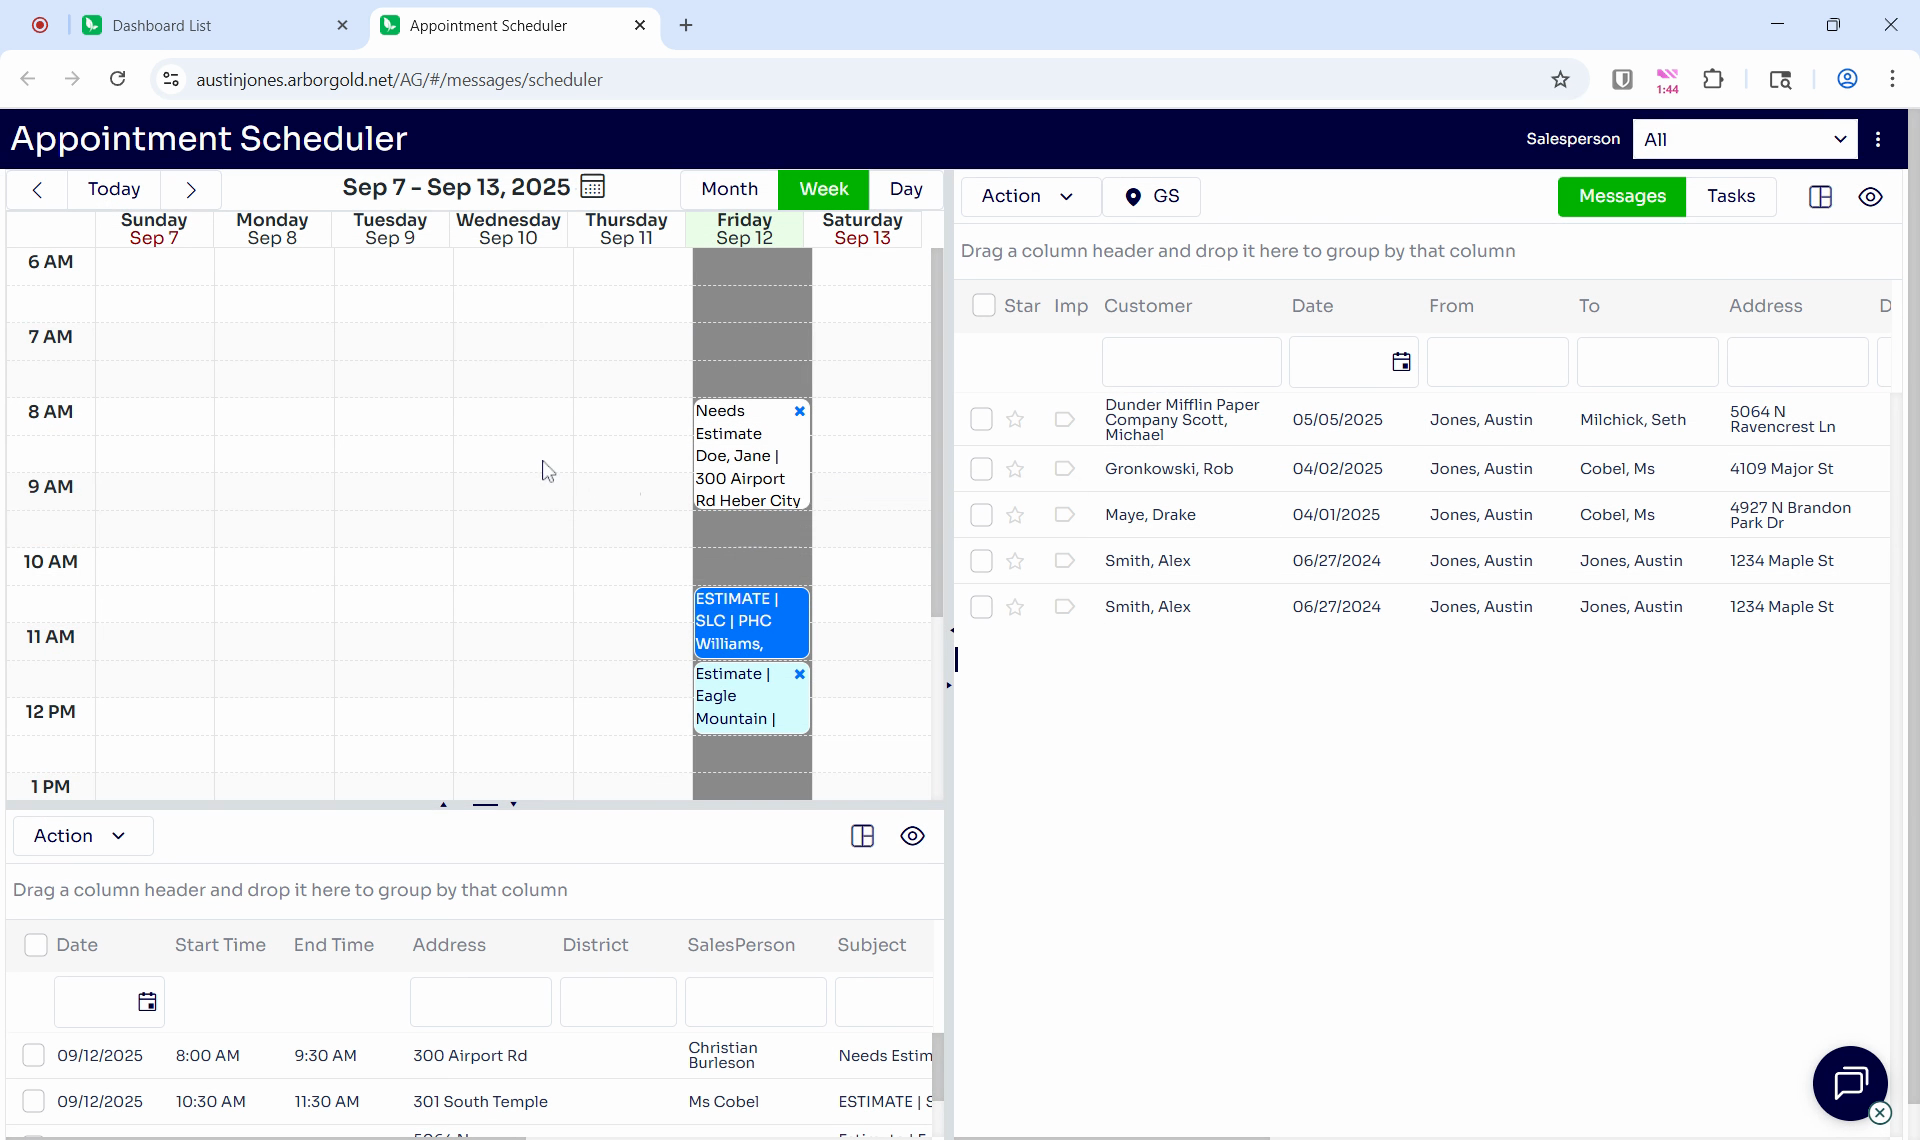
Step 6: At the bottom left of the screen, you can select all or some tasks and click the action button.

This allows you to send appointment reminders if you have a texting or email integration, or mark tasks as complete or unscheduled.

And that's it! You've now learned how to use the Appointment Scheduler in Arbor Gold.