Introduction
Follow this guide to use the CAD map feature in Arborgold. You'll learn how to add and edit site maps for your jobs, highlight specific areas, and prepare informative visuals for your customers.
Accessing the Map Feature
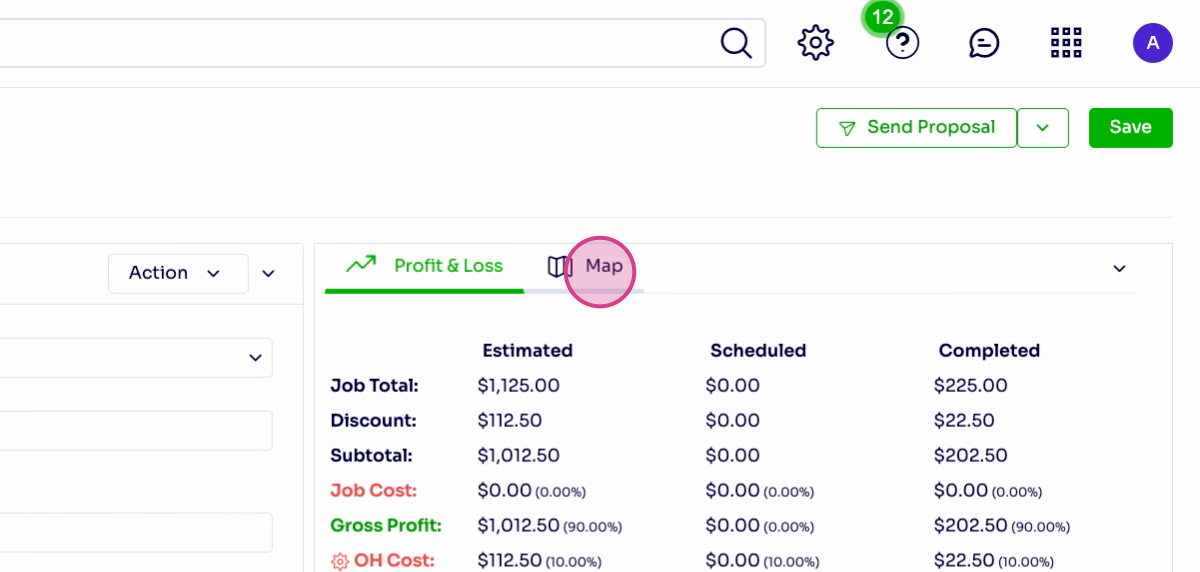
Step 1: Open a job in Arborgold. Navigate to the profit and loss calculator and select the map tab next to it.
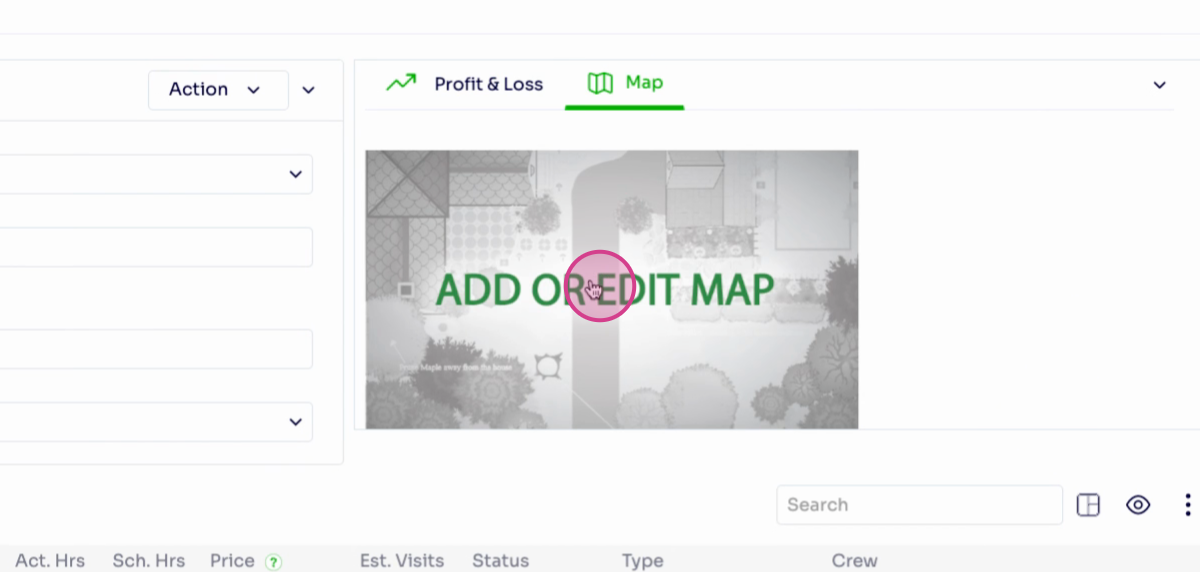
Step 2: Click Add or Edit map to enter the map customization area.
Navigating the Mapping Interface
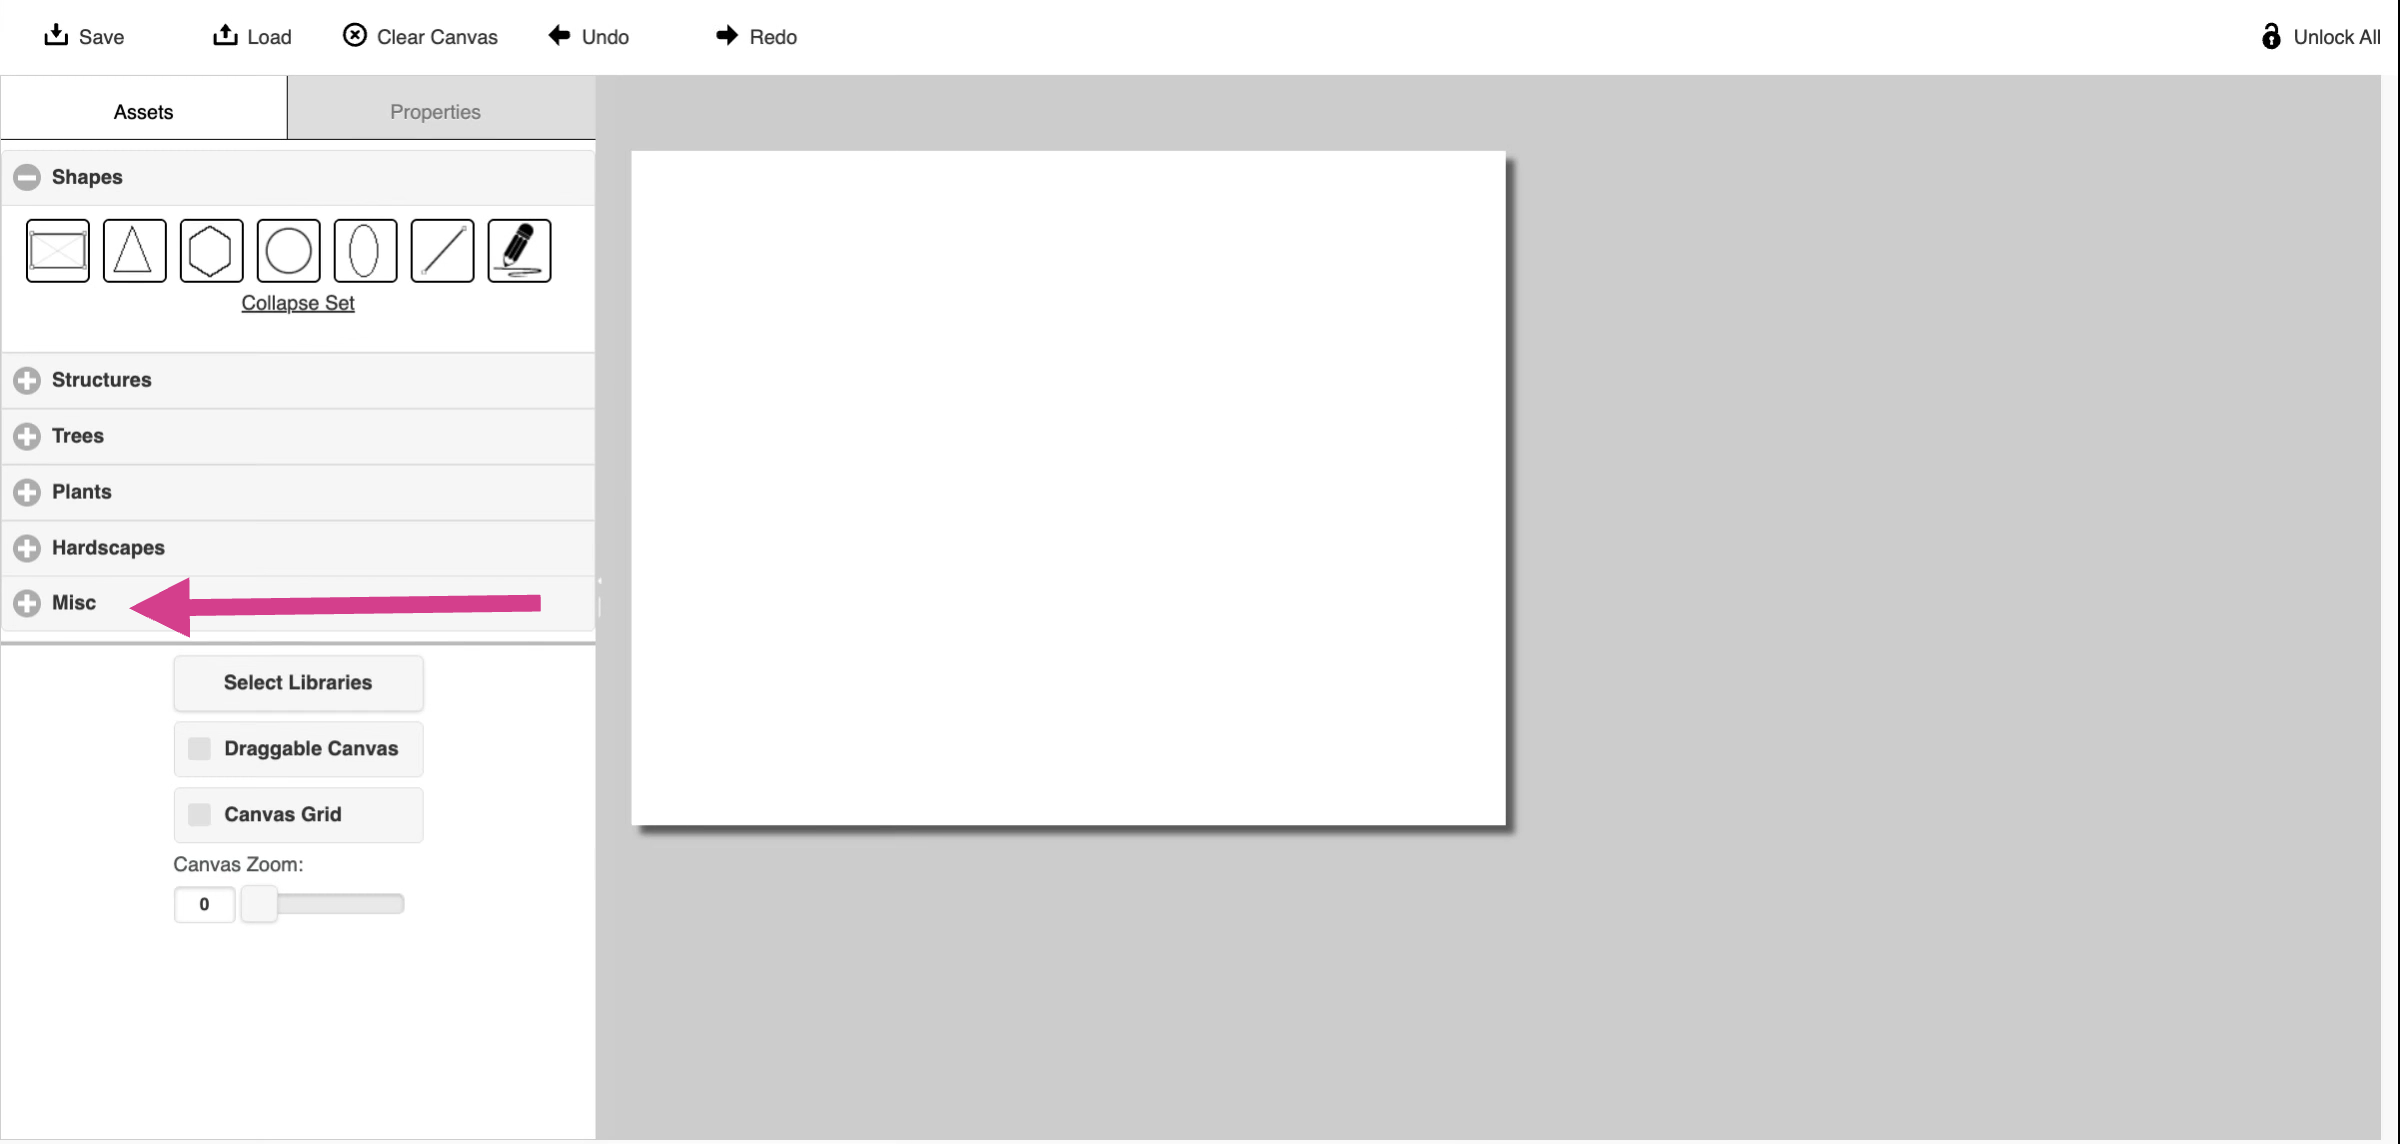
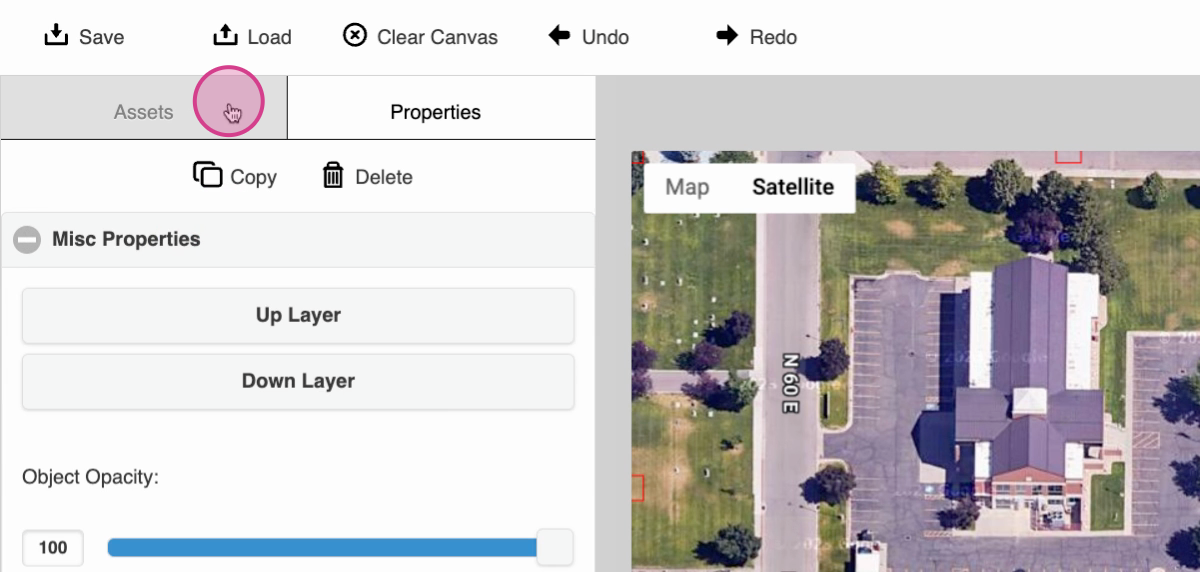
Step 3: A new tab appears. On the left, click the miscellaneous tab.
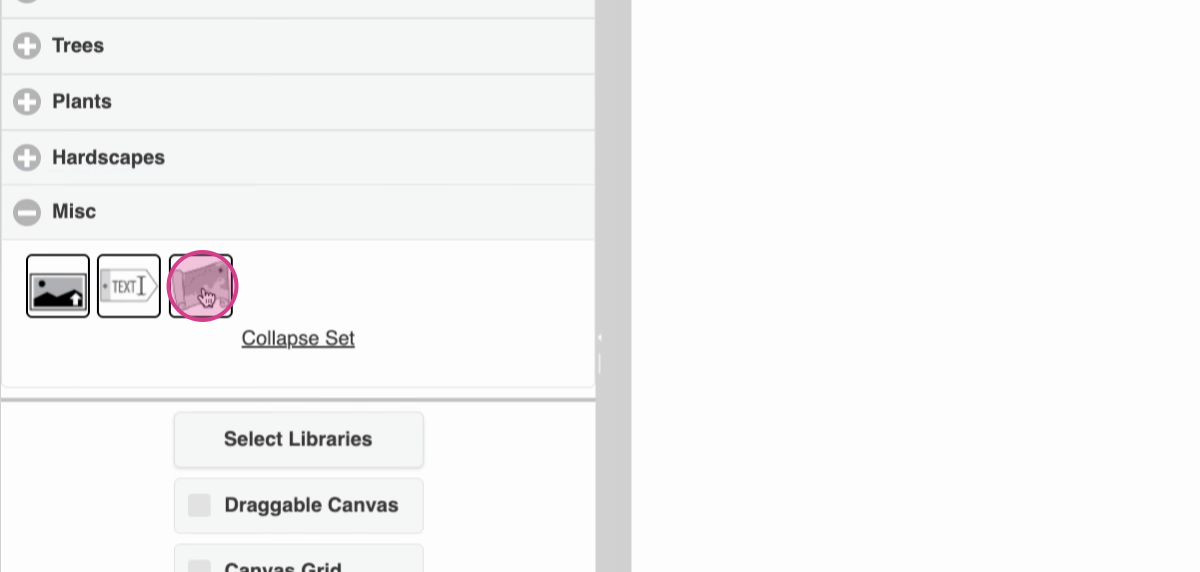
Step 4: Click the far right button labeled with an unfurling map to enter Google Maps view.
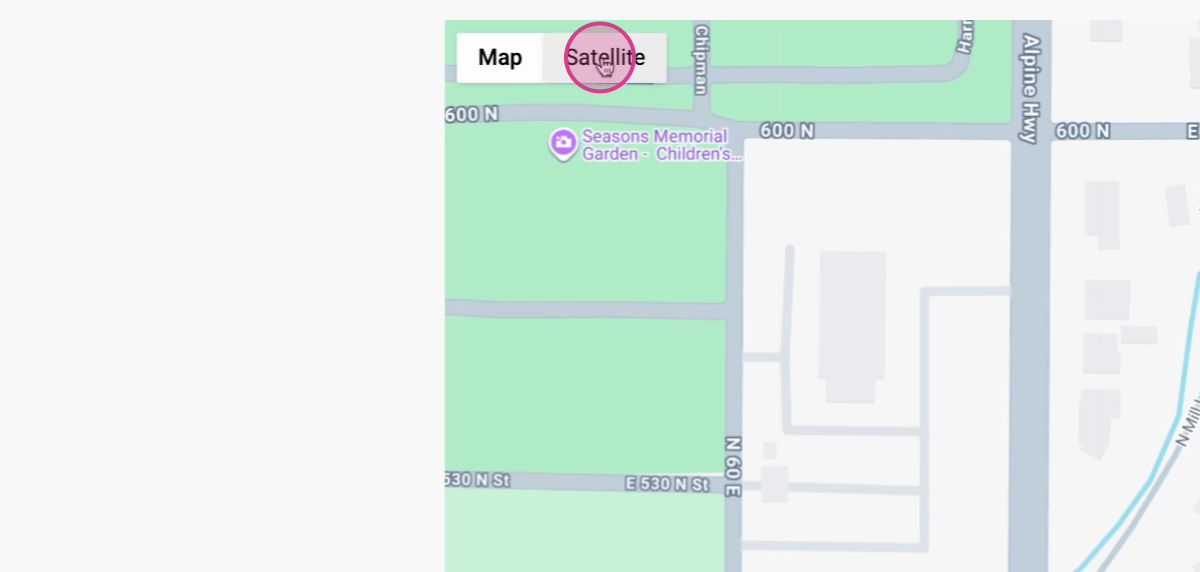
Step 5: Switch the view to Satellite at the top left for detailed imagery.
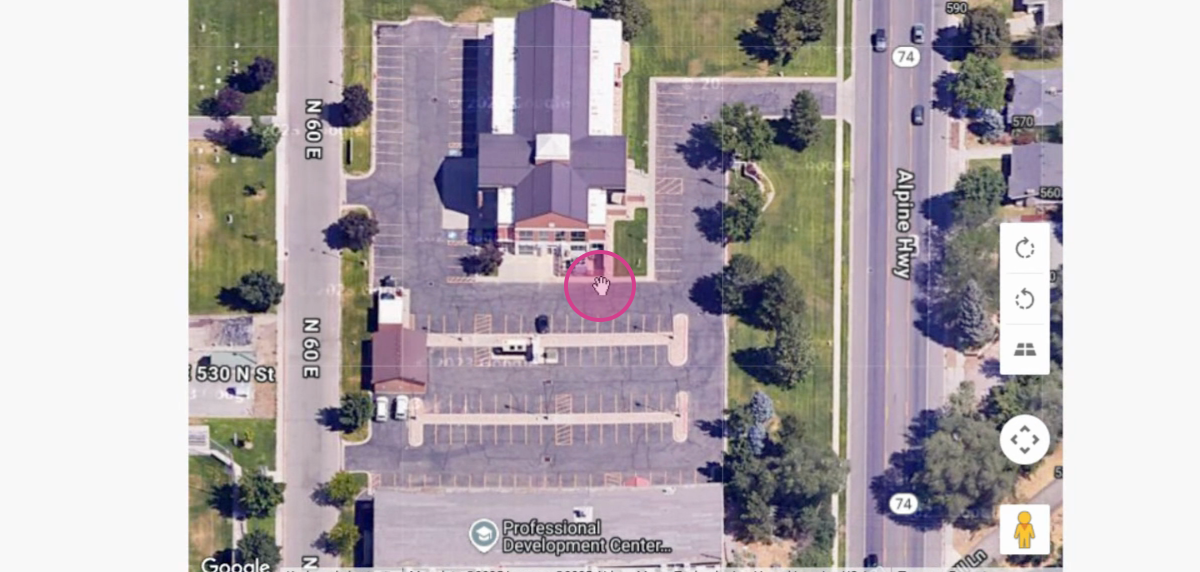
Step 6: Zoom in or out to center and focus on the correct property.
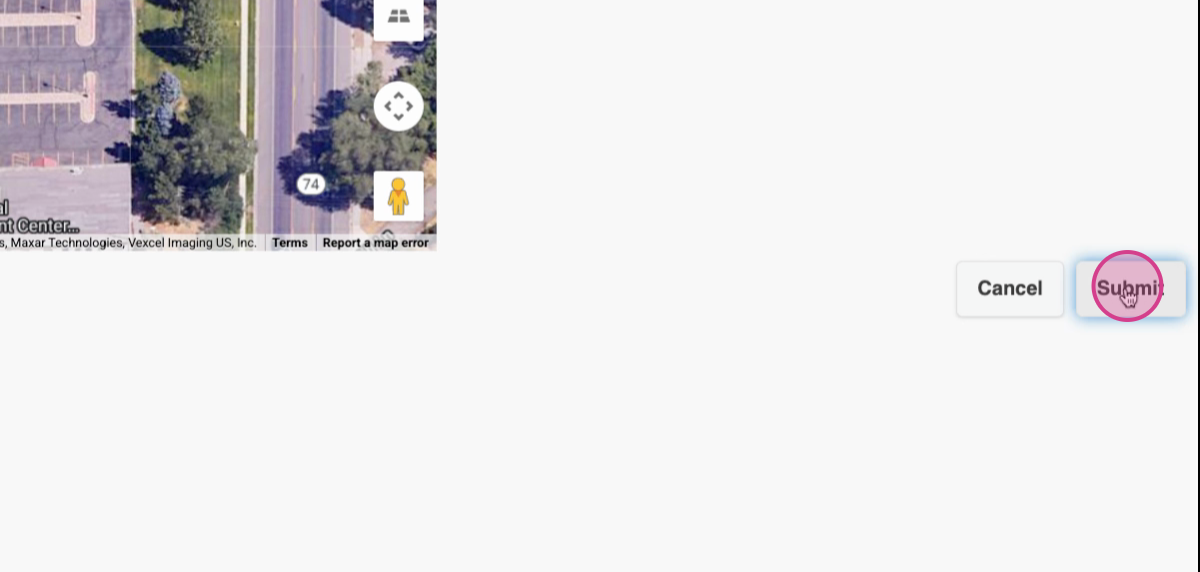
Step 7: When satisfied with the positioning, click Submit at the far right to capture the view.
Customizing Your Map
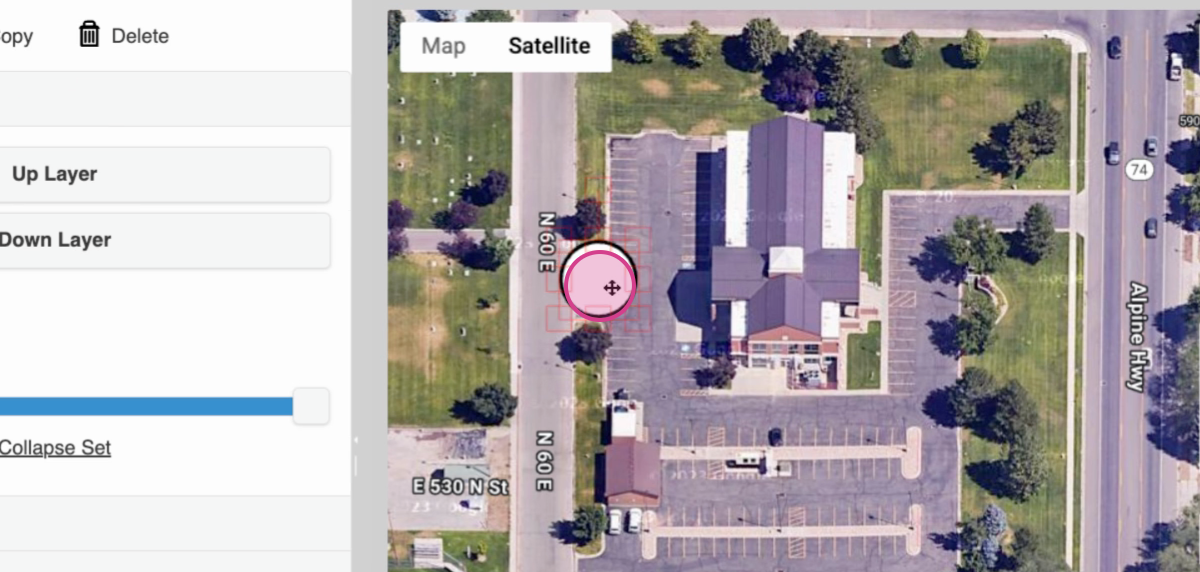
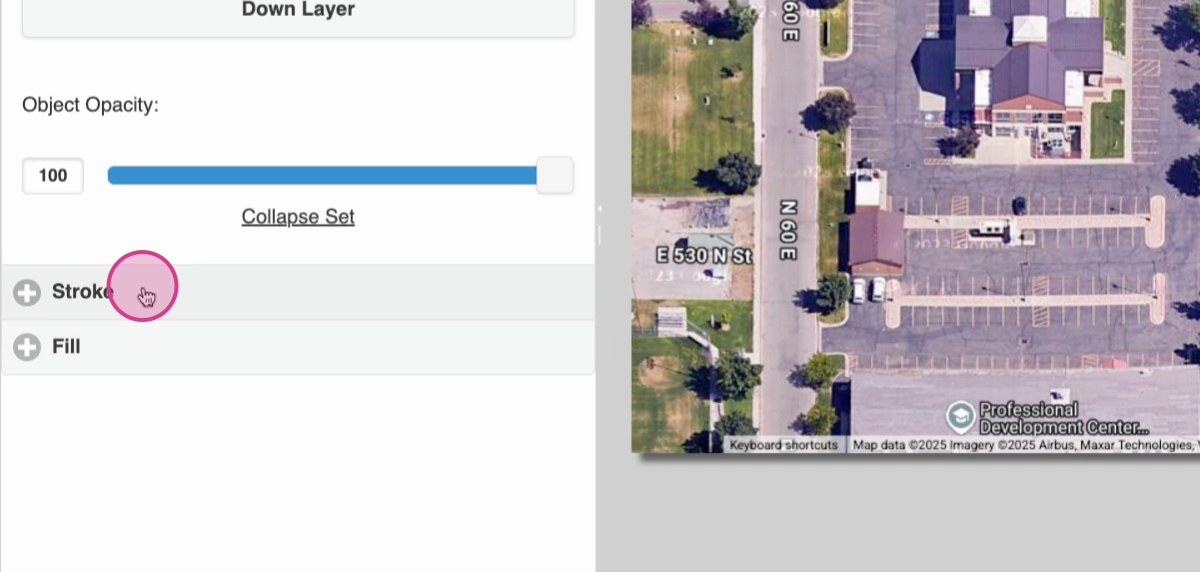
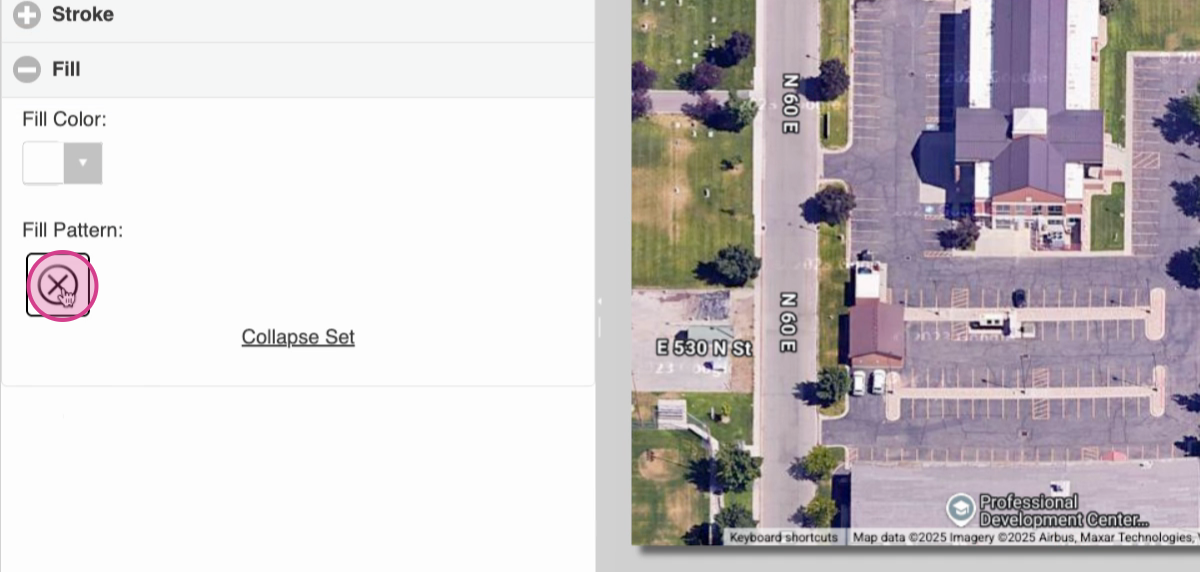
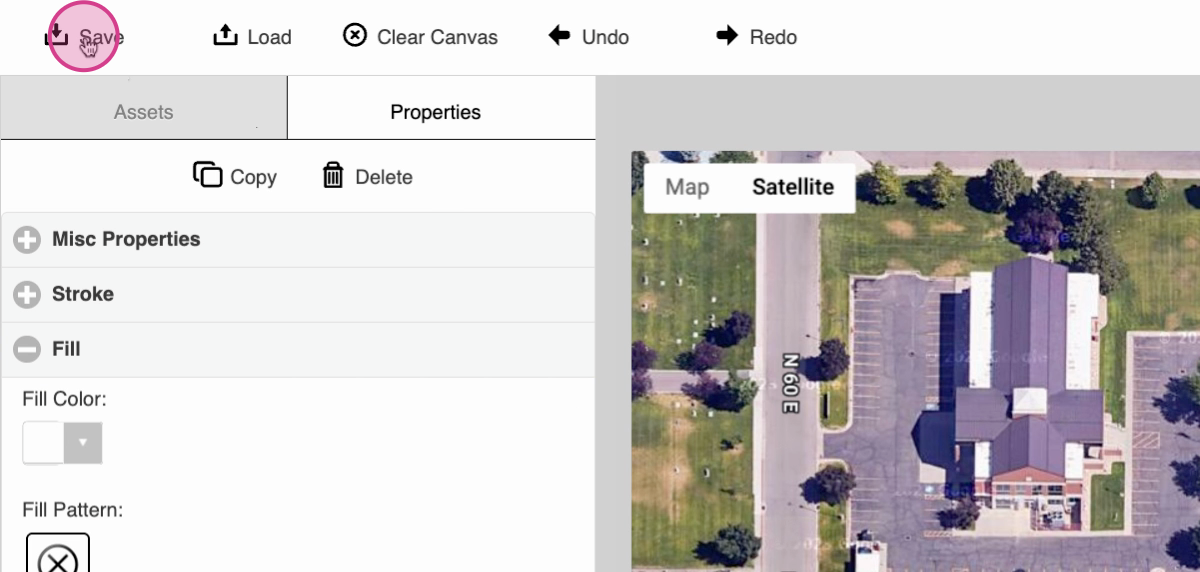
Step 8: The screenshot is now embedded in your map workspace. On the left, access drawing tools to mark areas of interest.
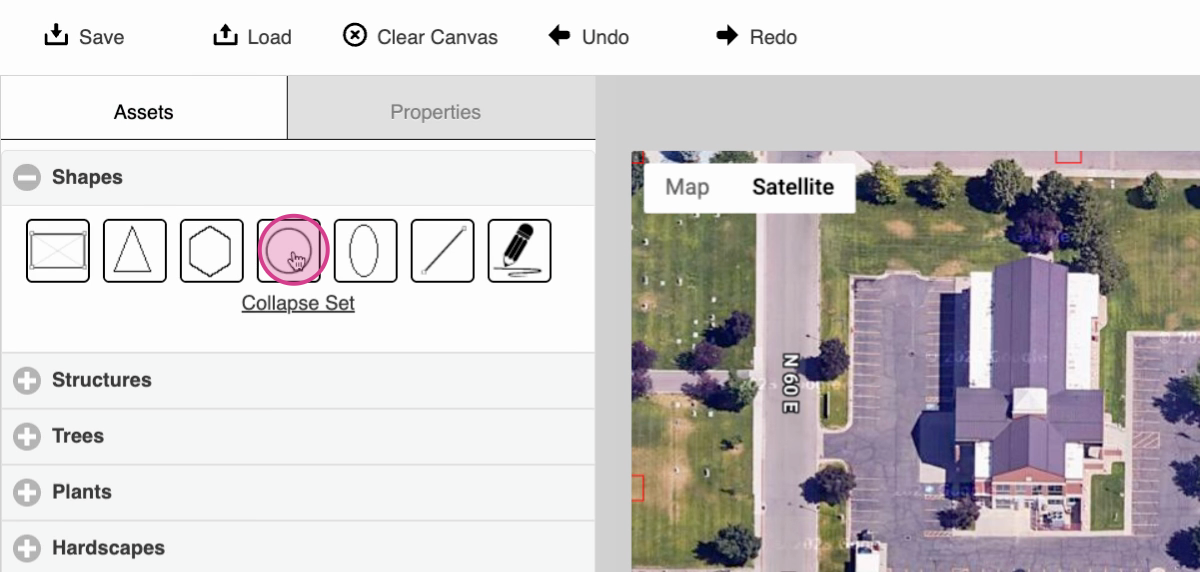
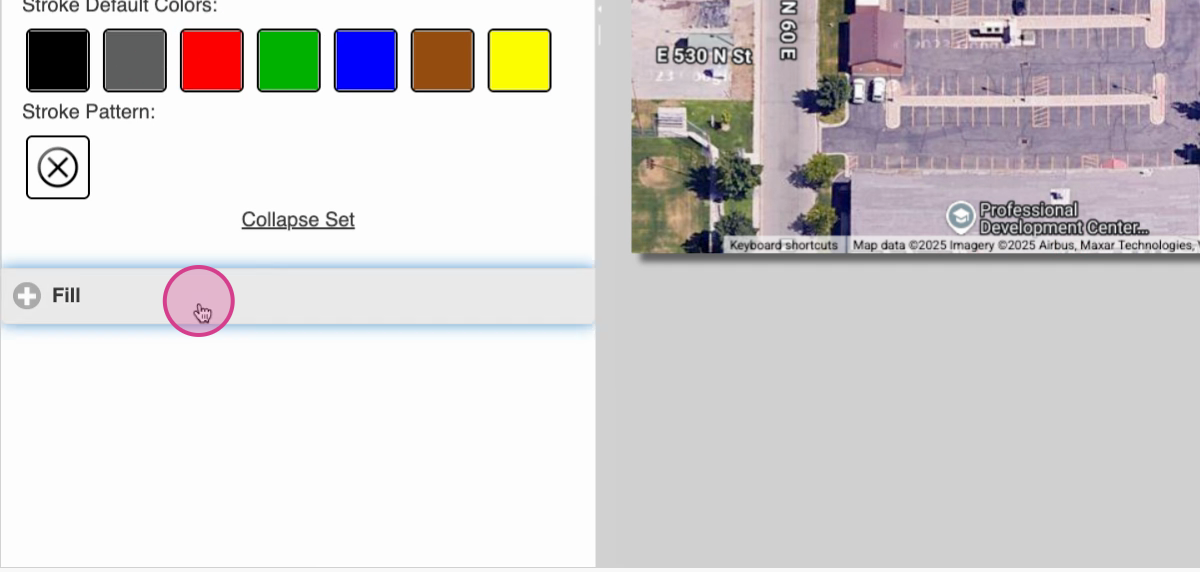
Step 9: Head to Assets and choose shapes to add items like triangles, squares, circles, lines, or create freeform drawings.

Step 10: Add your own highlights. For example, insert a red circle to emphasize a tree or area that needs attention.
Saving and Applying Maps
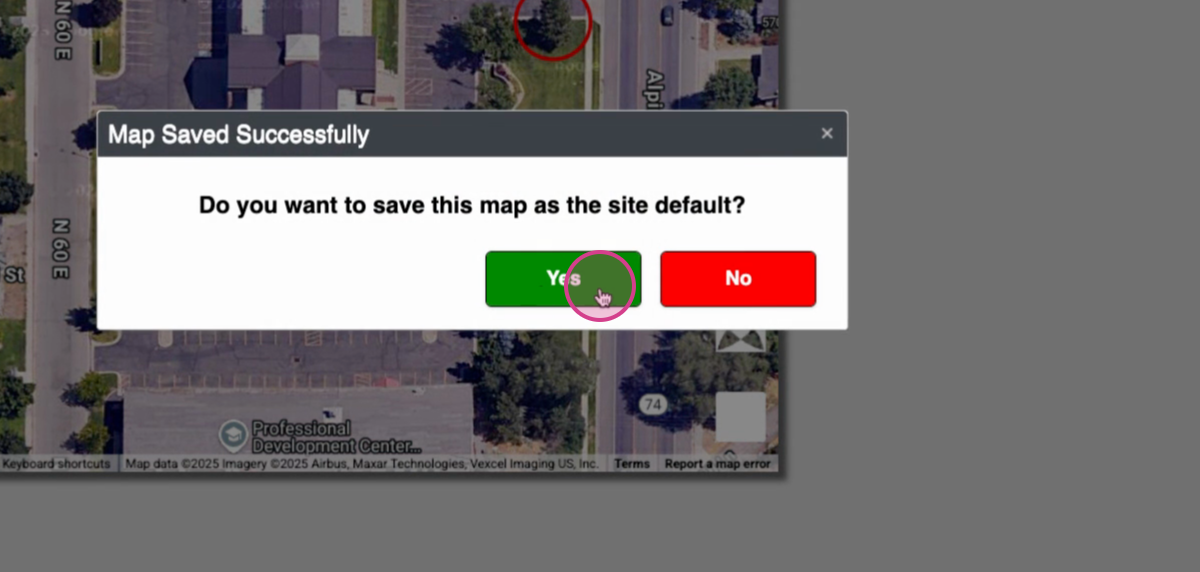
Step 11: Once the map is complete, click Save at the top left. Confirm that you'd like to set this map as the site default.
Frequently Asked Questions (FAQs)
1. Why isn't my CAD map showing the latest updates? Refresh your browser or the Arborgold app to see the most recent changes. Make sure you've clicked Save after editing your map. If updates are still missing, clear your browser cache or try logging in again. Contact Arborgold support if issues persist.
2. How do I share my customized CAD map with clients?
Reach out to Arborgold Support and request a format change to your Proposals
3. Can I reset the CAD map to its original version? Yes. Use the Undo option for recent changes, or look for a Reset Map or Revert to Default option to return to the default view. Be aware: resetting will remove any custom drawings or highlights you’ve added since the last save.