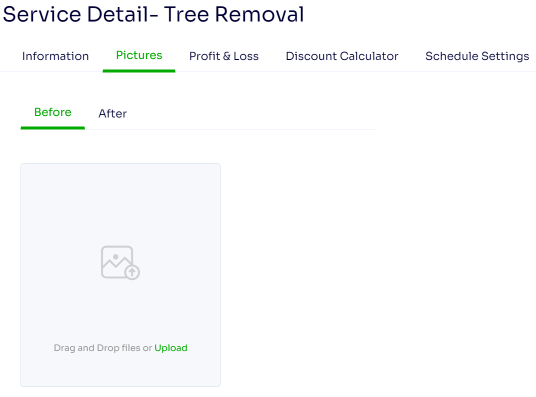
To add a Before or After image to the service, you will want to be on the Job Information page of the service you would like to add the image to, click on the '+' button next to any service, scroll down to the Service Pictures tab and select your files by clicking on the 'Choose Files' button on the image.
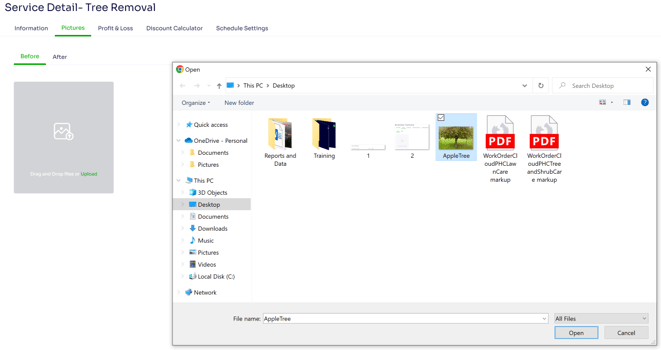
This will open the files on your computer to allow you to select the images that you'd like to add (Note: see the Mobile Estimator documentation to see how you can take pictures directly in the app.)
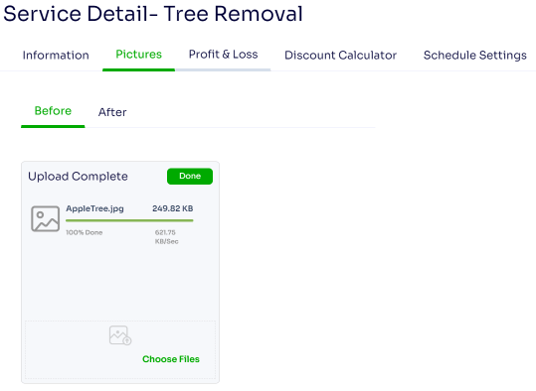
Once you've dropped in your images, it will show you a list of your uploads, and when you are finished you can click on the green Done button to finish adding them to your service.
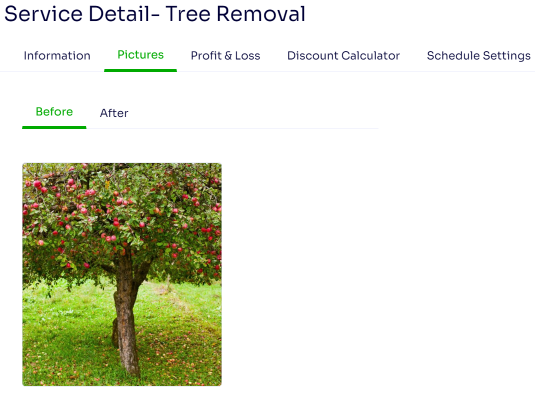
Note: while you can add multiple images to your service, only the first image will print on your proposal, work order and invoice template. You can utilize the e-proposal- post the v8.0 release- to display all of the service pictures to your client, though this will not utilize your custom format.
Edited by Betsy Rainey 07/11/2023