Introduction
This guide shows you how to use Arborgold's plant inventory feature. You'll learn how to access, add, and manage tree and plant records, perform key actions, and keep your inventory organized.
Accessing Plant Inventory
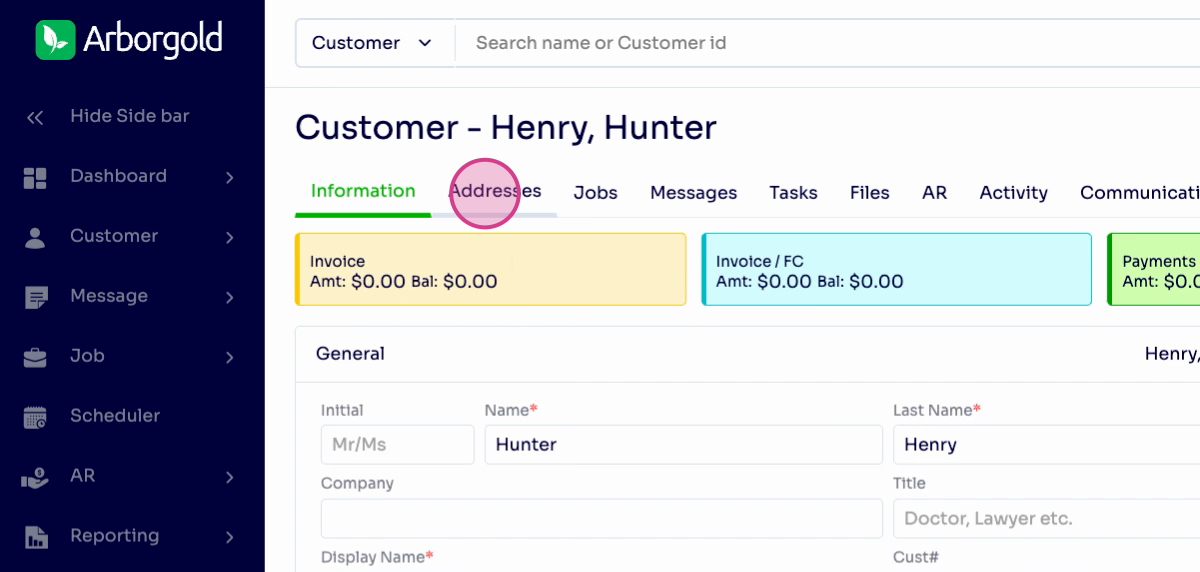
Step 1: Click the address tab at the top left of the customer profile.
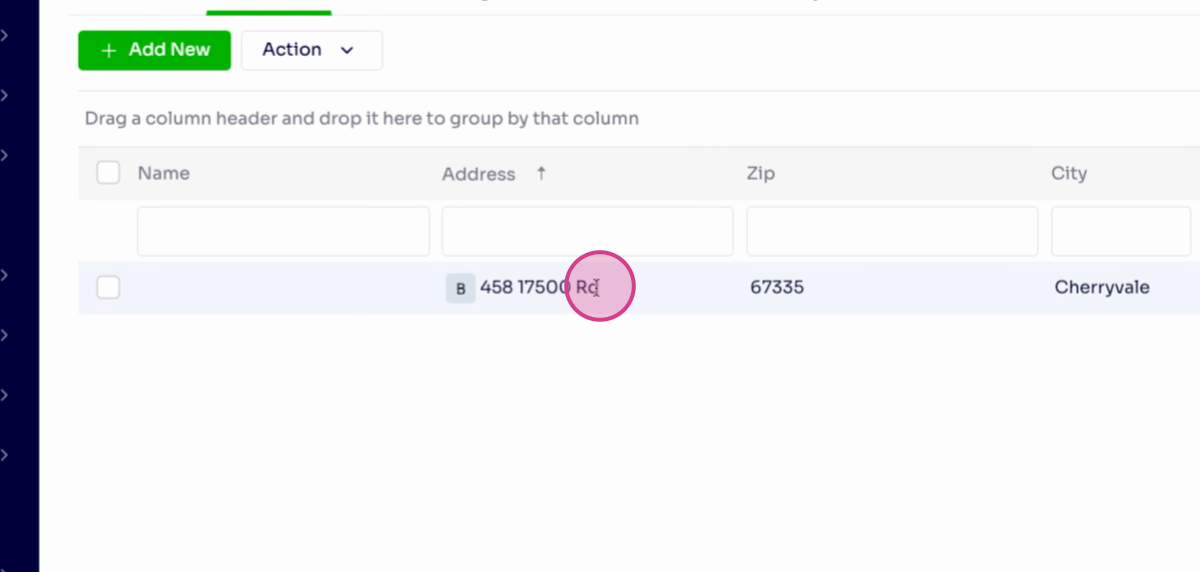
Step 2: Double-click the address with the inventory you want to view.
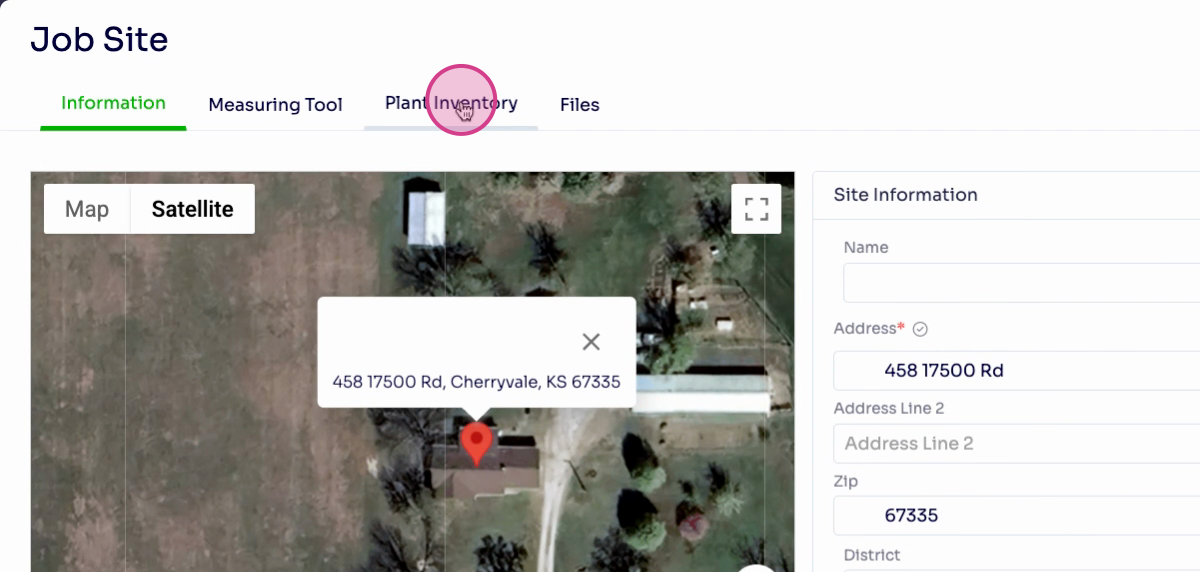
Step 3: With the address selected, click the plant inventory tab to open the inventory interface.
Adding a New Tree or Plant
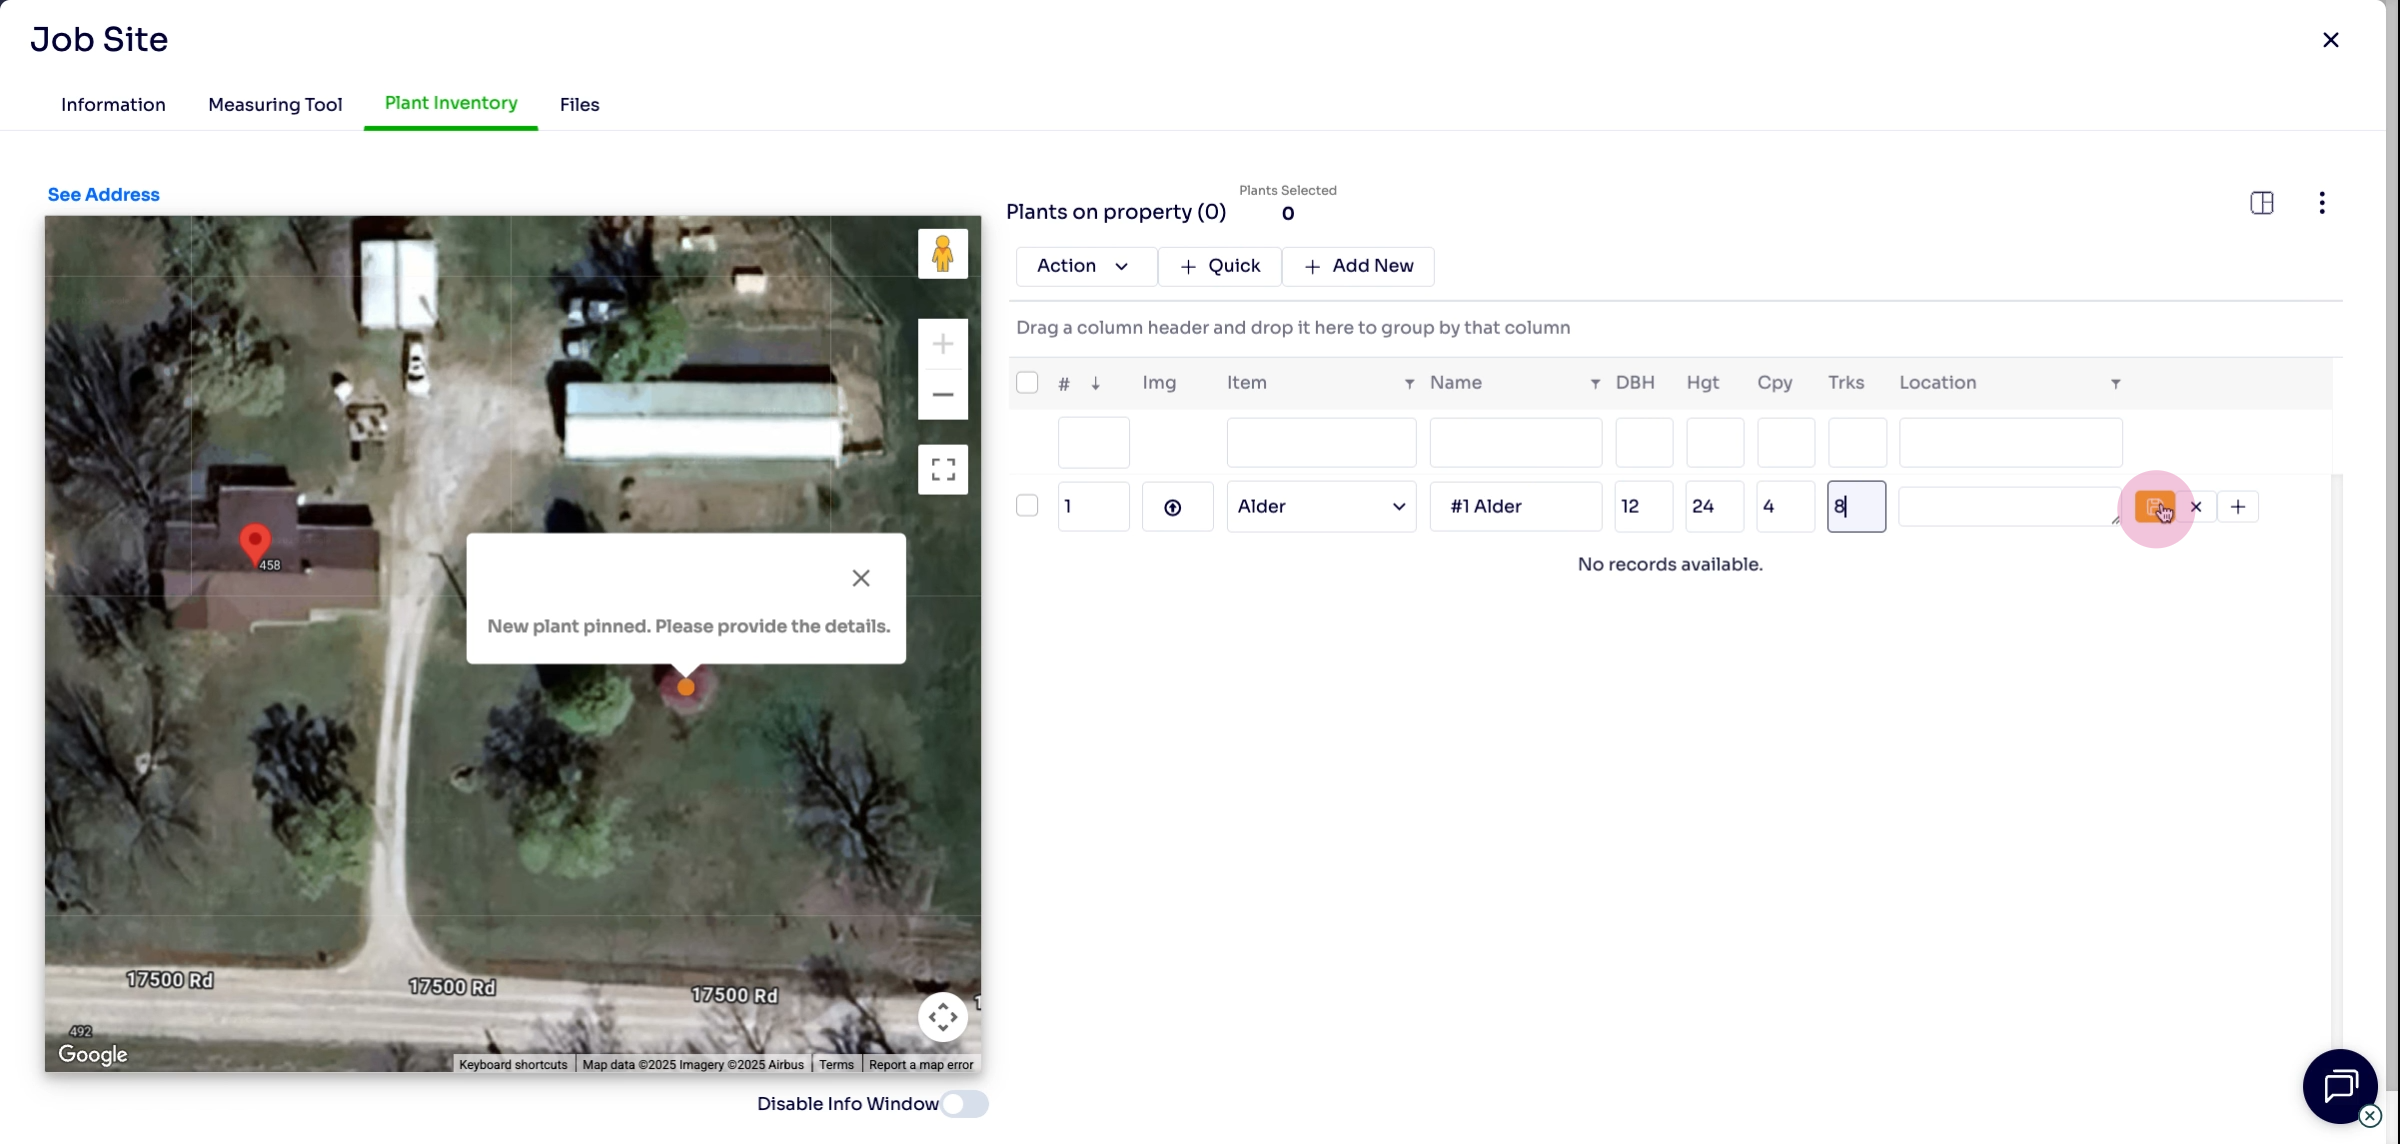
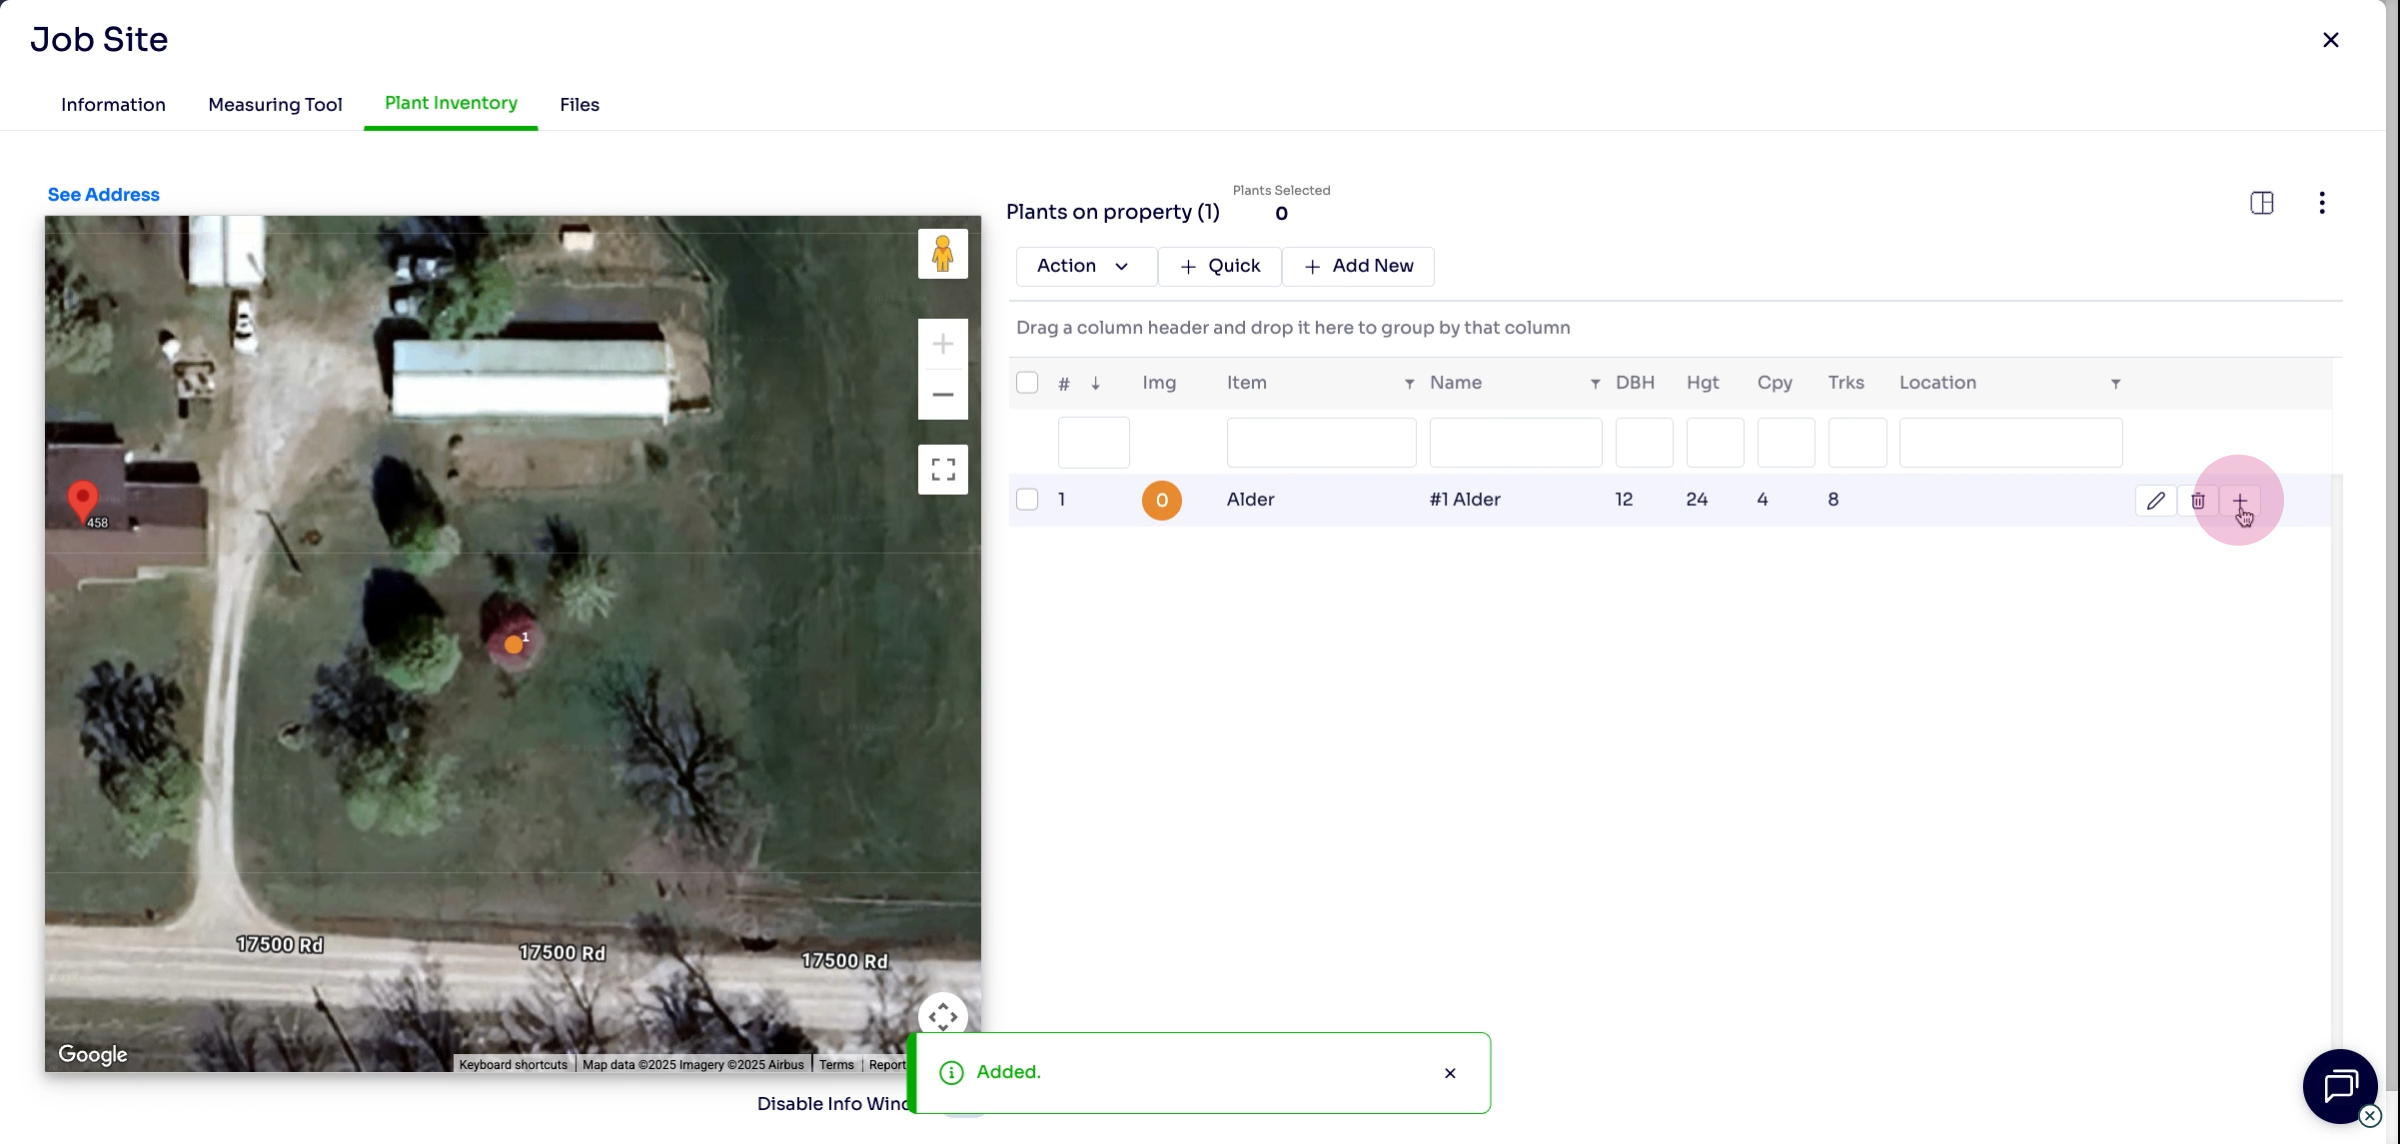
Step 4: On the property map, double-click the location where you want to add a new tree or plant.
Step 5: Enter the plant's information, select the species, and click the yellow computer chip icon to save.
Managing Tree Details
Step 6: Click the plus button on the right to review or edit information for the selected tree. Update fields like name, species, location, tags, notes, or attach photos.
Step 7: Track changes in the tree's history and add recommendations if necessary.
Performing Services
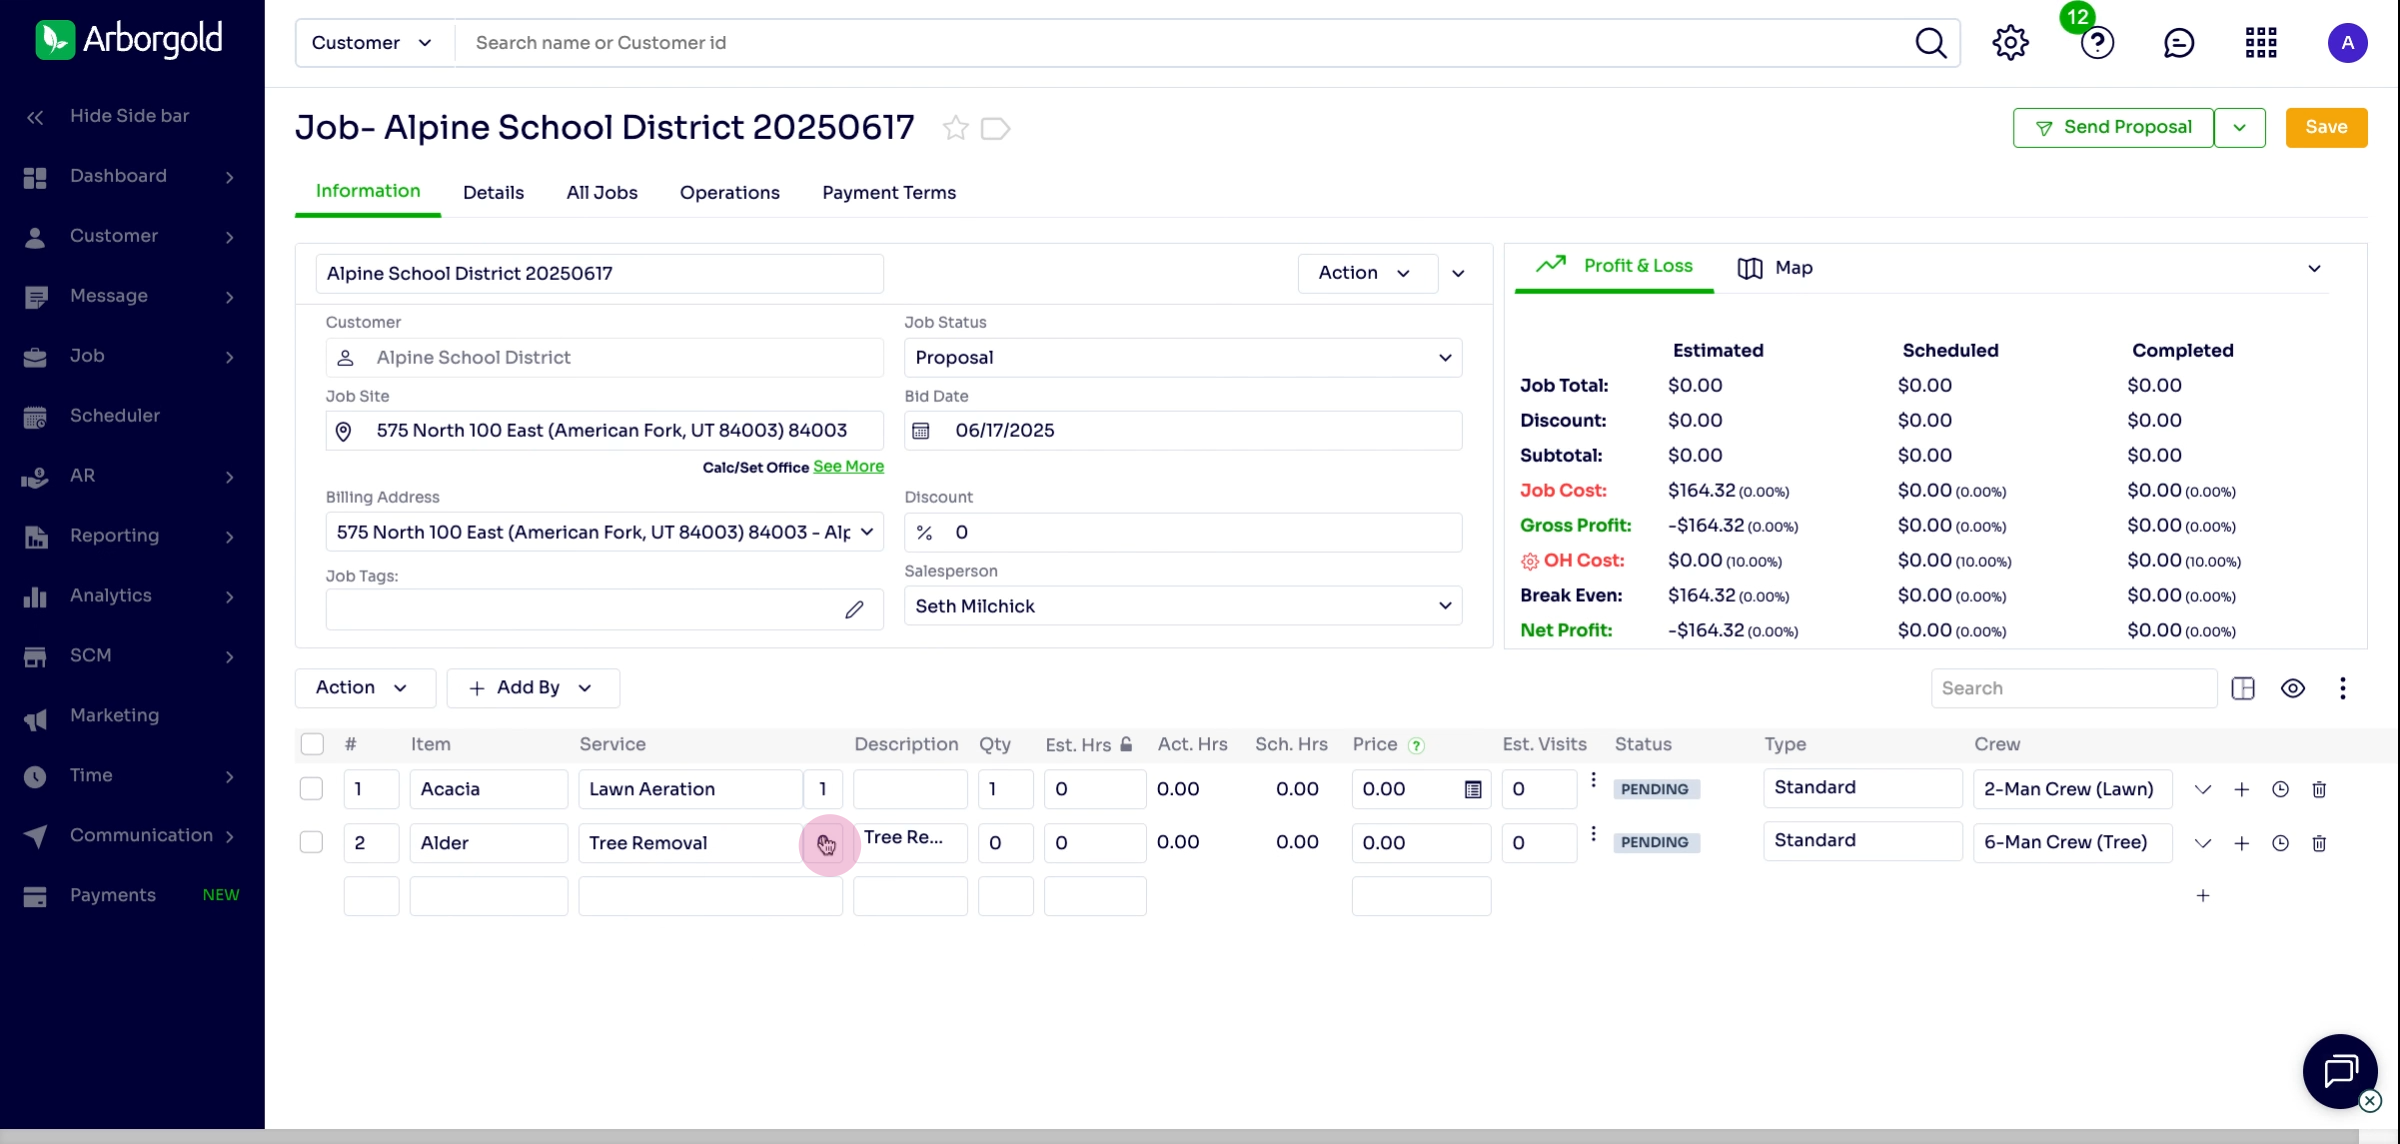
Step 8: To assign actions (such as tree removal), select the "0" next to the desired service and assign which plants or trees will be treated.
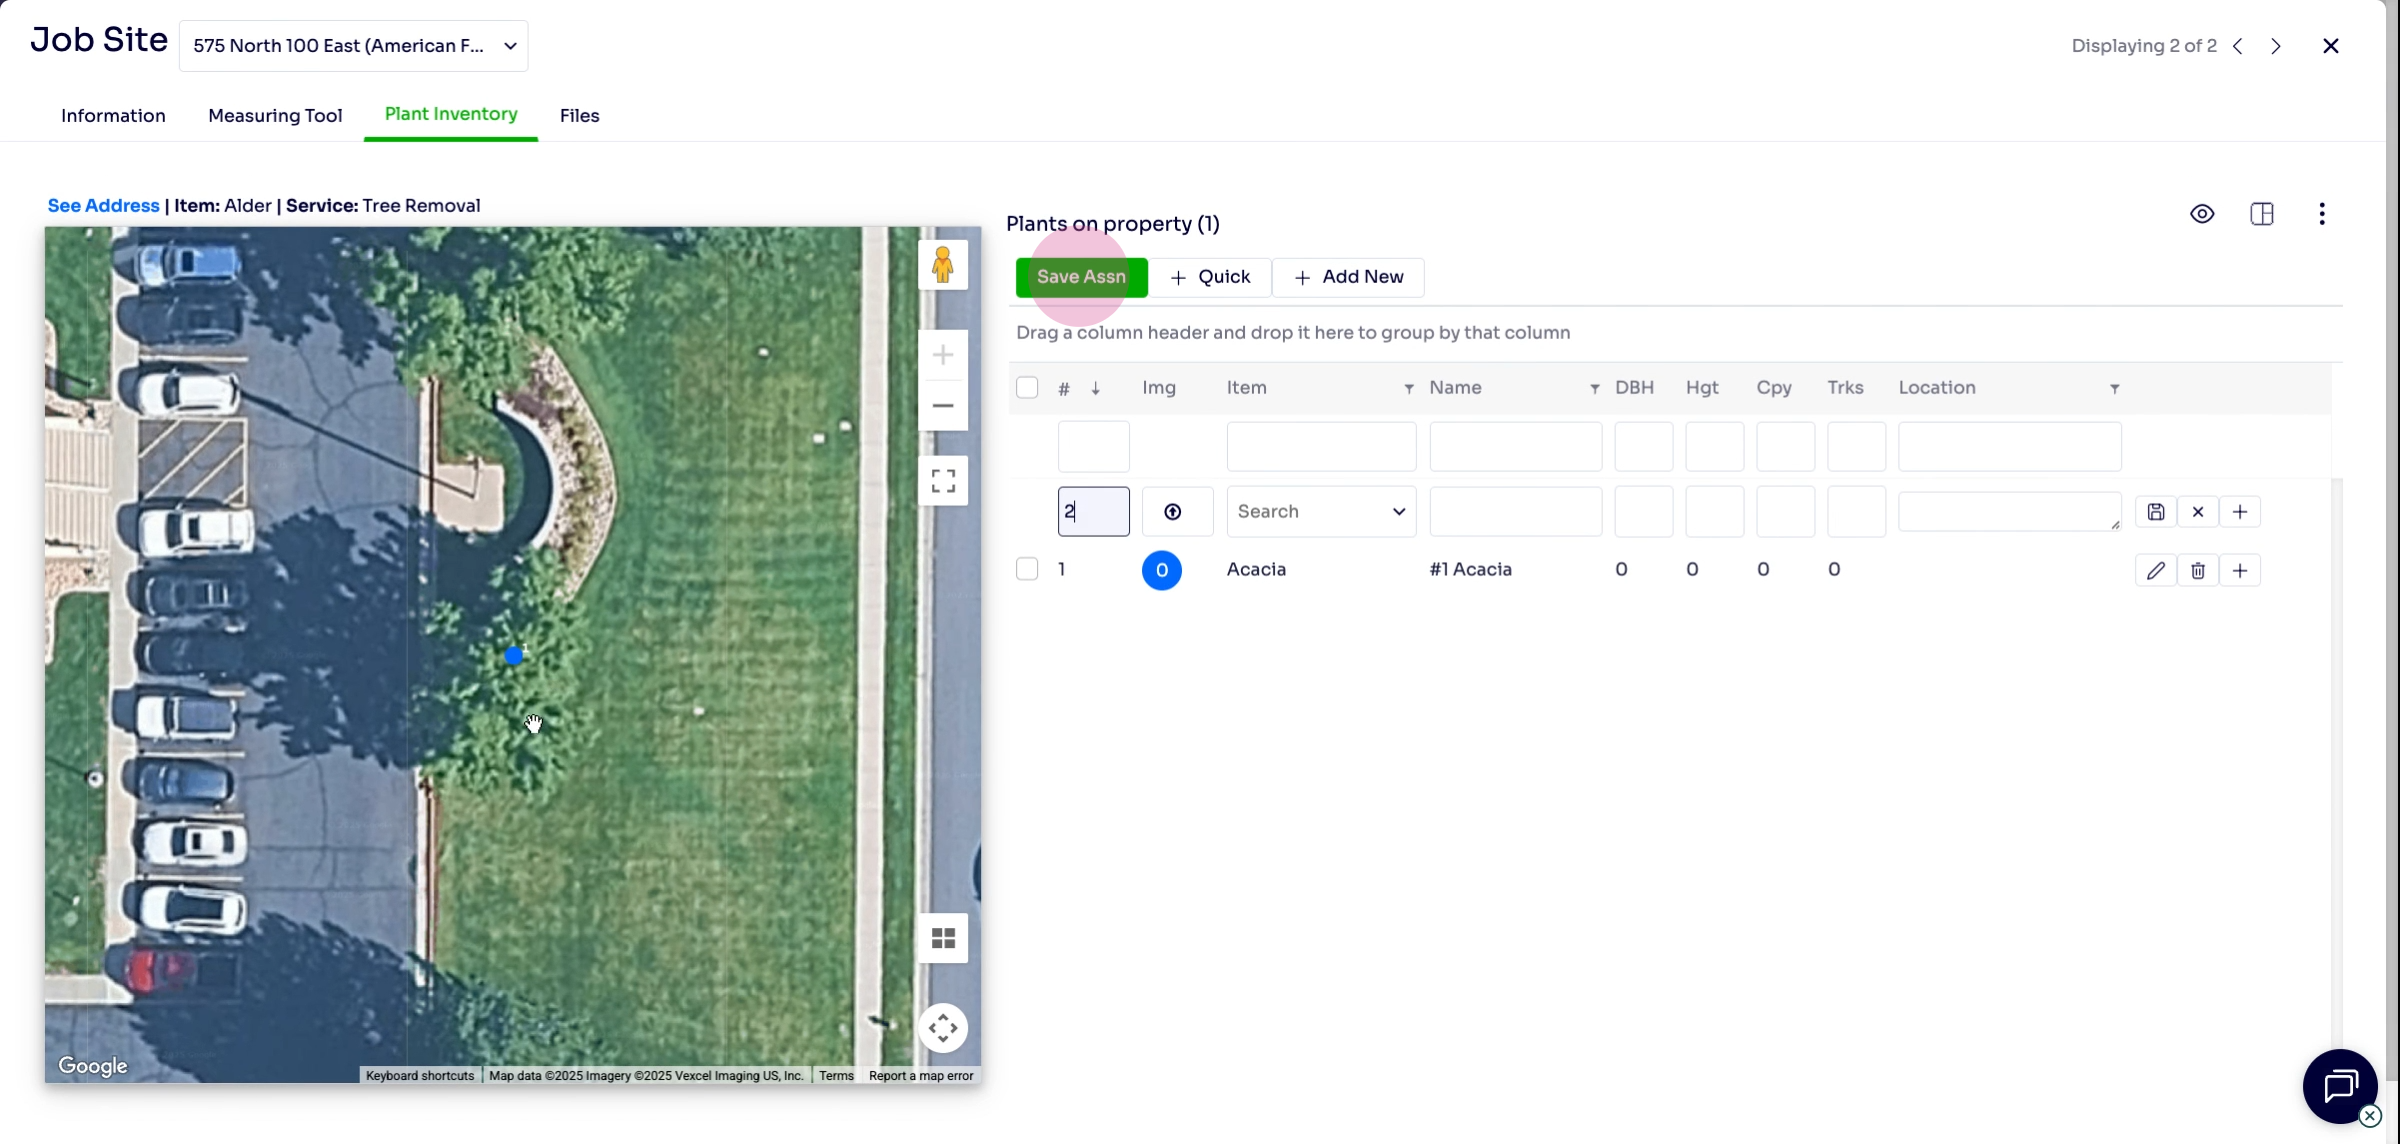
Step 9: Save the action, then click save at the top right to confirm. The assigned tree will now appear in the Arborgold Mobile Crew app for your field teams.
Frequently Asked Questions (FAQs)
Q1: How do I keep plant inventory information up-to-date? Edit plant records whenever you add, move, or remove trees. Use the history feature to track all updates for easy reference.
Q2: What details should I enter for each tree or plant? Include the species, location on the property map, condition, relevant notes, and attach photos for the most complete record.
Q3: How do I assign work or services for multiple trees at once? Use the service assignment step to select which trees need a specific service, then save your assignments to update the crew's work orders.
If you need additional help, reach out to Arborgold support or visit the training center. Thanks for following along!