Manage and Use Job Site Tags in Arborgold
Easily organize and filter your job sites in Arborgold by adding and managing tags. This walkthrough shows you how to search for a job site, create and edit tags, and use those tags in the scheduler for streamlined scheduling.
1. Searching for a Job Site
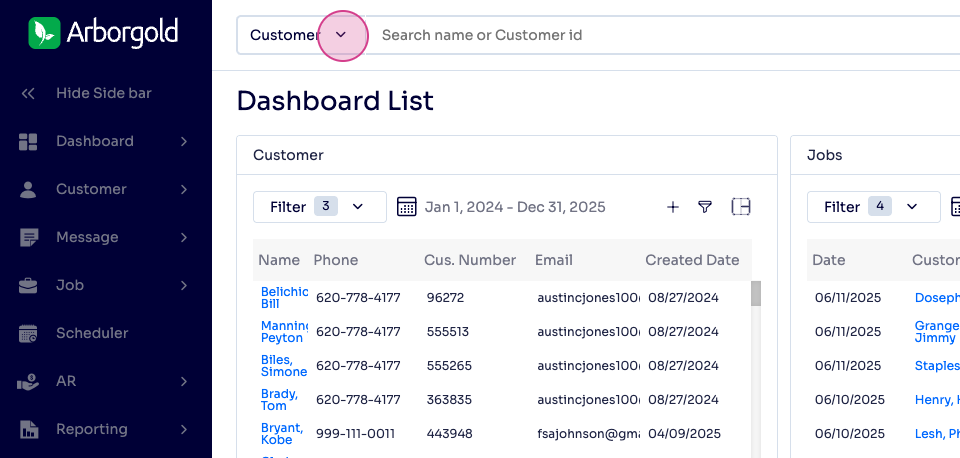
Step 1: In Arborgold, go to the top left and select Customer.
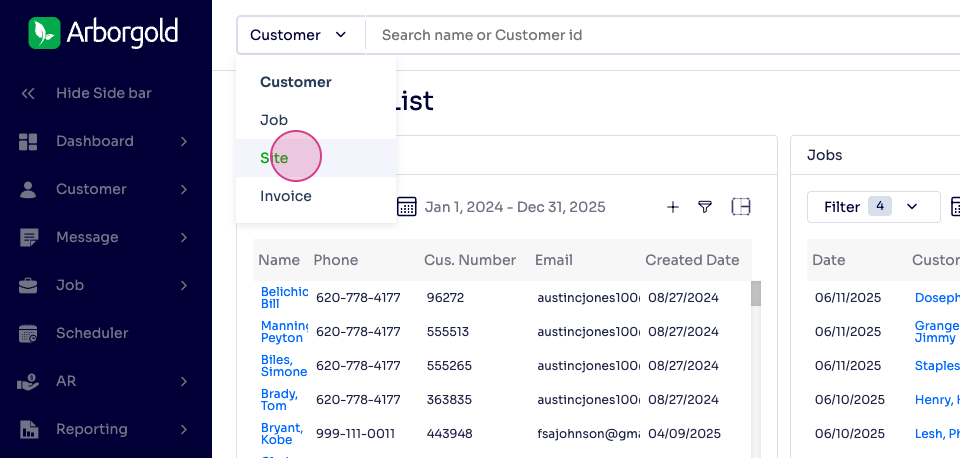
Step 2: From the expanded options, choose Site.
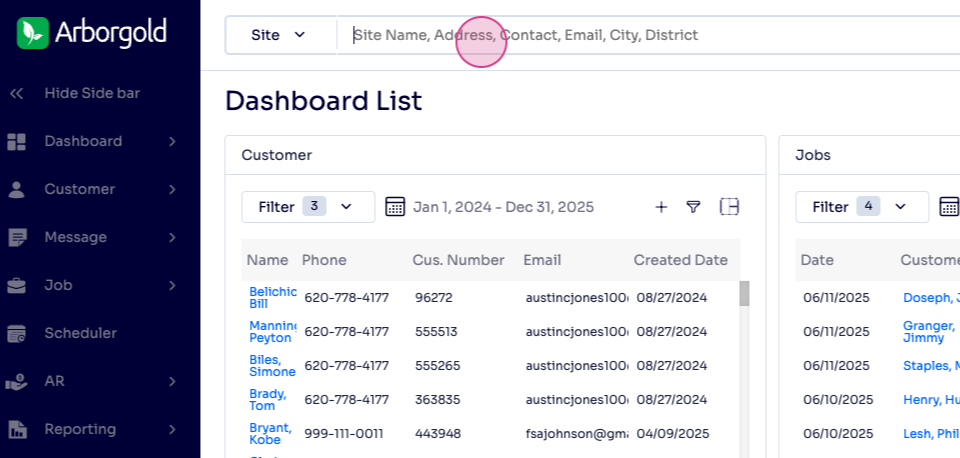
Step 3: Use the search field to find your target job site.
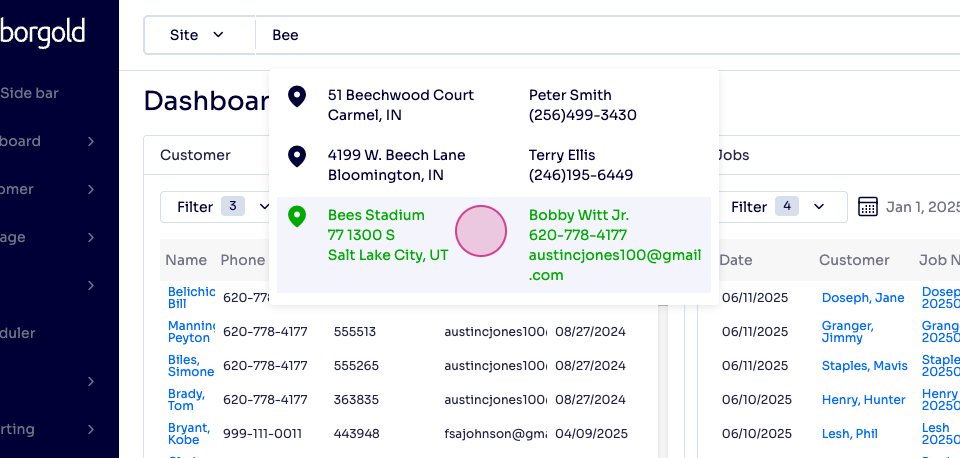
Searching for specific names displays matching results at the bottom of the screen.
*Tip: Enter the job site's name exactly as listed for accurate results.*
2. Adding and Managing Tags on a Job Site
Step 4: In the job site details, check the bottom right corner for the Tags panel. Existing tags like "Beware of Dog" or "Gated" display here. Click this panel to start editing tags.
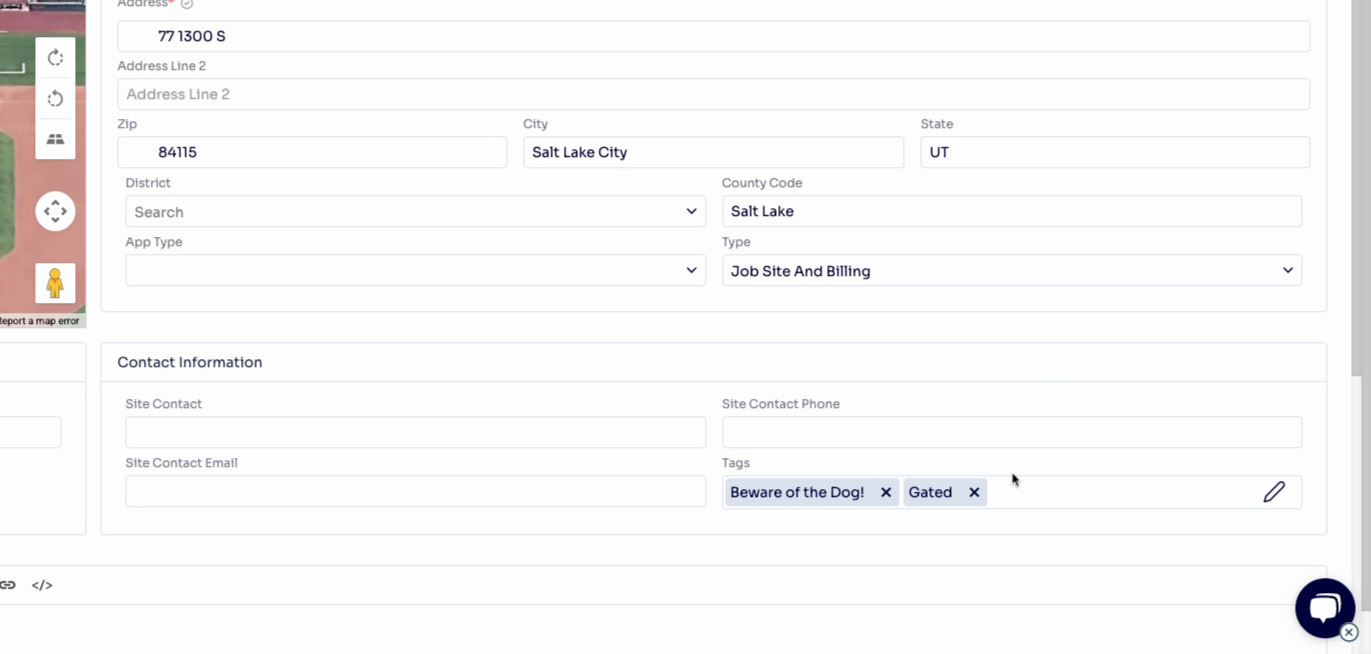
Step 5: Click the pencil icon to edit tags. Select the green Add button, enter a tag name, choose a color, then save your new tag to attach it to the job site.
3. Using Tags in the Scheduler
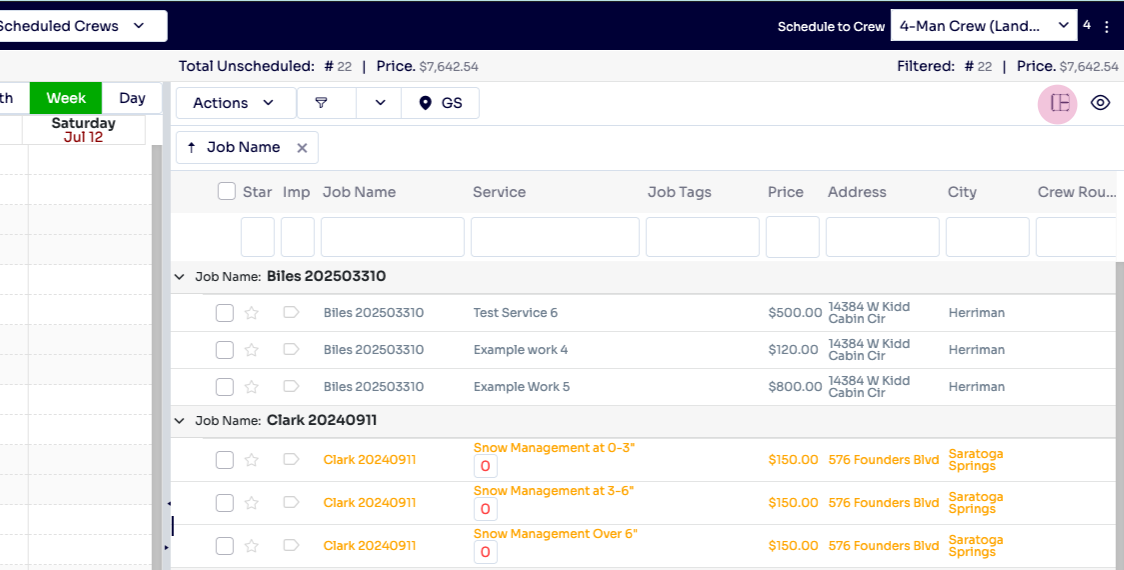
Step 6: Leave the job site details and open the Scheduler. To filter jobs by tags, click the square icon next to the eyeball to open the filters menu.
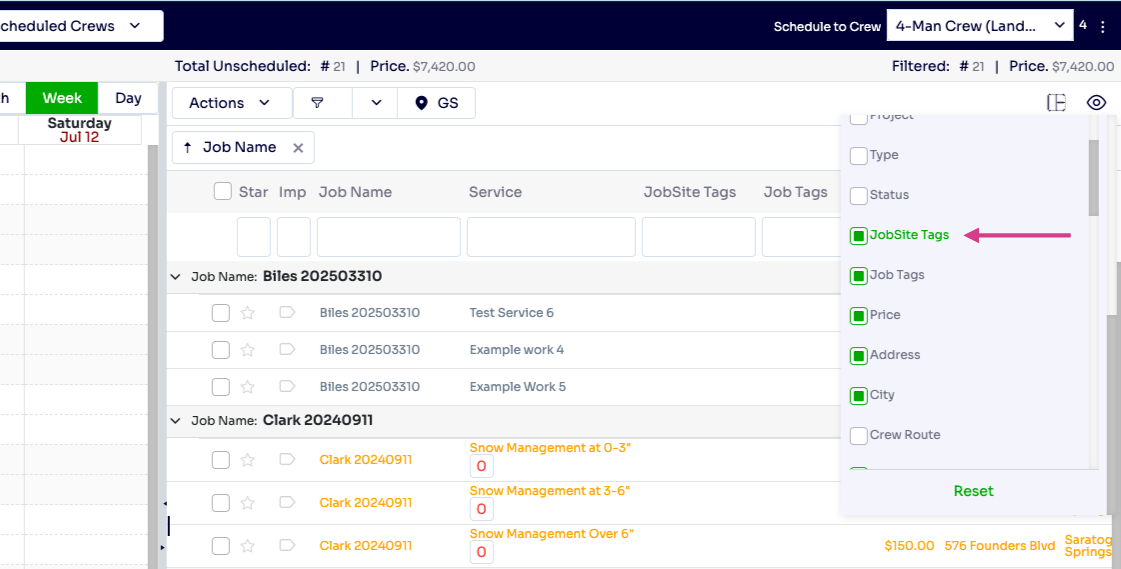
Step 7: In the filter menu, scroll to Columns and find Job Site Tags.
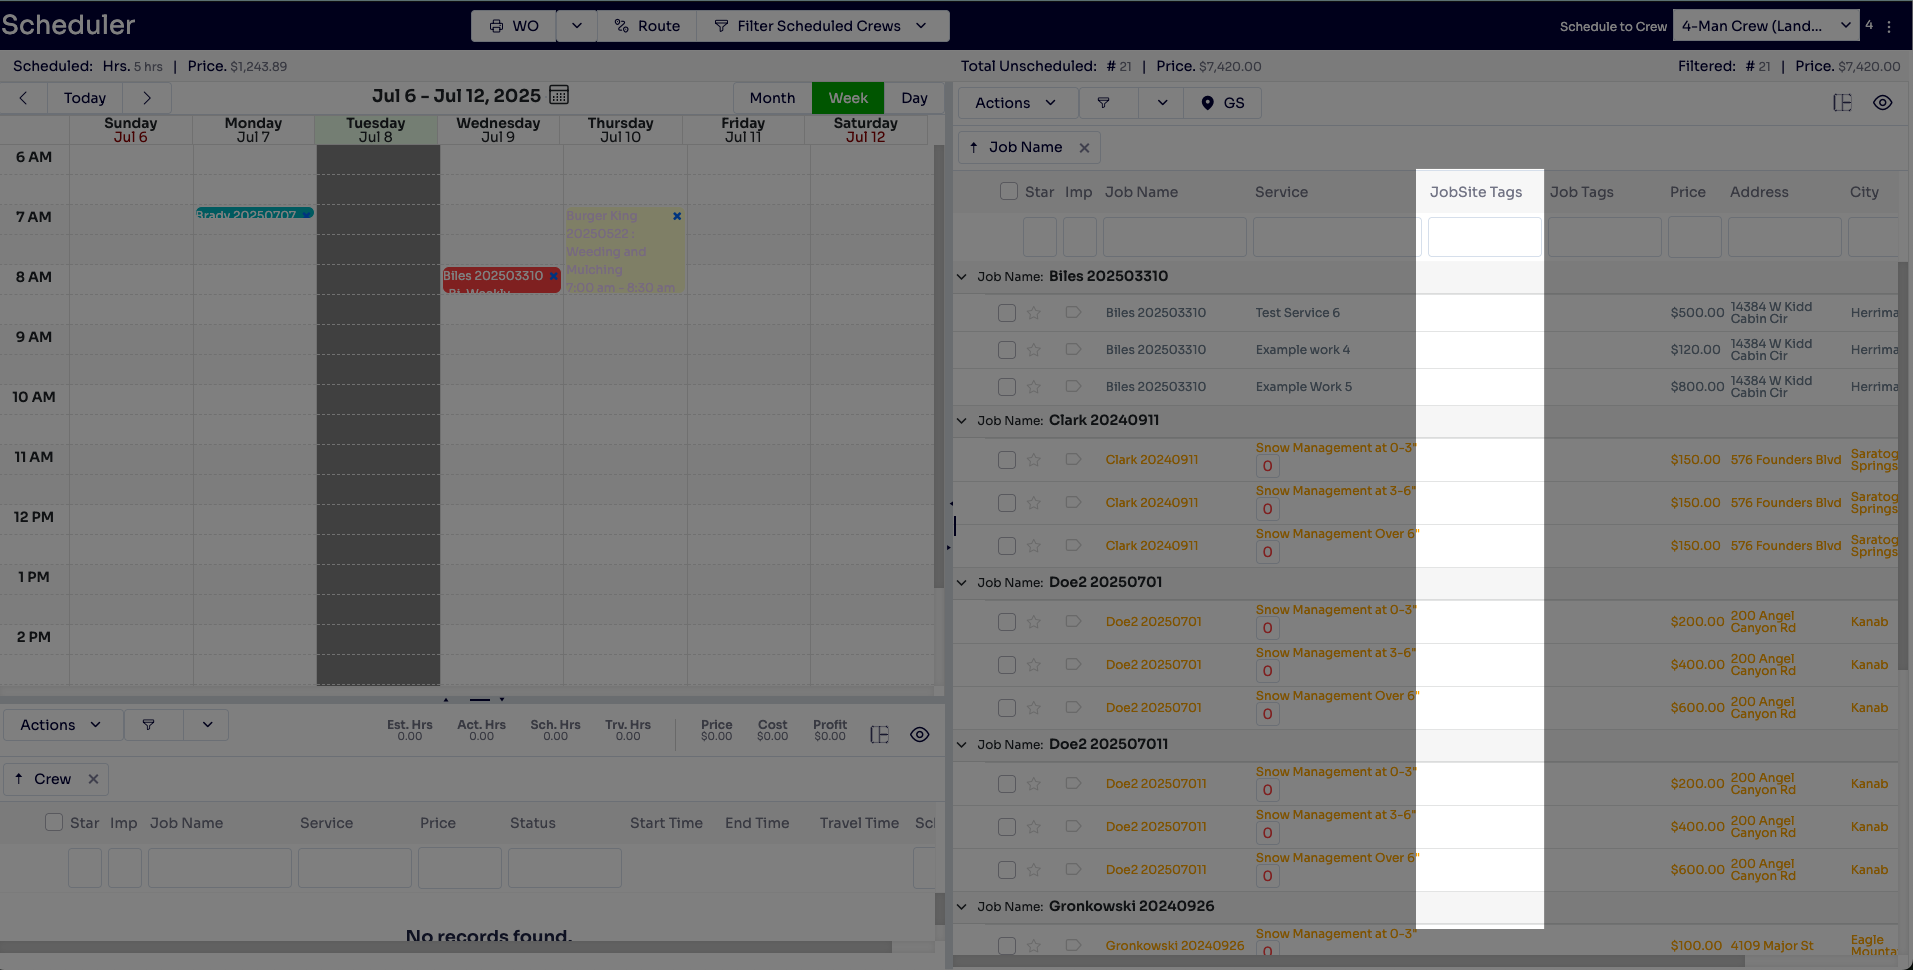
Step 8: Now, job site tags will display on your scheduler. To highlight them, drag this column higher in the columns list.
Frequently Asked Questions (FAQs)
Q1: Can I add multiple tags to a single job site? Yes, Arborgold lets you add as many tags as needed to a job site. This makes it easy to classify and filter sites based on multiple criteria.
Q2: How do I delete or edit an existing tag? Open the job site's Tags panel. Click the pencil icon to edit tags. You can change the tag's name, color, or remove it entirely from the job site here.
Q3: Are job site tags visible to all users in my company? Yes, once tags are added to a site, all users with access to job site information will see them in lists, filters, and the scheduler. This helps keep everyone on the same page.