Introduction
Follow this guide to easily add, edit, and organize job site addresses in Arborgold. You'll be able to manage job locations efficiently and use helpful tools available within each job site record.
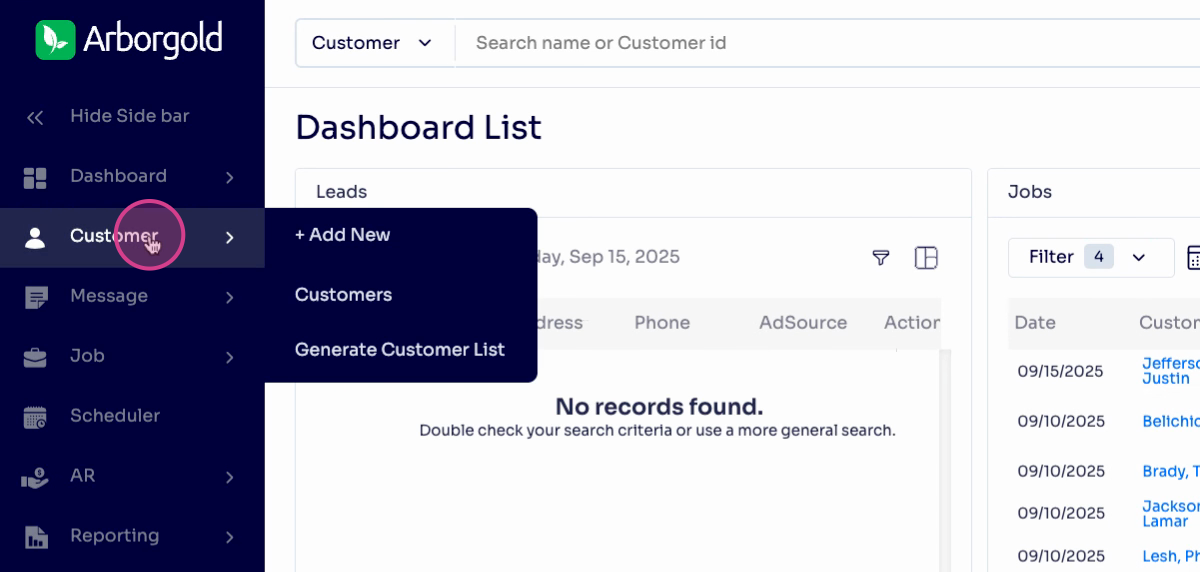
Accessing the Customer List
Step 1: Navigate to the customer list on the left side of your screen.
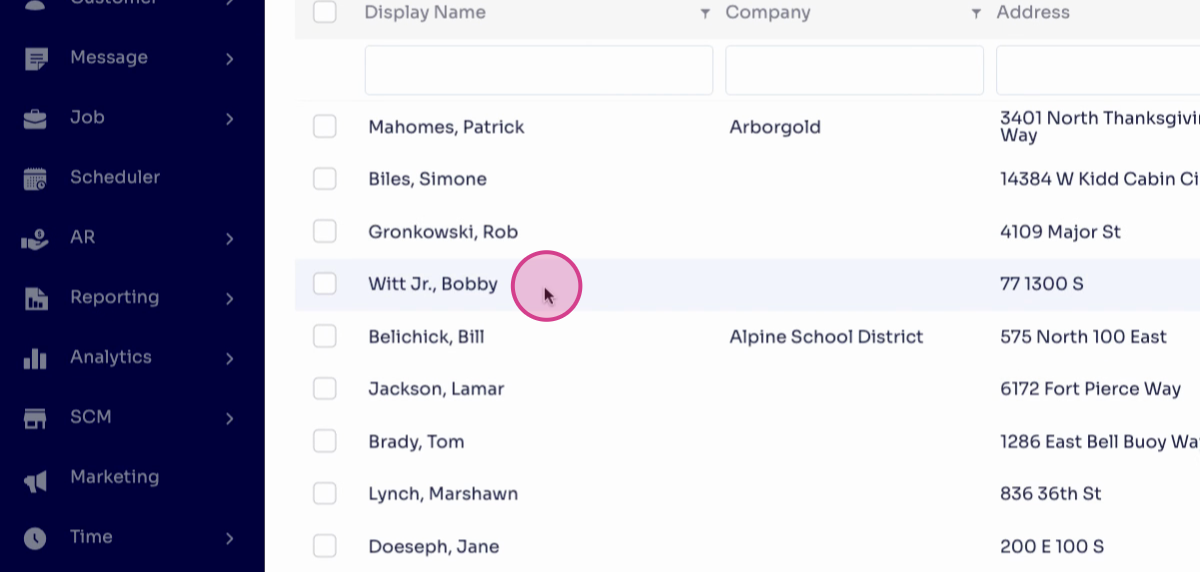
Selecting the Customer
Step 2: Choose a customer to add a job site to. In this tutorial, we're selecting Bobby Wood Jr.
Managing Job Site Addresses
Adding a New Address
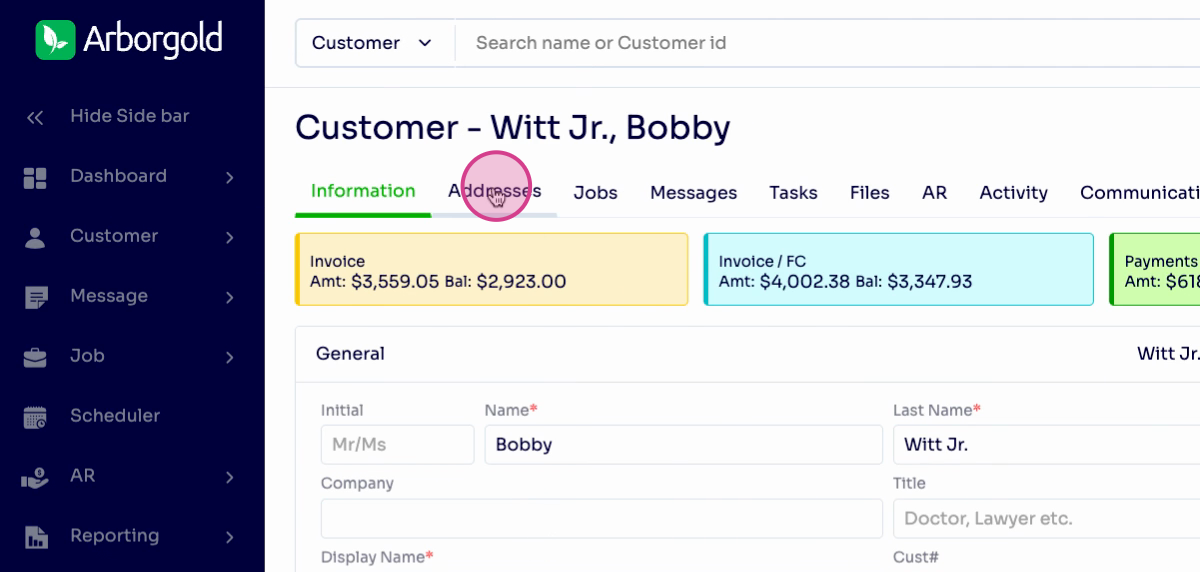
Step 3: Click on the addresses option within the customer profile.
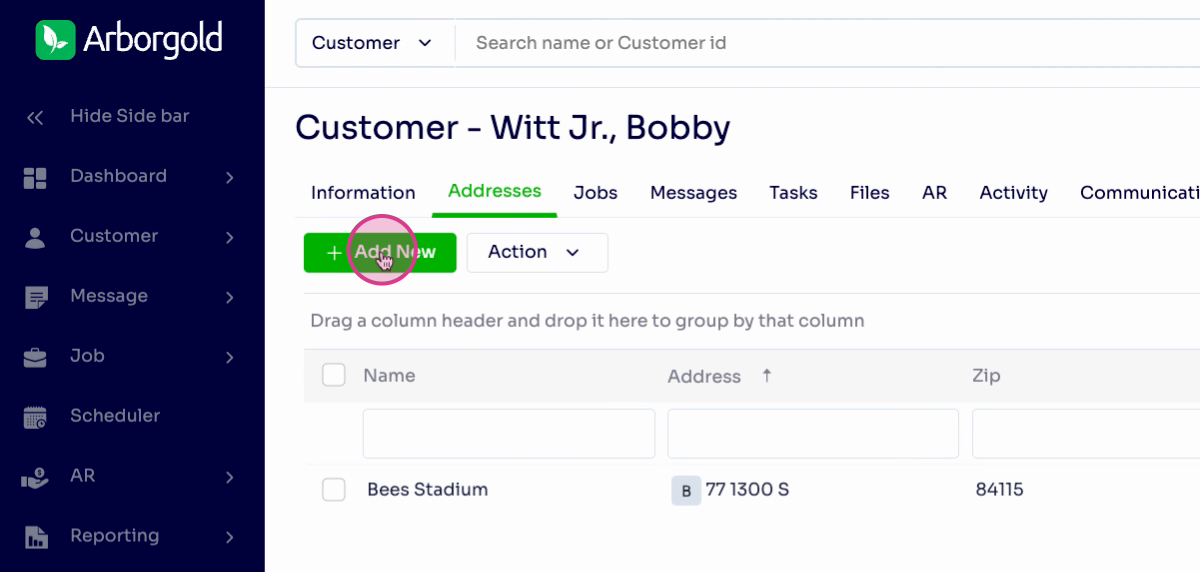
Step 4: Review any existing addresses. To add a new one, click on the green add new button at the top left.
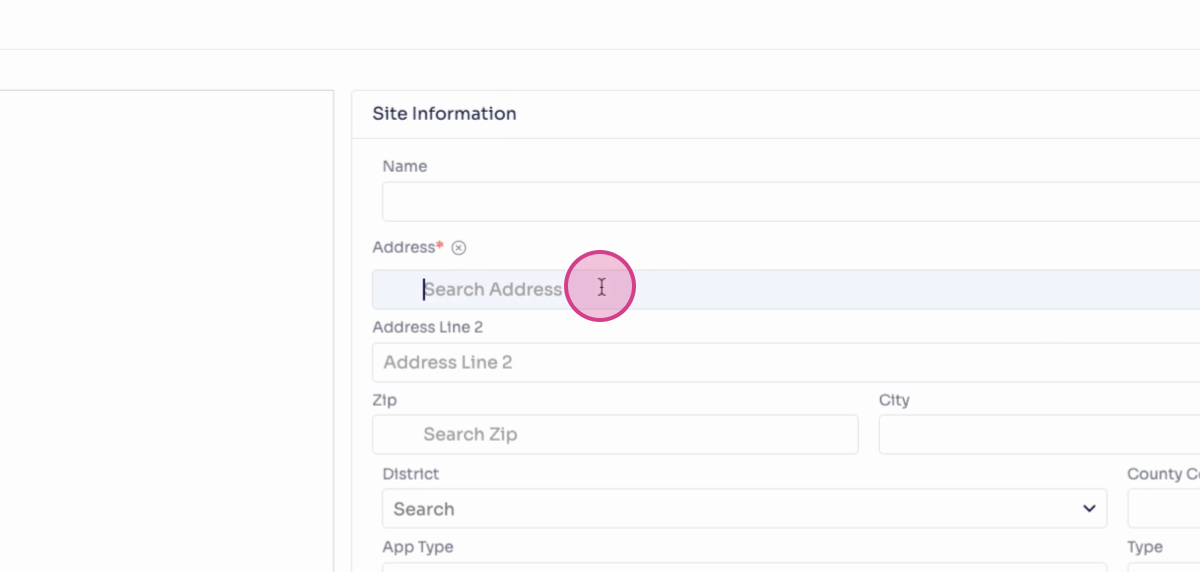
Step 5: Fill in the address details on the right side of the pop-up window.
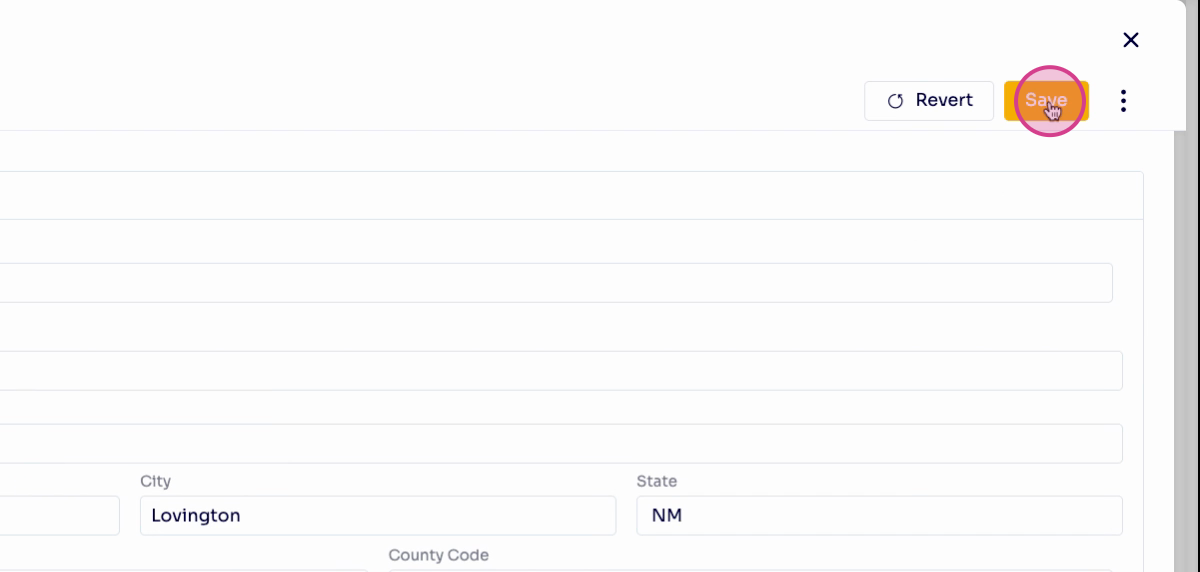
Step 6: After entering the address, click the save button at the top right.
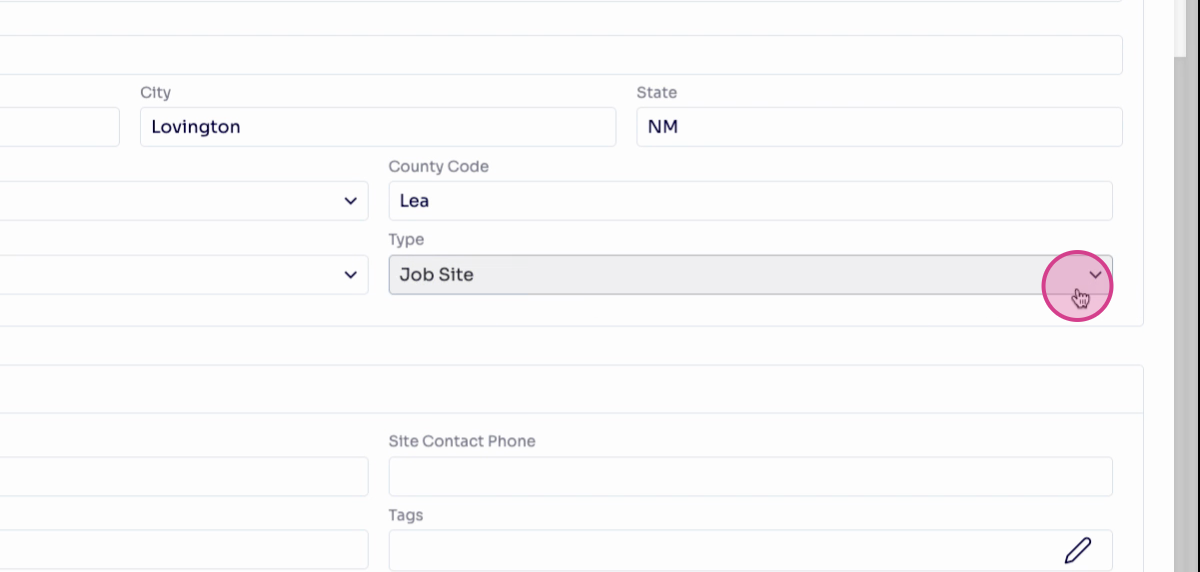
Step 7: Fill out any remaining relevant information for this job site.
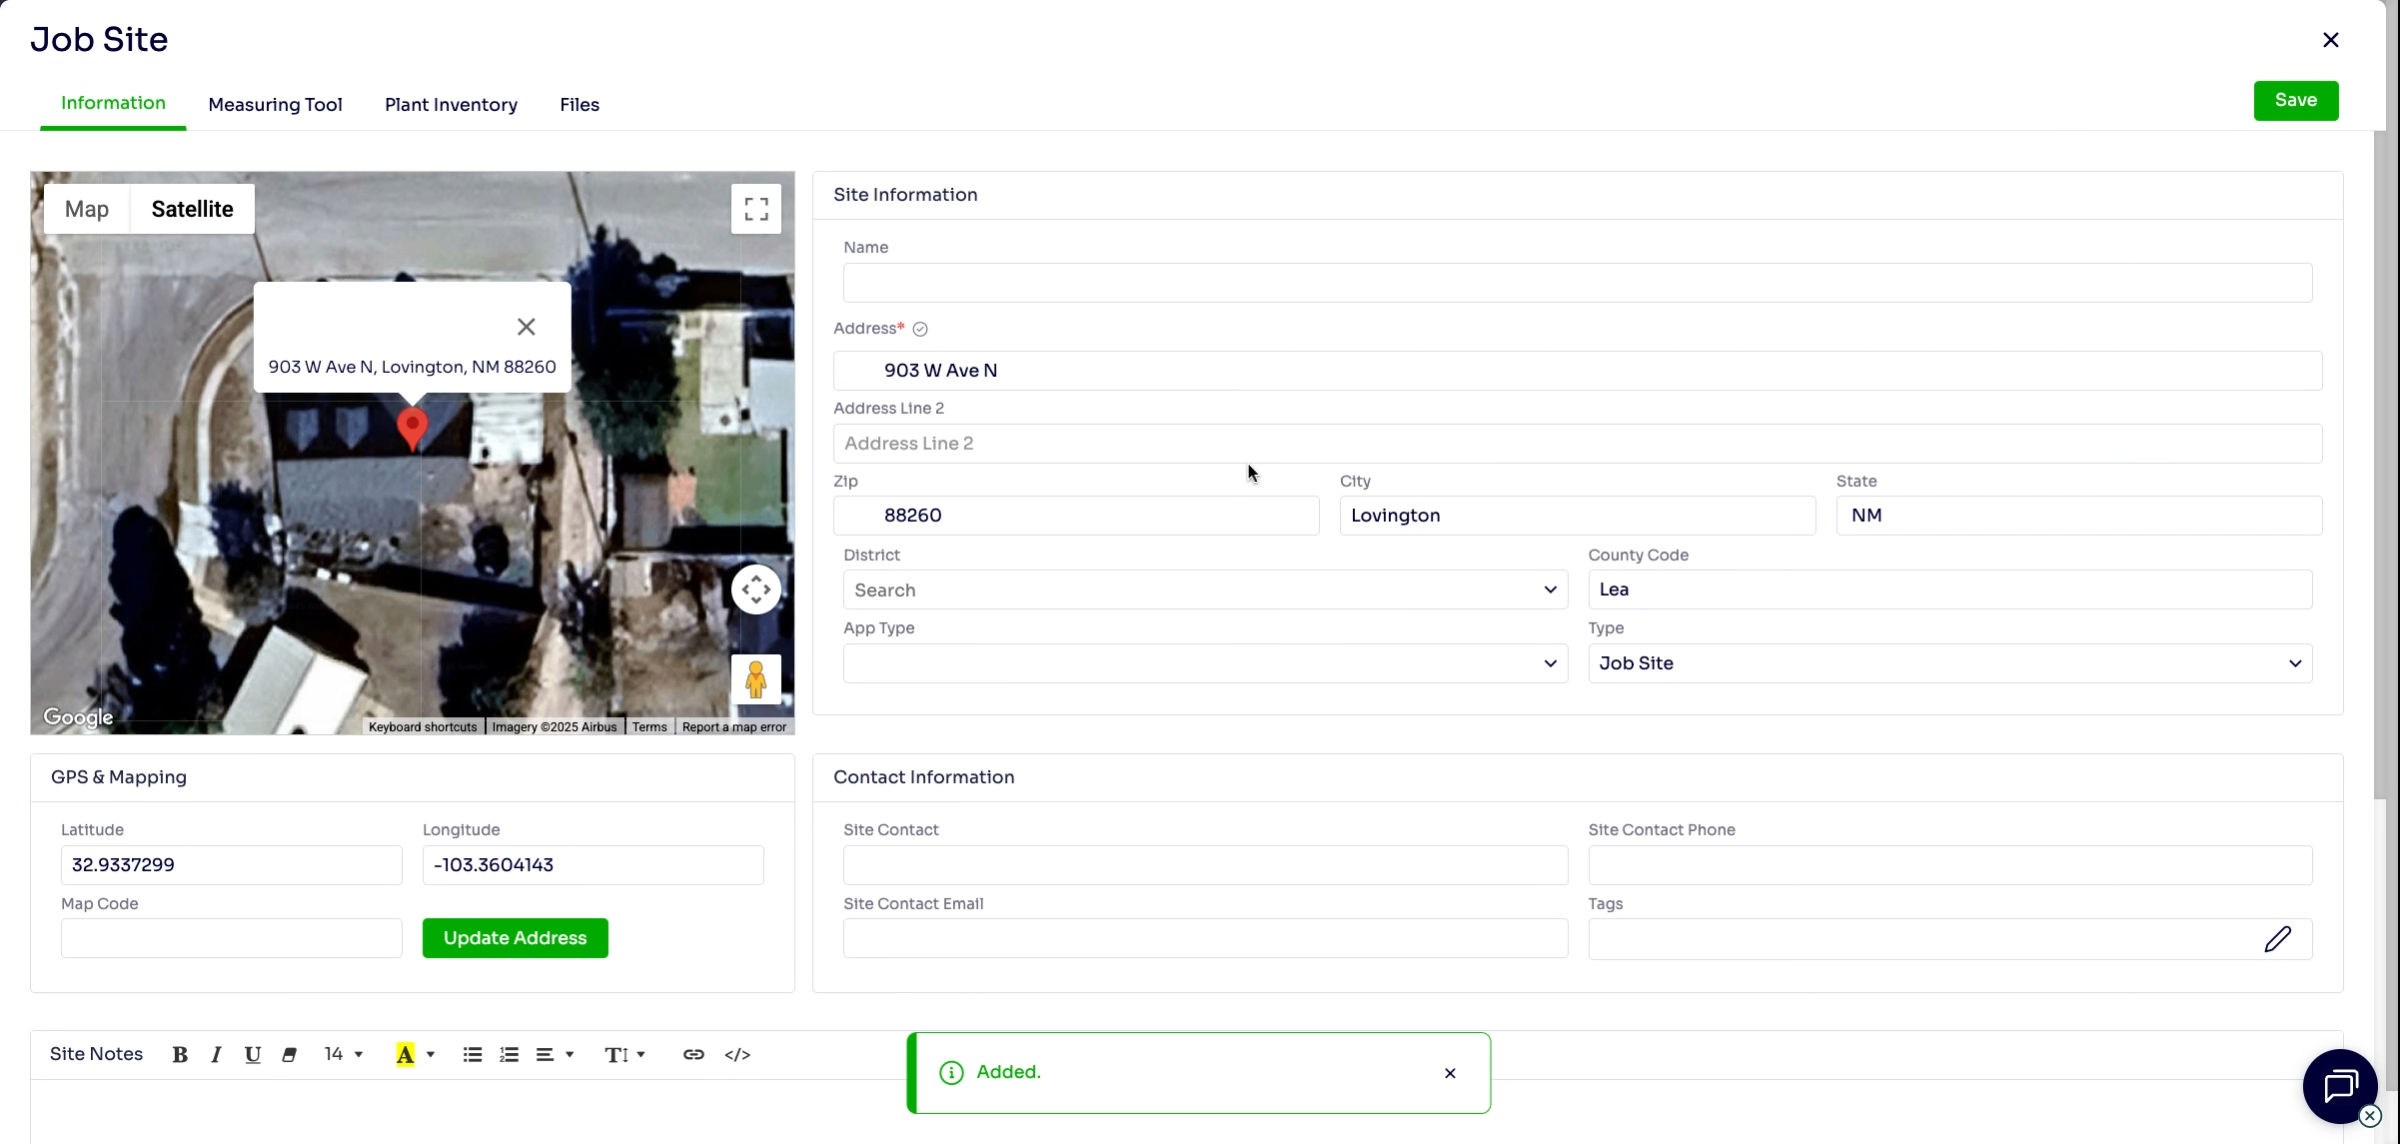
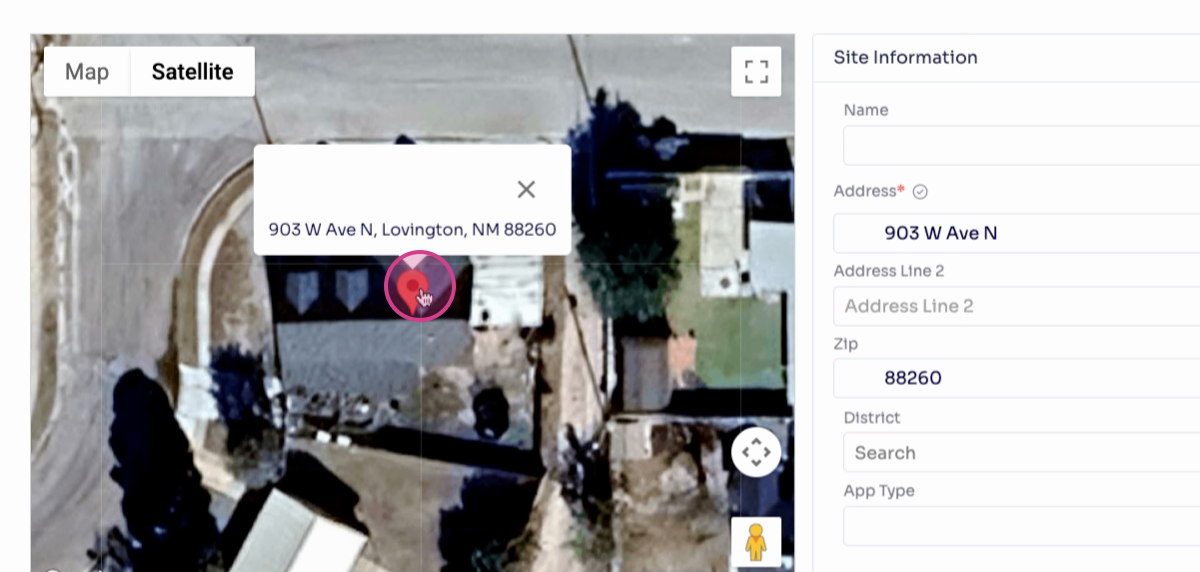
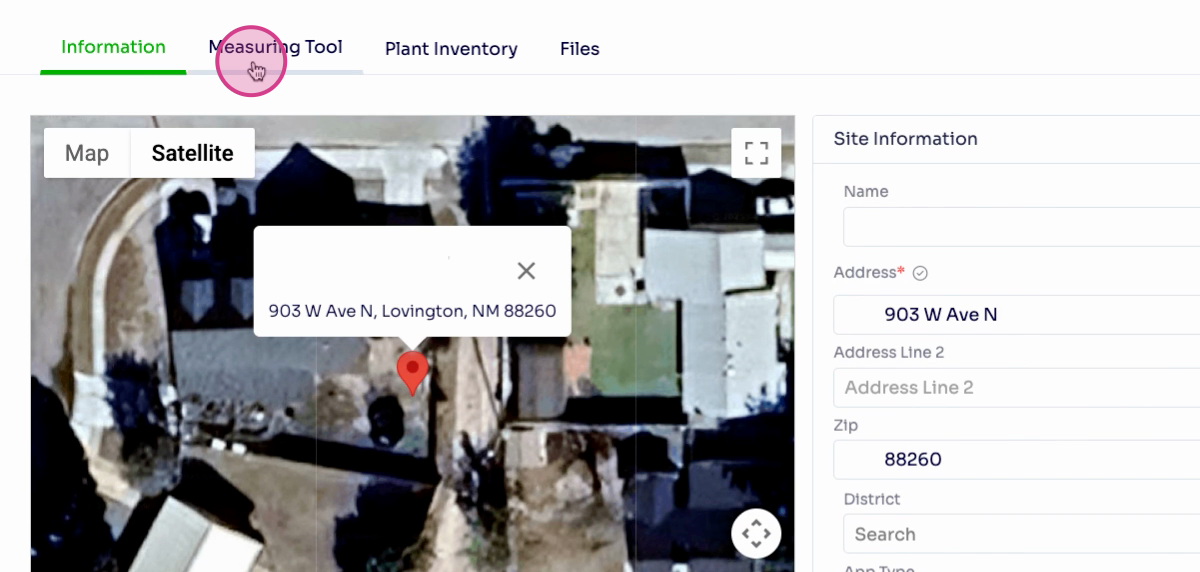
Step 8: Move the PIN on the map to pinpoint the exact location, if necessary.
Editing and Categorizing Addresses
Step 9: Use the contact information box for HOAs, renters, or property managers who need to be contacted before work begins. Ensure the type is set to "job site."
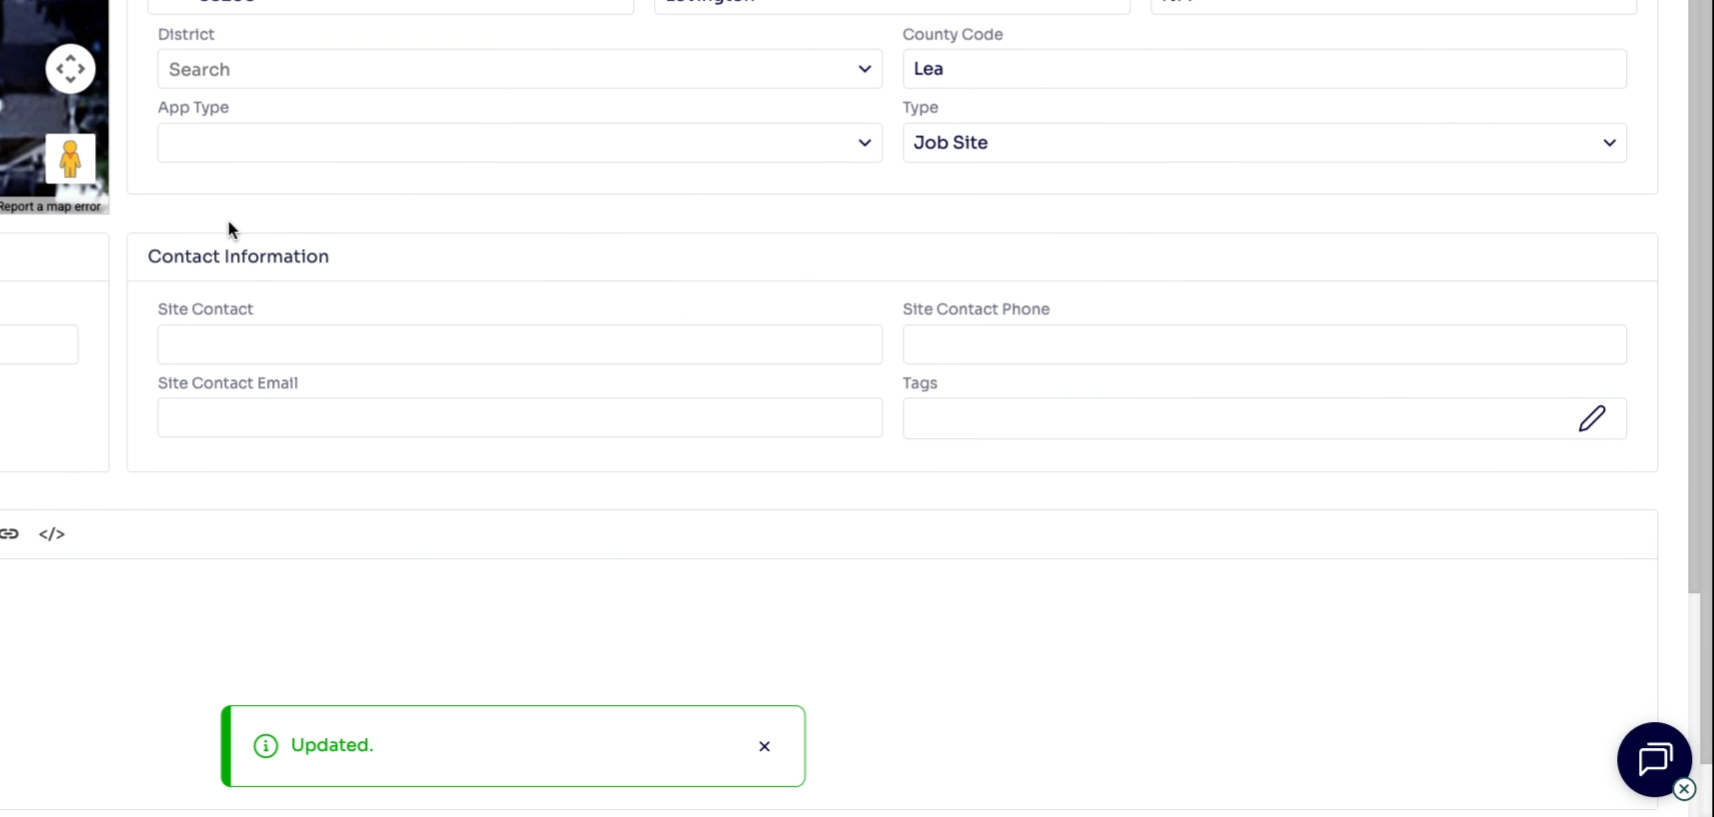
Step 10: If you need to update the billing address for this customer, select billing from the address options.
Additional Job Site Options
Site Notes
Step 11: Enter notes or directions in the site notes section at the bottom. These will appear on printed work orders and in the ArborGold Crew app.
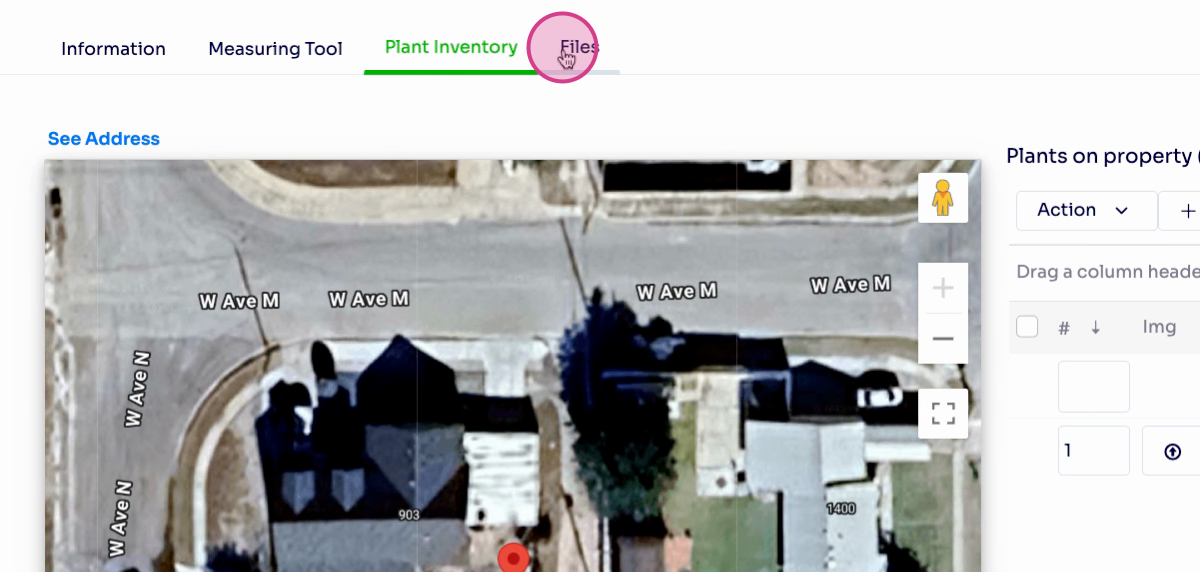
Measuring Tool and Plant Inventory
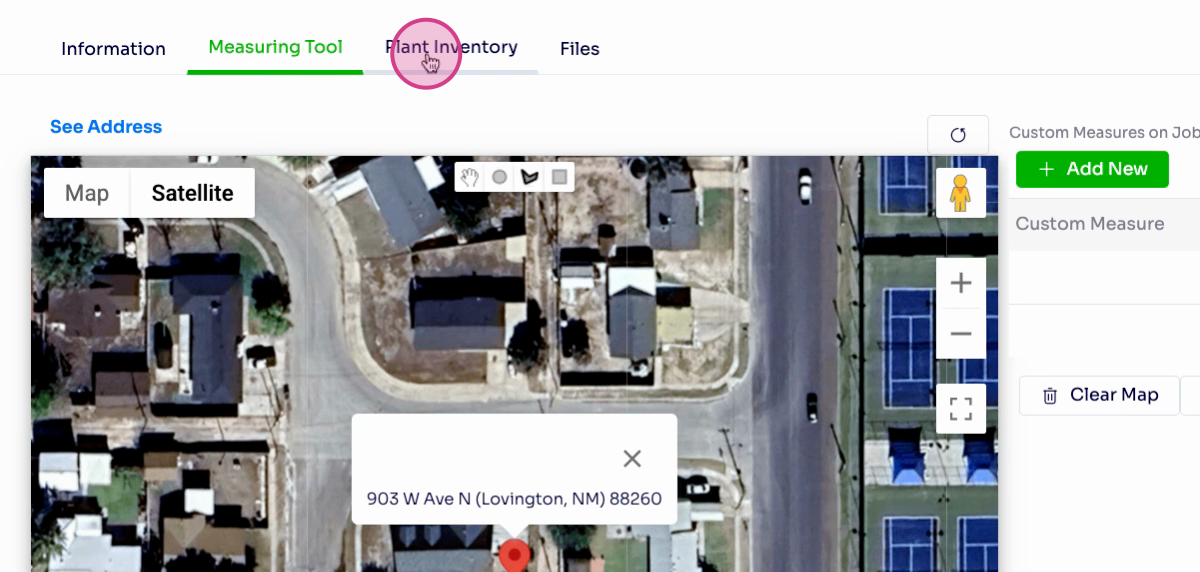
Step 12: Use the measuring tool and plant inventory at the top left for more detailed site management.
Attachments
Step 13: Attach any relevant files for the site, such as photos or documents.
Frequently Asked Questions (FAQs)
Can I add multiple addresses for one customer? Yes, Arborgold lets you add as many job site addresses to a customer as you need. Just repeat the steps to add additional addresses within the customer profile.
How do I edit a job site address after it's added? To edit a job site address, select the customer, choose the specific job site, and use the edit option to make updates. Save your changes when finished.
What do I do if I can't find an address on the map? If the address isn't found on the map, double-check for accuracy and try adjusting the entry format. If it still doesn't display, manually move the PIN to the correct location.