Quick Start 1: Adding Users
Quick Start 1: Adding Users Adding new Users or Employees to Arborgold for login
Requirements:
You must be an Arborgold System Administrator to add new Users.
Adding Users
Sign in to your Arborgold account.
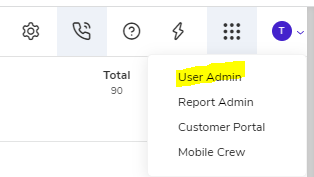
In the top right corner, click the dots icon and select "User Admin"

Figure 2: Adding Users
Click + Add New at the top left corner to create a new user

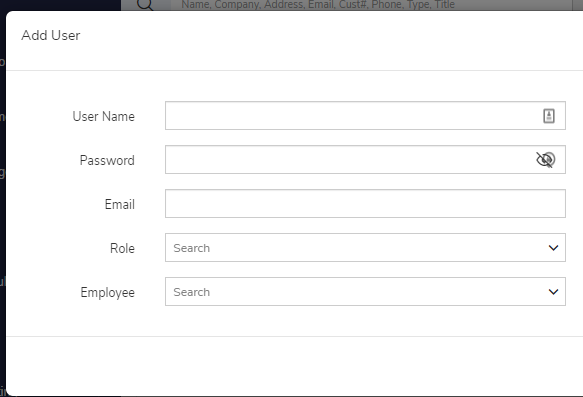
Figure 3: Create User
Select a unique username, password, unique email

Figure 4: Choosing Role
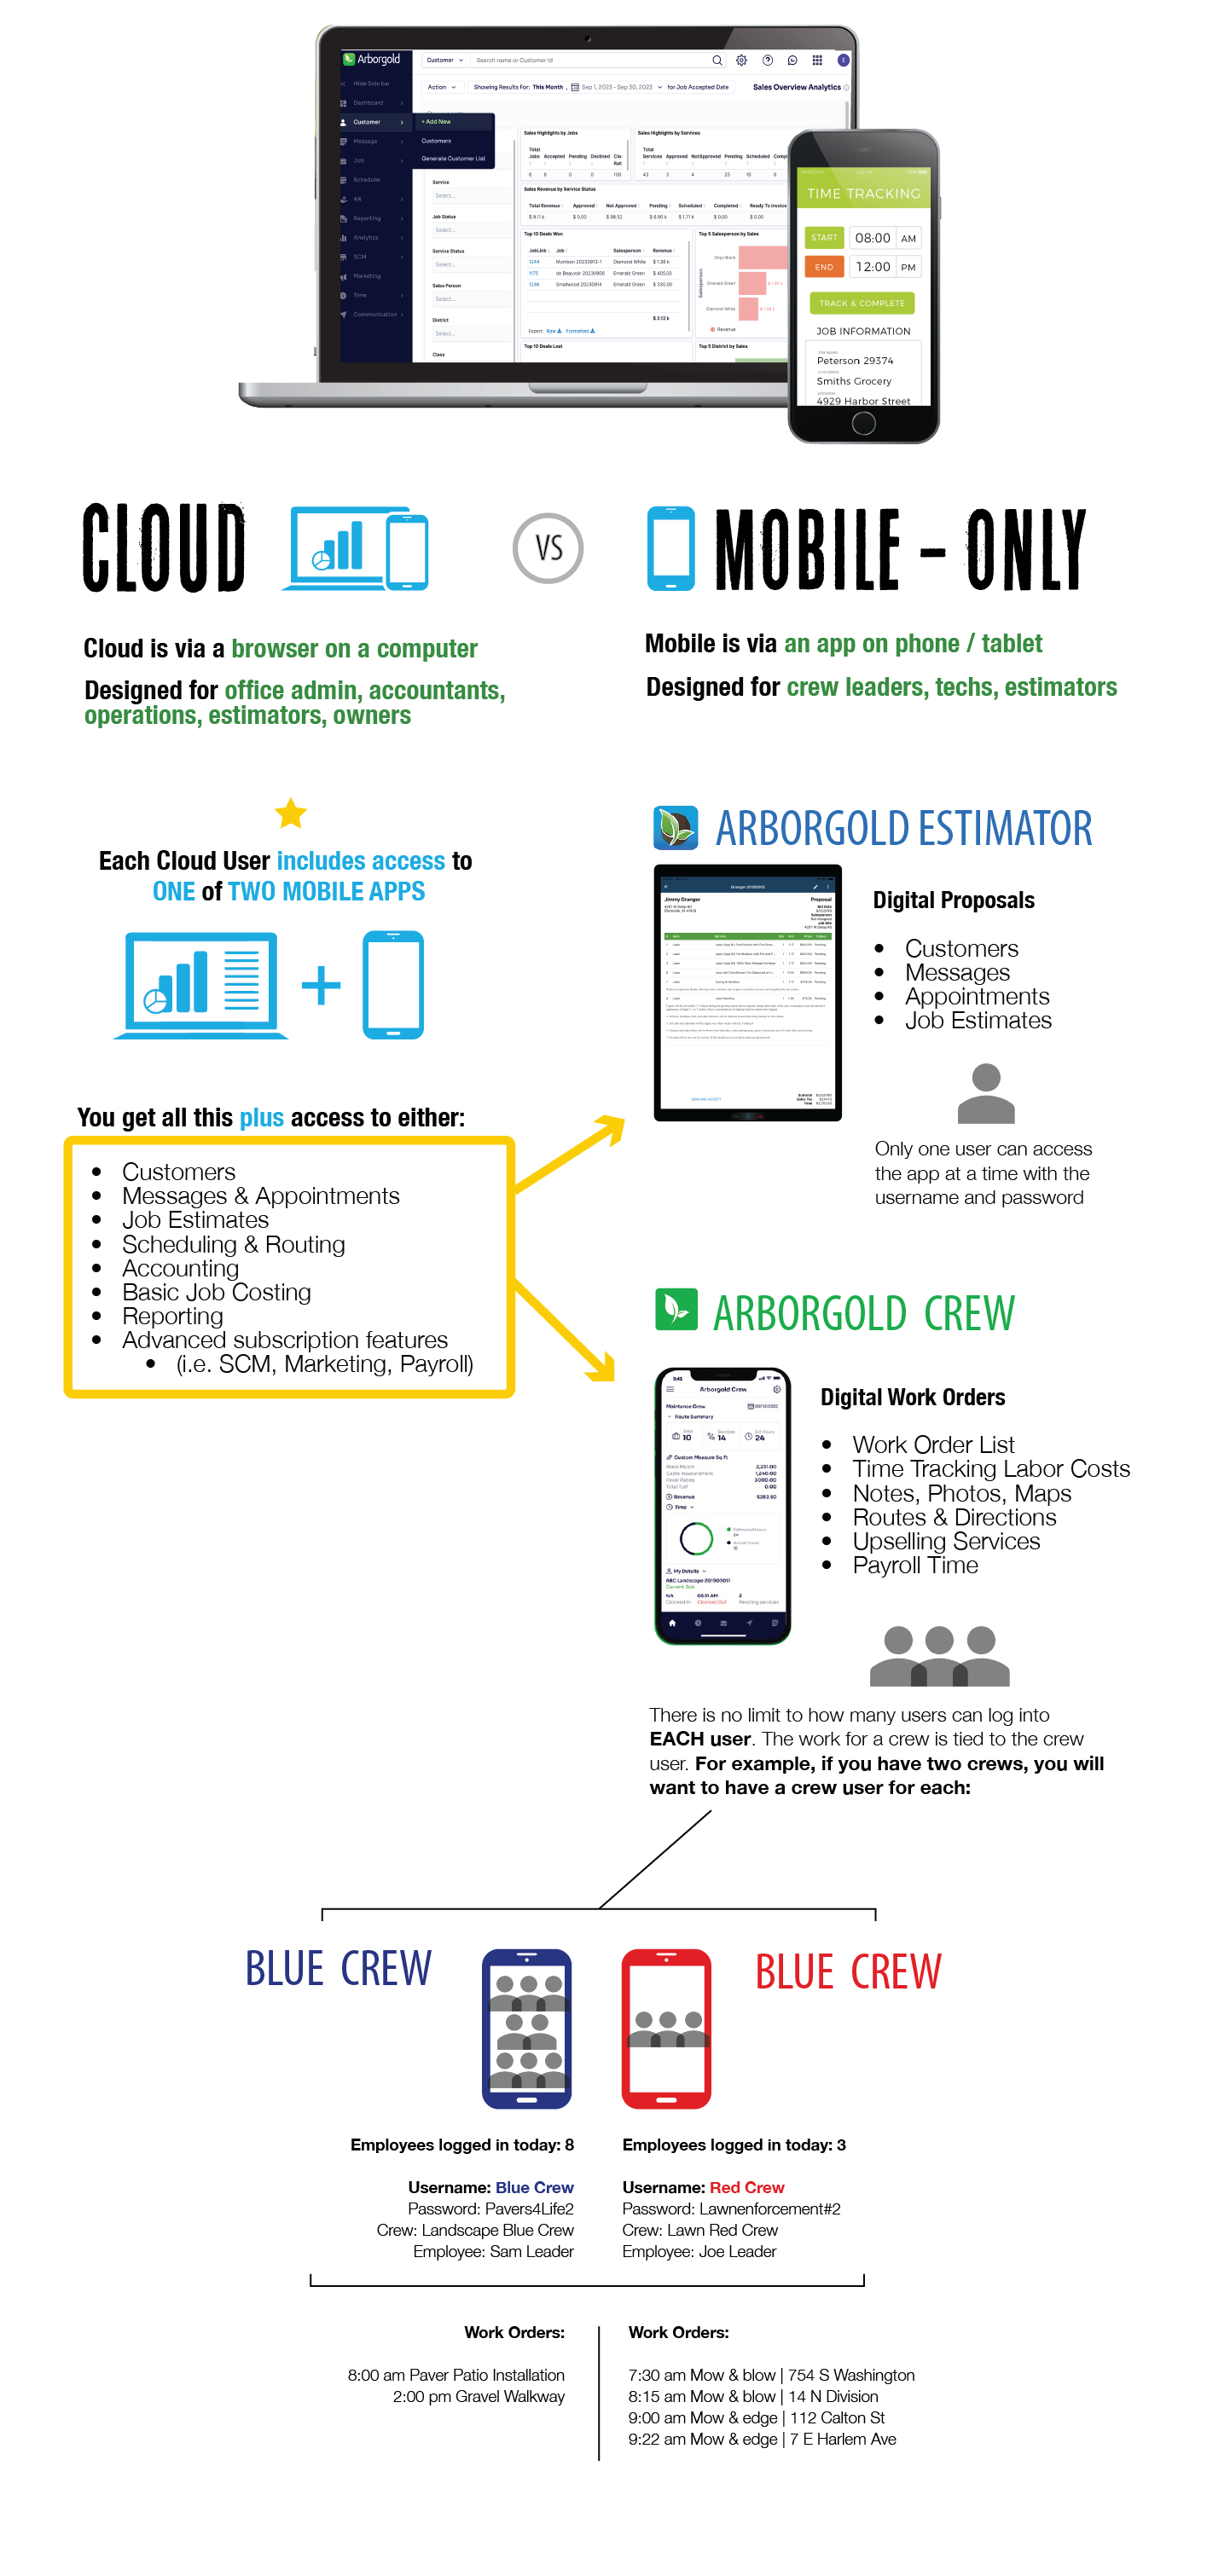
Choose the User's role: Cloud & Estimator, Cloud & Crew, Estimator, Crew, or Phone.
-
Cloud & Estimator: Users will have access to both the web version of Arborgold and the Mobile Estimator application.
-
Cloud & Crew: Users will have access to both the web version of Arborgold and the Mobile Crew application.
-
Estimator: Users will have access to only the Mobile Estimator application.
-
Crew: Users will have access to only the Mobile Crew application.
-
Phone: Users will have access to only the Phone Center in Arborgold.
*Note that the User's role can always be updated by clicking on the User's profile in the Admin screen.
Add any additional Users through the same method by clicking the + Add New Record link.
Figure 5: Select an Employee
Select an Employee from the drop down list or click the + Add New to add a new one
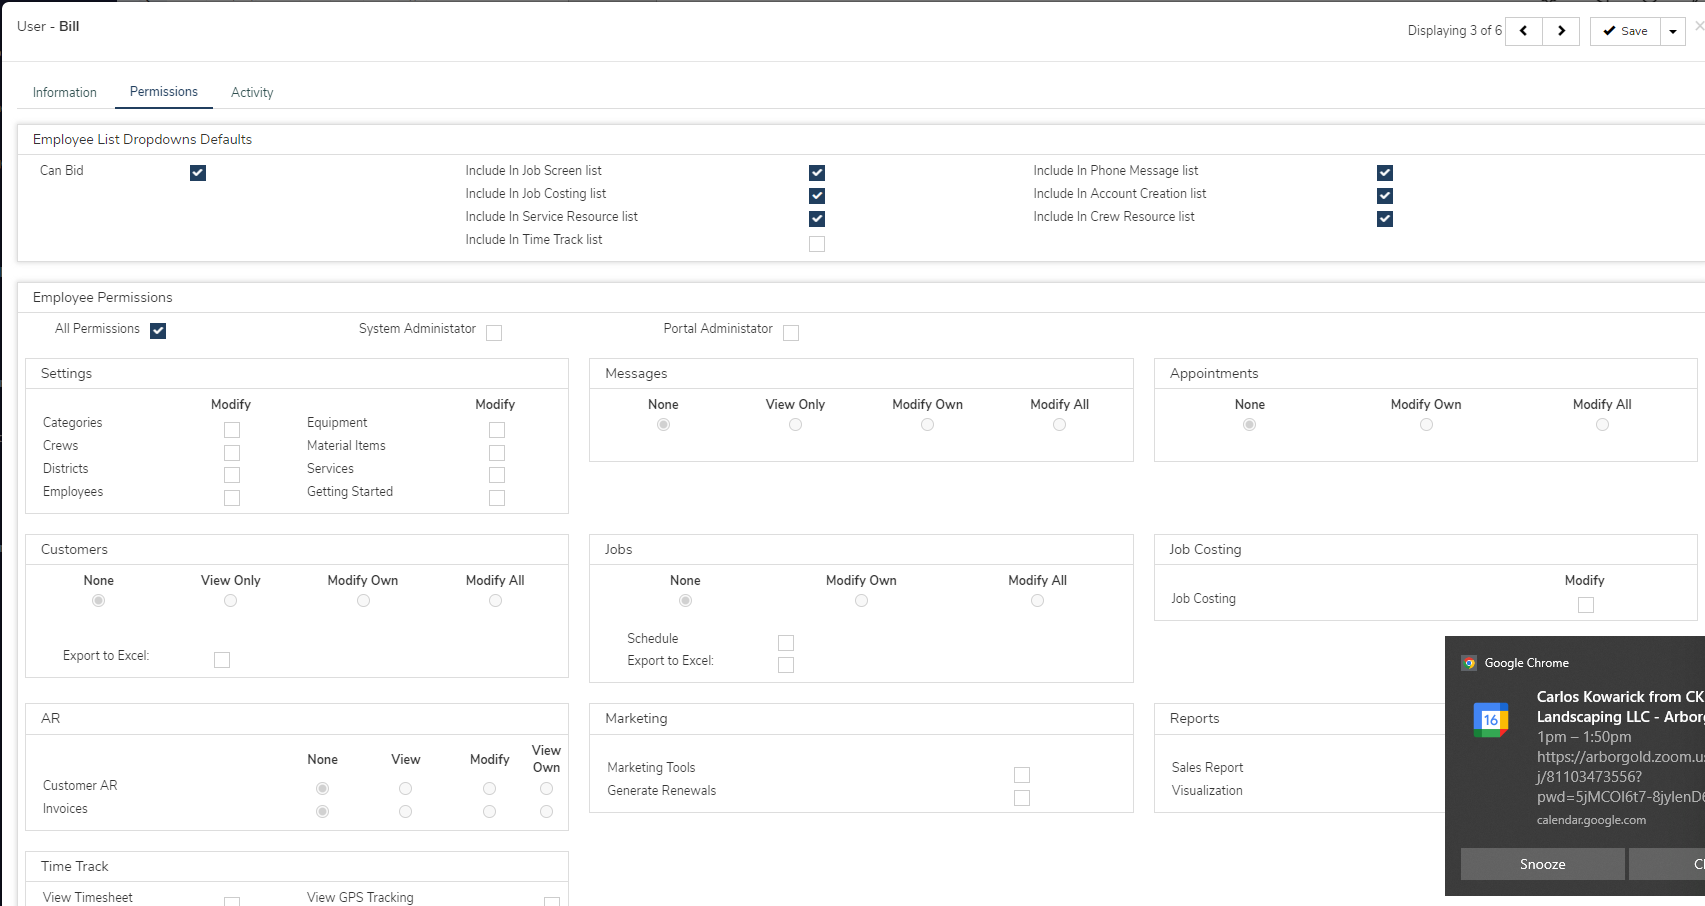
Figure 6: Select Permissions
Upon saving the user correctly at the top right corner, tab over to Permissions to properly set the permission level. Each permission is broken down into our modules.


Last Updated by: Elizabeth on 06/26/24
Authored by: Elizabeth on 06/26/24