Create a customer in Arborgold
1. Head to the left navigation (☰) in the upper left corner of your screen.
2. Look for the module entitled CRM. This stands for Customer Relationship Management.
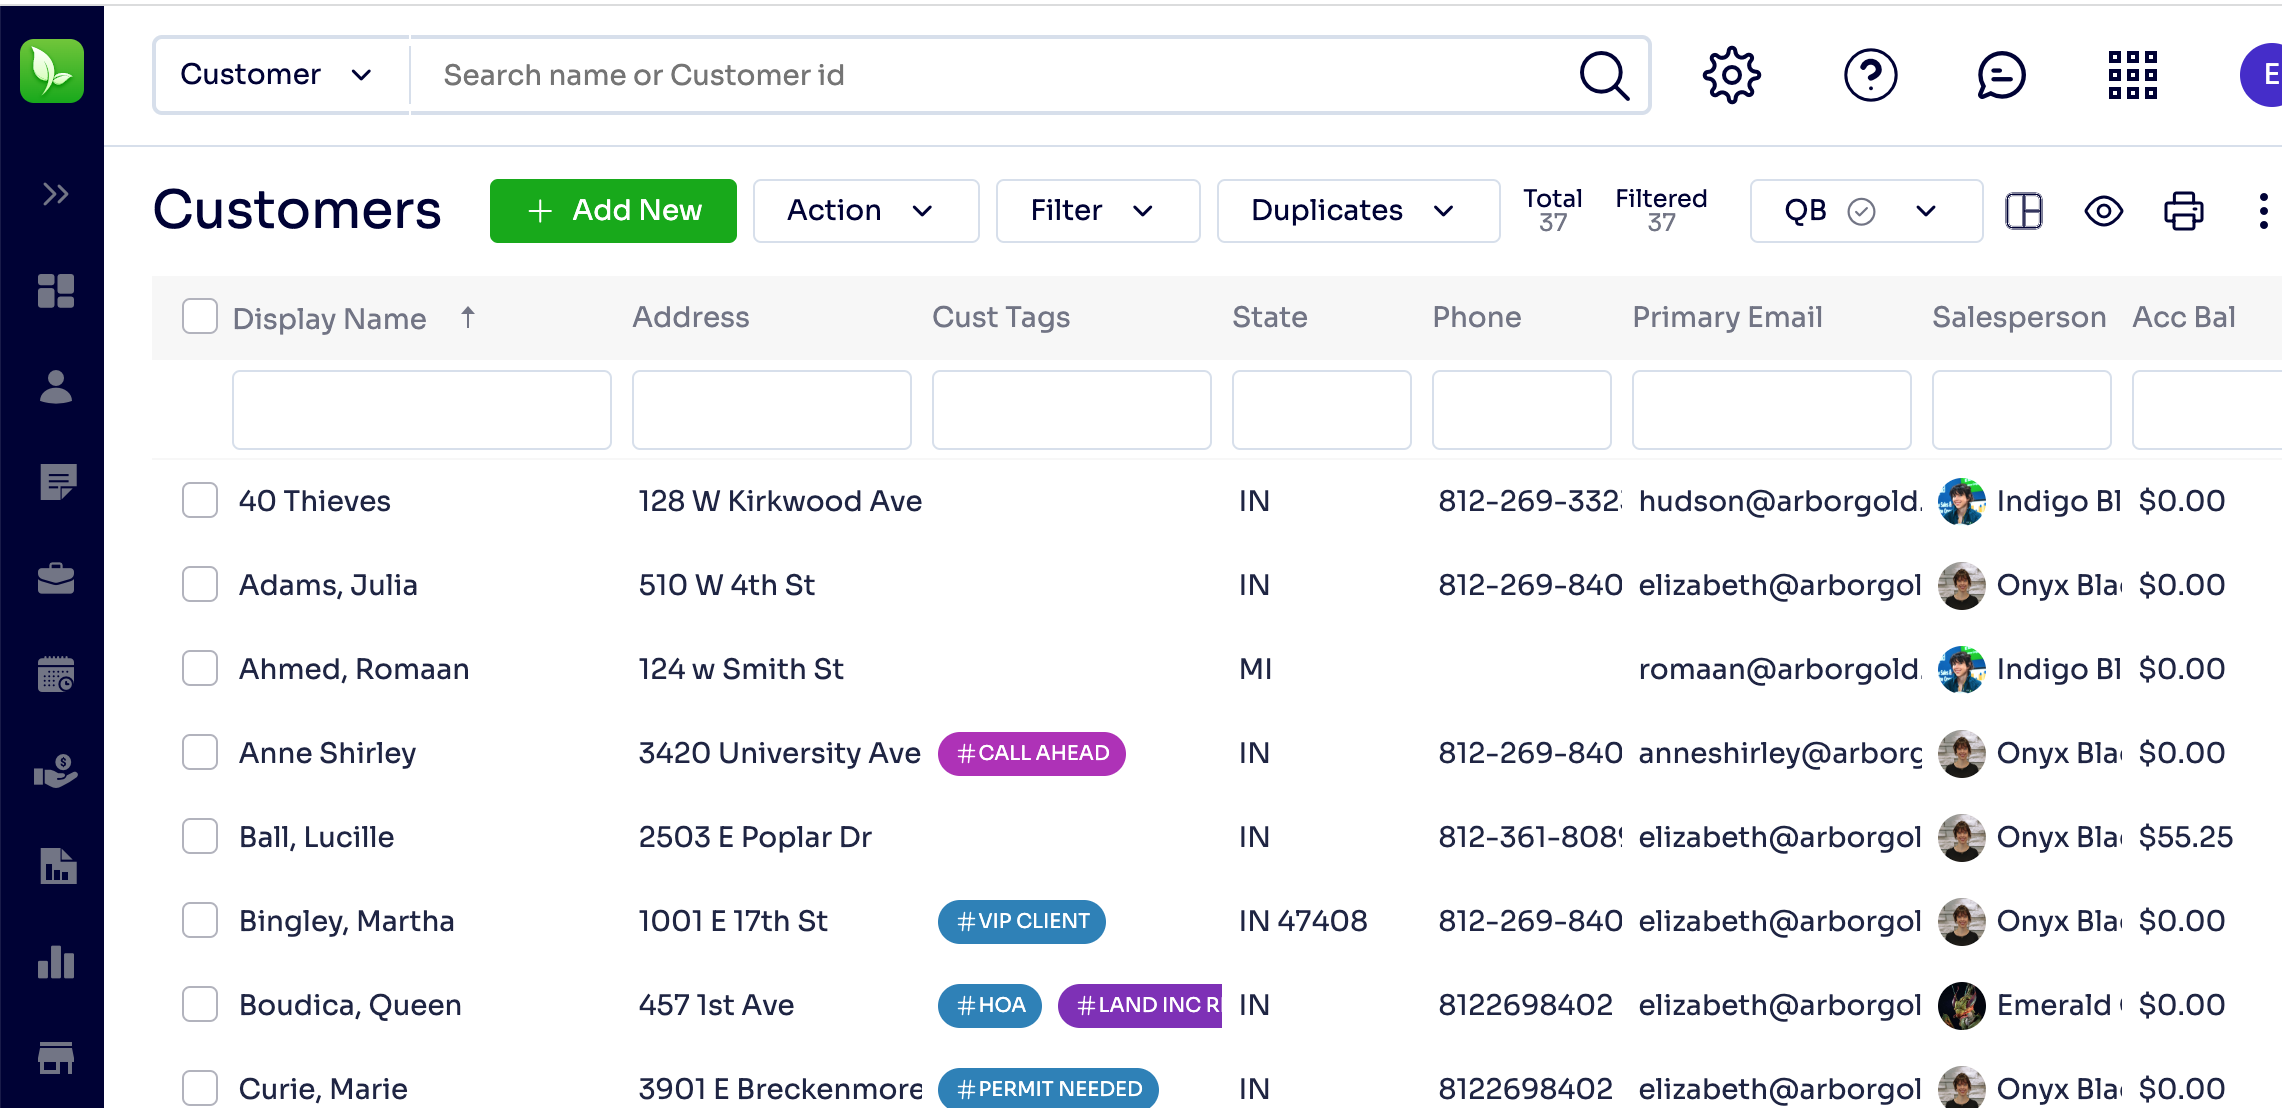
3. Here you should see a list of your customer if you have had an import.
4. From here, look for the (+) Add New Button in the upper left corner.
5. This will load a new client form where you can begin to enter their contact information in the General box area
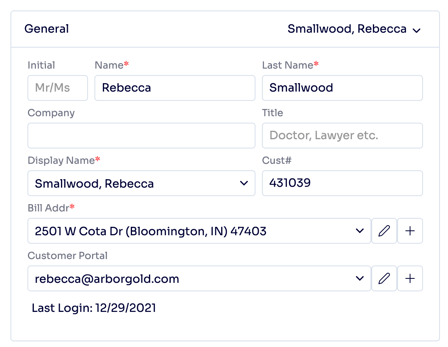
You will need to provide at least the following:
-
First and Last Name (or) Company
-
Billing Address (Address box below display name)
-
Display Name
Other fields in the general box
-
Title: Doctor, Lawyer, etc
-
Cust #: This will be blank the first time you enter a new customer once saved the system will generate a randomized unique customer number.
The Configuration Box has the following information:

-
Primary Email
-
Secondary Email
-
Ad source: How did the customer hear about your business? You can edit your own ad source list by clicking the gear icon at the top right going to All Lists -> Ad source
-
Sales Rep: Sales rep for the customers account, which makes all new jobs created after have that salesperson already filled out for the job
-
Other Contact: spouse would be an example
-
Type: Customer type such as residential or commercial, the list can be edited by clicking the gear icon at the top right and going to All Lists -> Customer Type
-
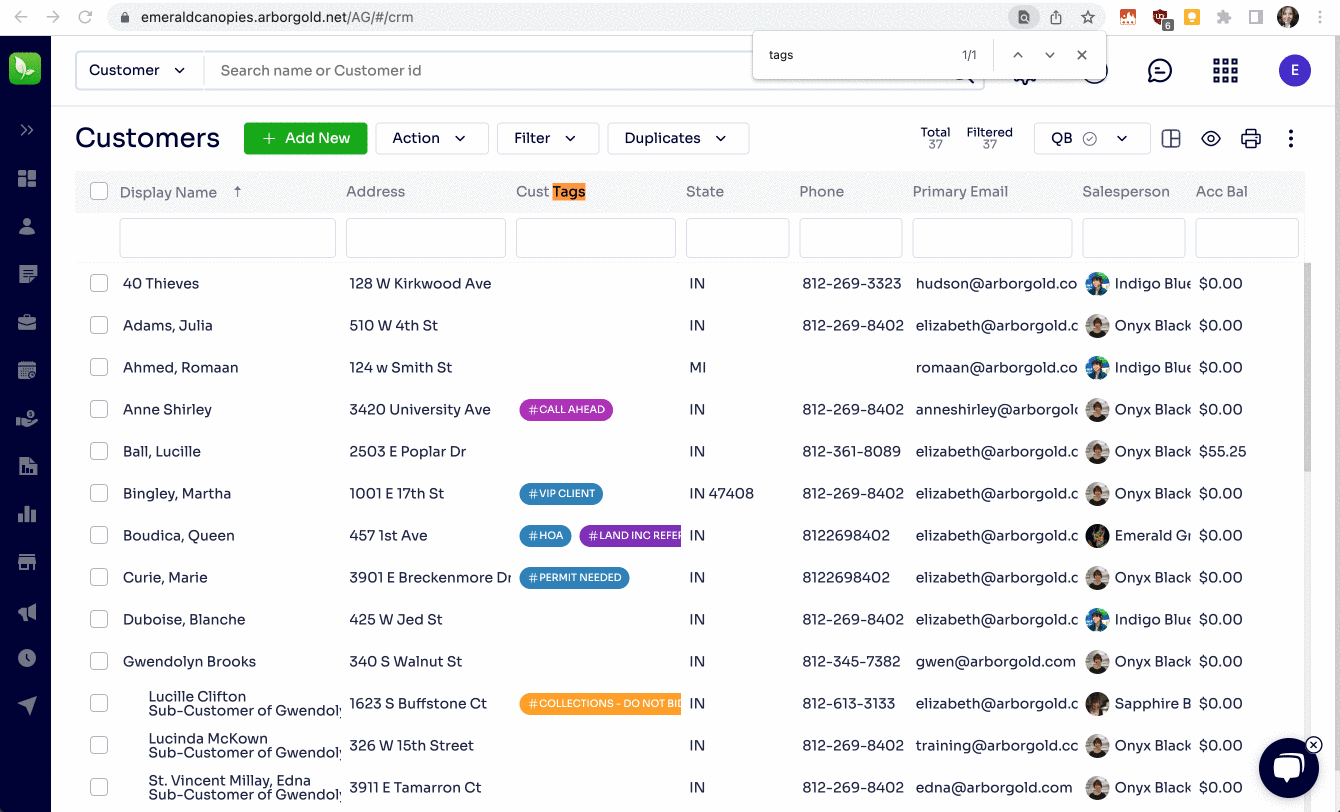
Tags: These are customer tags and if you click the pencil icon you can create a bank of them to use for all customers in your database, they can be filtered for in the CRM customer listing page, work scheduler and generate customer list screens.
Note that you can later Search for Customer Tags from the Customer Listing tab on the left navigation:
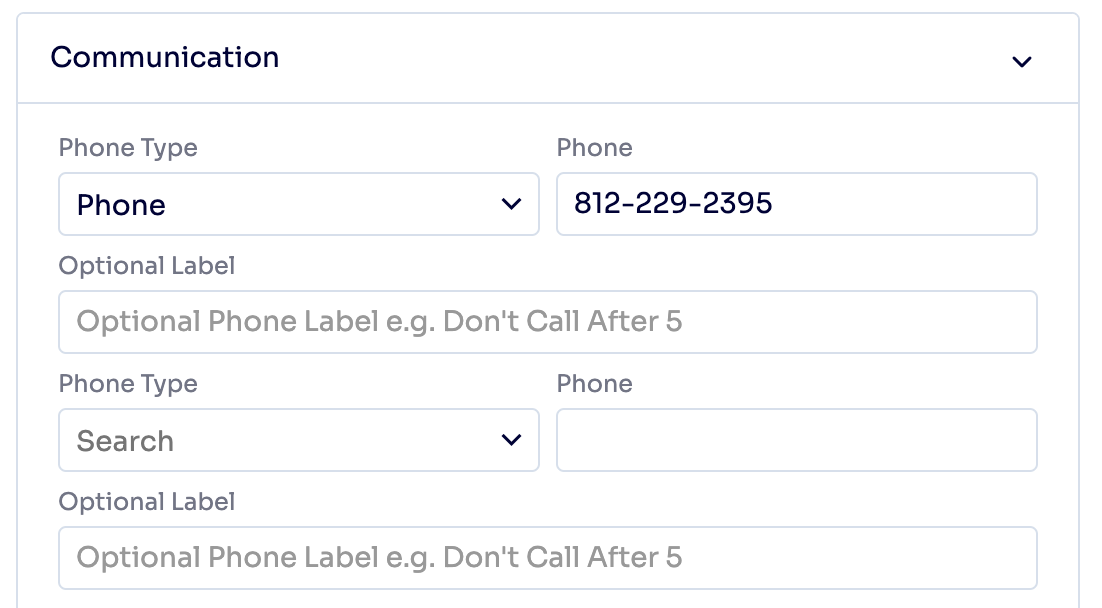
The Communication box has the following information:
-
Phone Type and Phone: you can enter the proper phone type(s) and actual phone number(s) for the customer
-
SMS: these are if you have an active Twilio integration account, and wish to enter in the customer's number to send SMS messages to.
-
Pref Cont: you will want to enter in the customers preferred method of contact, (if they are email preferred you will need the batch email proposal, invoice and marketing box flipped on
-
Send Batch Invoices to this Email: this is only necessary if the customer requests a different email address to email invoices to that's different from their primary or secondary emails.
The Account Information/AR box has the following information: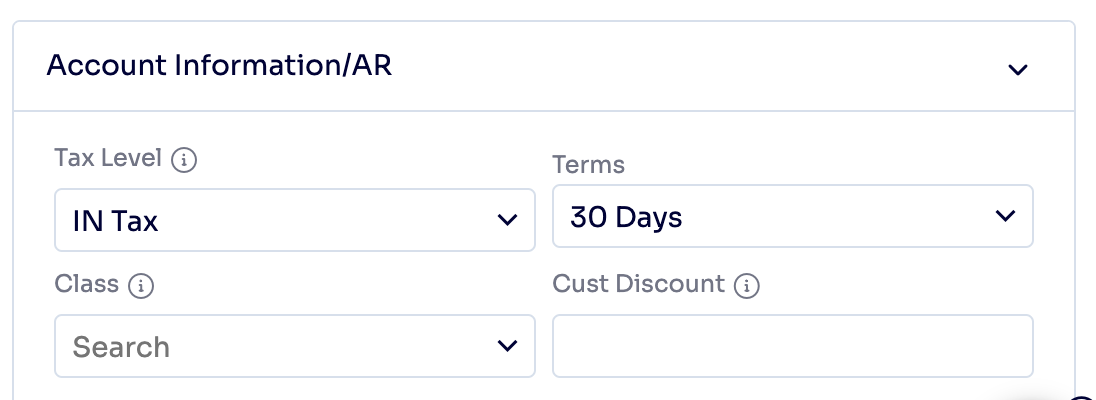
-
Tax Level: the amount of sales tax charged to the customer when services are invoiced.
-
Terms: these are the terms listed and state how many days you can factor in a finance charge on a late invoice
-
Class: this is an organizational tool for our QuickBooks integration
-
Cust Discount: if set each new job created after has an overall job discount of the percentage listed in this field
The Settings box has the following information: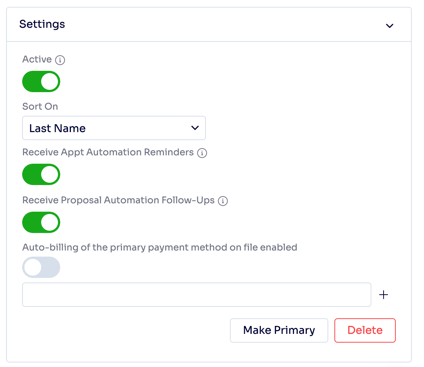
-
Sort On: this is how you can find the customer in the classic search box, by last name or company
-
Active: An active customer means you can create jobs for them, if they are inactive you cannot create jobs and the customer's current jobs will not renew if you run a renewal batch
-
Receive App Automation Reminders: If you have appointment automation on your site (This is an Ultimate Subscription Level Feature) you can opt the customer in to your active campaigns for the appointment automation
-
Receive Proposal Automation Follow-Ups: If you have automation marketing (This is an Ultimate Subscription Level Feature) you can opt the customer in to your active campaigns for the automation marketing on proposals
-
Auto-billing the primary card on file enabled: this will allow you to use the auto bill batch billing feature, if you have a credit card integration set up, and below you can store the customer's card information, and make a card a primary card for them or delete the card
The Other box has the following information:

-
Tag 1 and Tag 2: these pull from your ad source list and have filtering for them in the generate customer list feature
-
Dear: this can be used as a custom greeting for your proposals
-
Created On: this is the customer's first created on date in the system, if its a new customer you just are creating it will be blank until you first save
- Customer Notes: Are internal notes and are not printed on any report.
- Created by / Last Modified by include information about how this customer was added to the database and changed. Remember, you can get more information in the "Activity Tab" at the top in the customer information.
Do not forget to hit SAVE in the upper left corner when you've completed the form.
You can also add additional Job Sites from the top of the menu.
Last Updated Friday 05/12/23 2:30 PM by Elizabeth