Create areas to measure square footage for pricing mowing and landscaping services and calculating chemical inventory
- Landscape Measuring Tool Basics
- Creating Custom Measurements for the Landscape Measuring Tool
The Landscape Measuring Tool allows you to create areas to measure square footage for pricing mowing and landscaping services and calculating chemical inventory.
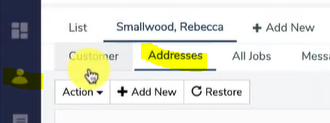
You can access the landscape measuring tool in 2 ways, the first is by clicking the CRM tab on the left, opening up any client and clicking their addresses tab:
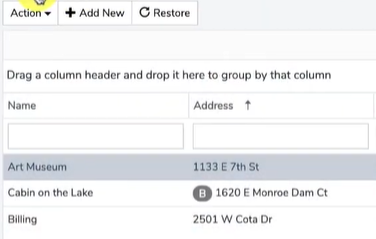
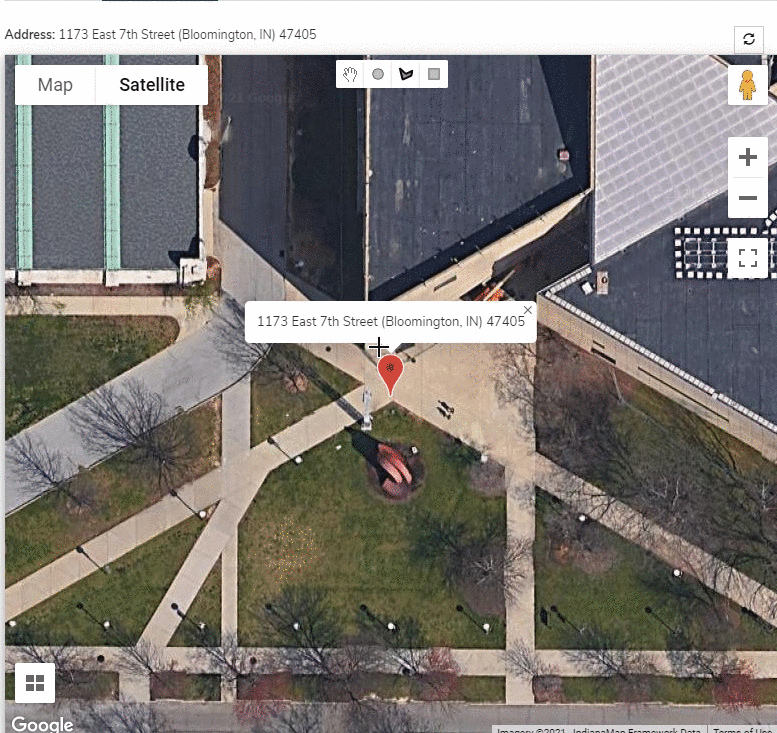
You will then double click on an address and tab over to the measuring tool tab when the address opens up.

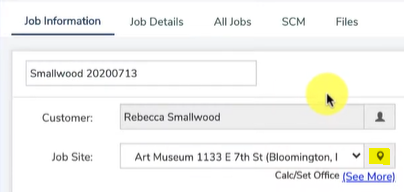
The second way to access the customer's measuring tool is on the job screen, where you can click the pin icon above the see more section in blue at the top of the screen.
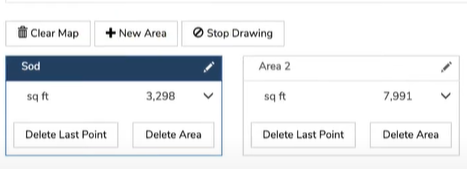
When you open up the landscape measuring tool you can observe in this example we have three custom measures we have made for the area, Total Turf, Sod, and Beds or mulch areas.
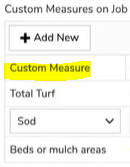
You can see how we are selected on Sod and for each custom measure it can be made up of none, one, or many areas. Sod is made up of two areas you can see.

To create a new measure area on a jobsite, click the + Add New button, select the custom measure value, and then start clicking on the points to connect the dots. You will notice an in-between dot appear when clicking and making points and you can always adjust that further around curves and bends. Clicking the + New Area will start a separate area. Click the orange triangle when done to save.
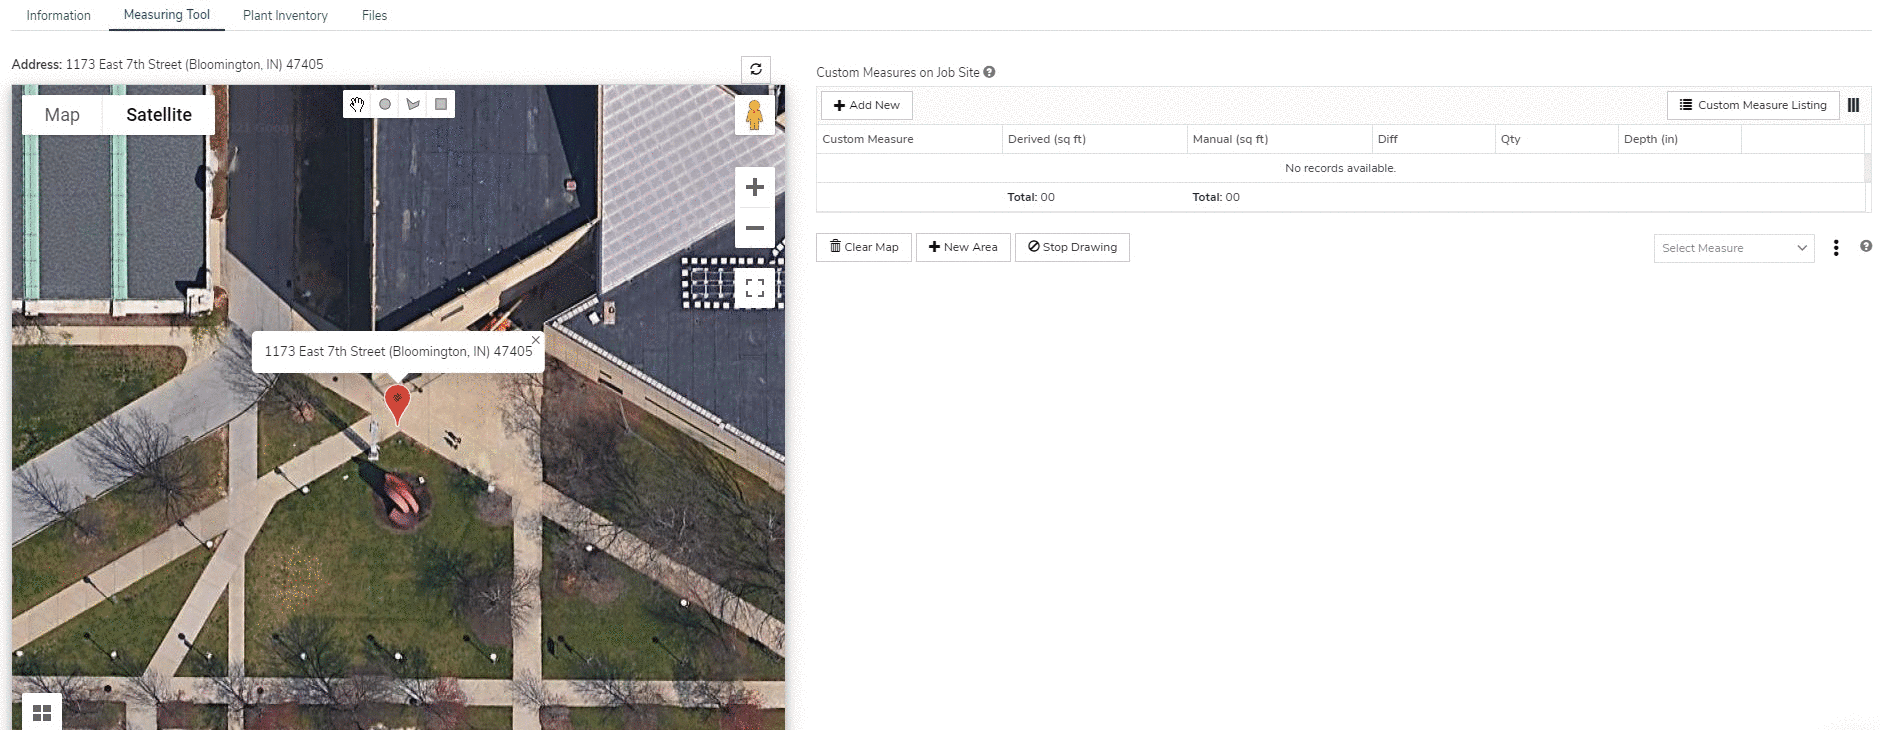
You can also quickly use the top shapes above to make a circle or rectangle quickly.
There are two values when having a custom measure, the manual and derived.

If you already know the sq footage area you can put it in the Manual (sq ft), and the Manual (sq ft) value if different than derived will be used for any calculations using that custom measure. Be sure to click the orange triangle to save.
To add additional custom measurement values, click the Add/Edit Custom Measure Listing button at the top right.

You will see a list of all custom measurement values in your database, to add a new custom measurement click the + Add new button. Give your measurement a name and click the checkbox to save.
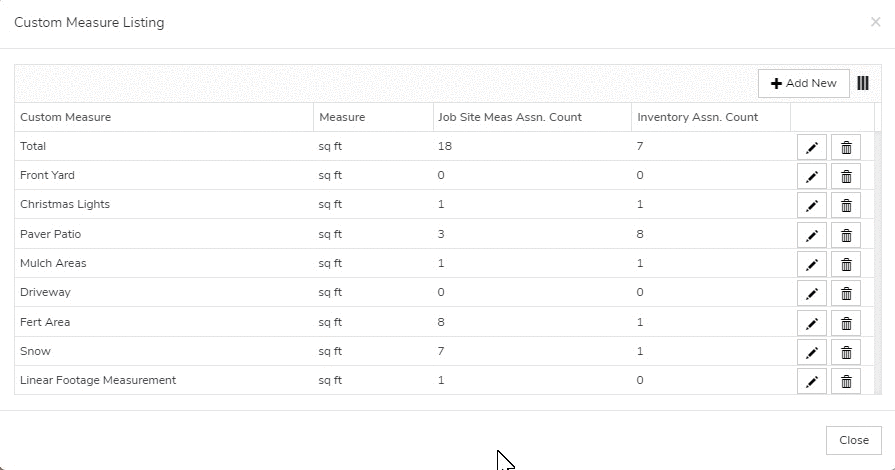
If you need to delete a custom measurement you can click the trash can icon but be careful as this will remove it from any measured area that was using that custom measurement.